Voltage regulators boost circuit life with easy steps
Voltage regulators keep your circuit stable by making sure the voltage stays at a safe level. You do not need special skills to install one. With the right steps, you can protect your devices from damage. Following simple safety tips helps you avoid common problems. > Tip: Taking the time to install a voltage regulator can help your electronics last much longer.
Key Takeaways
- Voltage regulators keep your electronic devices safe by maintaining a steady voltage, preventing damage from spikes or drops.
- Installing a voltage regulator can significantly extend the life of your devices and improve their performance.
- Always follow safety protocols during installation, such as disconnecting power and wearing protective gear.
- Use capacitors near the input and output pins of the regulator to filter voltage spikes and ensure circuit stability.
- Double-check your wiring and connections to avoid common mistakes that can lead to circuit failure.
Voltage Regulators: Importance
What They Do
You rely on voltage regulators to keep your electronic devices safe and steady. These components control the voltage that reaches each part of your circuit. When you use linear voltage regulators, you get a simple and cost-effective way to deliver clean power. Linear voltage regulators work by comparing the actual output voltage to a fixed reference. If the voltage changes, the regulator adjusts it back to the right level. This process helps your devices avoid damage from sudden spikes or drops.
- Voltage regulators come in many forms, from basic Zener diodes to advanced integrated circuits.
- Linear voltage regulators are popular because they are easy to use and install.
- You can find linear voltage regulators in many beginner projects, especially the LM7805 model.
- Linear voltage regulators help reduce noise and keep your circuit running smoothly.
- Good voltage regulator design improves efficiency and extends battery life.
Note: Linear voltage regulators play a key role in keeping sensitive parts of your circuit safe and stable.
Why Use Them
You want your devices to last and perform well. Linear voltage regulators help you reach that goal. They keep the voltage steady, even when the load changes. Without a regulator, your circuit might face problems like overheating, voltage deviation, or not enough power for all parts.
| Problem | Description | Solution |
|---|---|---|
| Overheating | High temperature or large loads can cause damage. | Improve ventilation and use the alternator only as needed. |
| Voltage Deviation | Load changes can make voltage unstable. | Keep loads within range and use balancing circuits. |
| Insufficient Load Capacity | The alternator may not meet demand, causing unstable voltage. | Use a higher capacity alternator or connect several in parallel. |
You see linear voltage regulators in many fields. In cars, they protect the alternator and keep lights and electronics working. In factories, they help robots and machines run safely. In telecom, they keep signals strong and reliable. Linear voltage regulators also help manage power in energy grids.
Tip: Using linear voltage regulators instead of voltage dividers prevents circuit failure and keeps your devices working longer.
Installation Preparation
Tools Needed
Before you start the installation, gather all the tools and parts you need. Having everything ready makes the process smoother and safer. Here is a table to help you understand the main pins on a standard voltage regulator:
| Pin Number | Name | Description |
|---|---|---|
| 1 | IN | Input voltage pin where the unregulated voltage is applied |
| 2 | GND | Ground reference for the regulator |
| 3 | OUT | Output voltage pin providing the regulated voltage |
You will need these items for a basic voltage regulator installation:
- Voltage regulator (such as LM7805)
- Soldering iron and solder
- Wire cutters and strippers
- Multimeter
- Heat sink (if needed)
- Capacitors for input and output pins
- Insulated wires
Tip: Place a capacitor close to both the input and output pins. This helps filter out voltage spikes and keeps your circuit stable.
Make sure the input voltage stays within the range for your regulator. Do not exceed the current rating. If your circuit draws a lot of current or if the input voltage is much higher than the output, use a heat sink to prevent overheating.
Safety First
Safety should always come first during installation. Start by disconnecting the battery or power source. Put on safety glasses and gloves. Remove any jewelry. Make sure the power is off before you touch any wires.
Follow these steps to disconnect a battery safely:
- Put on safety glasses and gloves.
- Make sure the power is off.
- Loosen the bolt on the negative clamp and lift it away.
- Loosen the bolt on the positive clamp, wrap it in a rag, and lift it away.
- Remove any tie-downs and lift the battery out carefully.
Arrange your wires neatly to avoid tripping or wear. Always ground the voltage regulator properly. Use wires that can handle the current your circuit needs. Handle the regulator gently to avoid damage.
Note: Never try to repair or disconnect the regulated power supply if you are not trained. Always check your connections before turning the power back on.
Voltage Regulator Installation Steps
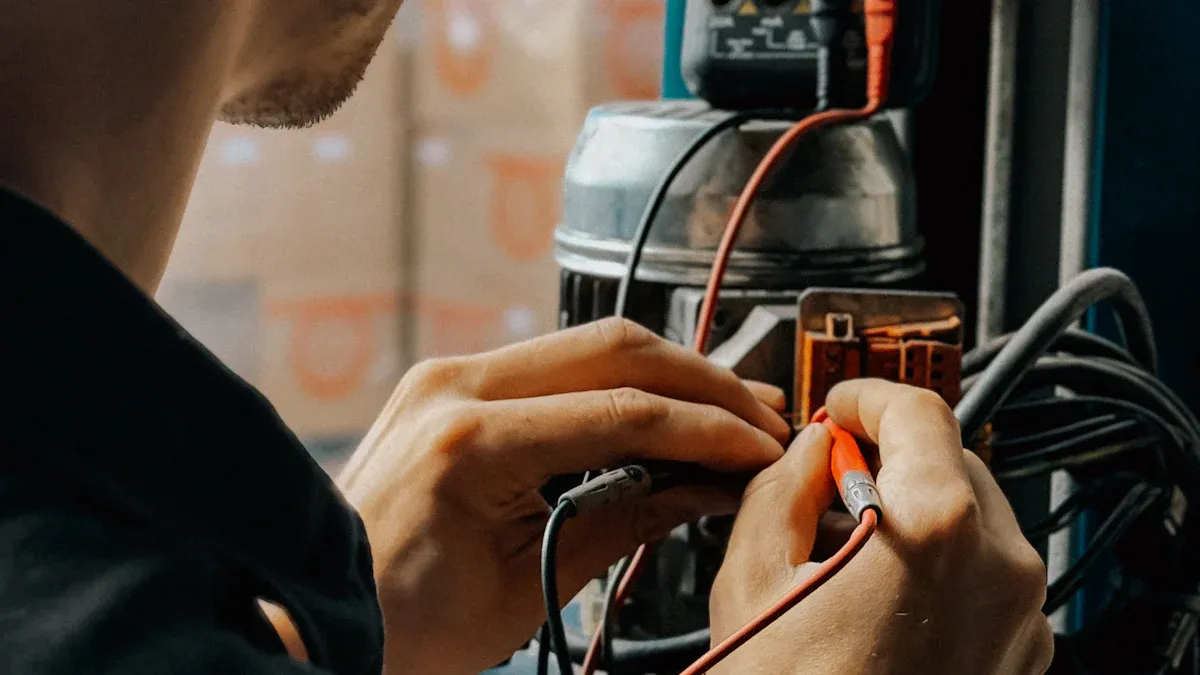
Locate Old Regulator
You need to find the old regulator before starting the removal and installation process. In many devices, voltage regulators sit near the power supply or battery. You often see them in smartphones, chargers, vehicles, machines, routers, solar systems, medical equipment, and computers. In cars, the regulator usually connects to the alternator. In computers, you find the voltage regulator circuit on the motherboard. Look for a small metal or plastic component with three pins labeled IN, GND, and OUT.
Tip: Check your device’s manual to help you locate the regulator quickly.
Remove Old Regulator
Start the removal and installation by making sure the power is off and the battery is disconnected. Use a screwdriver or soldering iron to loosen the regulator from its mount. Carefully remove any screws or clips. If the regulator is soldered, heat the joints and pull the pins out gently. Avoid damaging the circuit board or nearby wires. Place the old regulator aside for recycling or safe disposal.
Note: Wear gloves and safety glasses during removal to protect yourself from sharp edges or hot solder.
Match Wiring
You must match the wiring of the new voltage regulator to the existing circuit. Use the wiring diagram from your device’s manual. Tracing wires helps you confirm each connection. Check continuity with an ohmmeter to make sure the wires work properly. Understand the configuration of the regulator and its connections before you proceed. Make sure the input, ground, and output pins line up with the circuit’s layout.
- Use a wiring diagram to trace each wire.
- Confirm connections with an ohmmeter.
- Double-check the regulator’s pin configuration.
Tip: Always select a voltage regulator that matches your circuit’s voltage and current needs. Add a 30% margin to the current rating for safety.
Secure Connections
Connect the new regulator to the circuit. Solder each pin to the correct wire or pad. Make sure the joints look shiny and smooth. Use insulated wires to prevent shorts. Attach capacitors close to the input and output pins to filter voltage spikes. If your circuit draws a lot of current, install a heat sink on the regulator. Check that all connections are tight and secure.
| Step | Action |
|---|---|
| Soldering | Attach each pin to the correct wire |
| Insulation | Use insulated wires for safety |
| Capacitor Placement | Place capacitors near input/output pins |
| Heat Sink | Add if high current or voltage present |
Note: Follow all safety protocols and use proper PPE during installation.
Reattach Battery
After you finish the removal and installation, you need to reconnect the battery. Follow this sequence for safety:
- Install the voltage regulator.
- Reconnect the positive battery terminal.
- Reconnect the negative battery terminal to restore power.
This order helps prevent sparks and protects your circuit from damage.
Test Voltage Regulator
You must test the voltage regulator to confirm it works. Use a multimeter to check the voltage. Set the multimeter to voltage mode. Attach the clamps to the battery terminals. Read the display with the device off to check battery voltage. Start the device and check the reading again. The voltage should rise to around 13.8 volts in vehicles. Rev the engine or increase the load. The regulator should cap the output at about 14.5 volts. If the reading goes higher, the regulator may be faulty.
Tip: Always refer to the installation manual for your specific model. Manuals like the INSTARTING Alternator Voltage Regulator User Manual and the Complete Guide to Buying and Installing an AVR provide detailed steps and troubleshooting tips.
You may face challenges during installation. You need to follow electrical regulations, manage complex systems, and use surge protection devices. Make sure your regulator is compatible with your circuit’s voltage and current needs. Plan for regular maintenance and upgrades to keep your system safe.
Note: Automotive voltage regulators must handle extreme temperatures and provide reliable power to critical systems. Consumer electronics need stable voltage for smooth operation.
Common Mistakes & Safety Tips
Mistakes to Avoid
You can prevent many problems by avoiding common mistakes during installation. Many people connect the regulator pins incorrectly. This mistake can damage your circuit or the regulator itself. Some users forget to add capacitors near the input and output pins. Without these, your circuit may face voltage spikes or noise. Overheating is another frequent issue. If you skip the heat sink or use one that is too small, the regulator may shut down or fail.
Here are some of the most cited reasons for regulator failure:
| Reason for Failure | Description |
|---|---|
| Overtemperature Shutdown | The regulator IC stops working if it gets too hot. |
| Loss of Coolant in AC Systems | Without coolant, the regulator overheats and equipment shuts down. |
| Design Challenges | Poor design choices can cause the regulator to fail in complex systems. |
Tip: Always double-check your wiring and use the right size heat sink for your regulator.
Troubleshooting
If your regulator does not work after installation, you can follow these steps to find the problem:
- Look for signs like flickering lights or uneven power. These symptoms help you find the cause.
- Use a multimeter to measure the input and output voltage. Compare these numbers to the regulator’s specifications.
- Check all connections. Loose, corroded, or damaged wires can stop the regulator from working.
- Disconnect the power supply before you touch the regulator. Wear insulated gloves for safety.
Note: Careful troubleshooting helps you fix issues quickly and keeps your circuit safe.
Safety Tips
You should always put safety first when working with a regulator. Disconnect the power before you start any work. Wear safety glasses and gloves to protect yourself. Keep your workspace clean and dry. Use insulated tools to avoid electric shock. Never touch the regulator or wires with wet hands. Make sure you follow the instructions in your device’s manual.
Remember: A safe installation protects both you and your circuit from harm. Take your time and check every step.
You can boost your circuit’s life by following each installation step carefully. When you install a regulator the right way, you help prevent damage, reduce downtime, and keep your devices safe.
- You protect your equipment from power surges.
- You improve appliance longevity and energy efficiency.
- You lower the risk of electrical fires and enjoy peace of mind.
Tip: Always check your device manual for model-specific instructions and keep learning about safe installation practices.
FAQ
How do you know which voltage regulator to choose?
You should check your circuit’s voltage and current needs. Look at the device manual for recommended models. Pick a regulator with a voltage rating that matches your circuit and a current rating at least 30% higher than your maximum load.
Can you install a voltage regulator without soldering?
You can use screw terminals or plug-in sockets if your device supports them. Soldering gives a stronger connection, but some kits let you avoid it. Always check your device’s instructions before you start.
Why do you need capacitors with a voltage regulator?
Capacitors help filter out voltage spikes and noise. You should place them close to the input and output pins. This keeps your circuit stable and protects sensitive parts from damage.
What should you do if your regulator gets hot?
You should add a heat sink or improve ventilation. Check that the input voltage and current stay within safe limits. If the regulator still overheats, you may need a higher-rated model.
Is it safe to touch a voltage regulator during operation?
You should never touch a voltage regulator while it runs. The surface can get very hot and may cause burns. Always turn off the power and let it cool before handling.