Testing Electrolytic and Non-Polarized Capacitors with an Ohm Meter
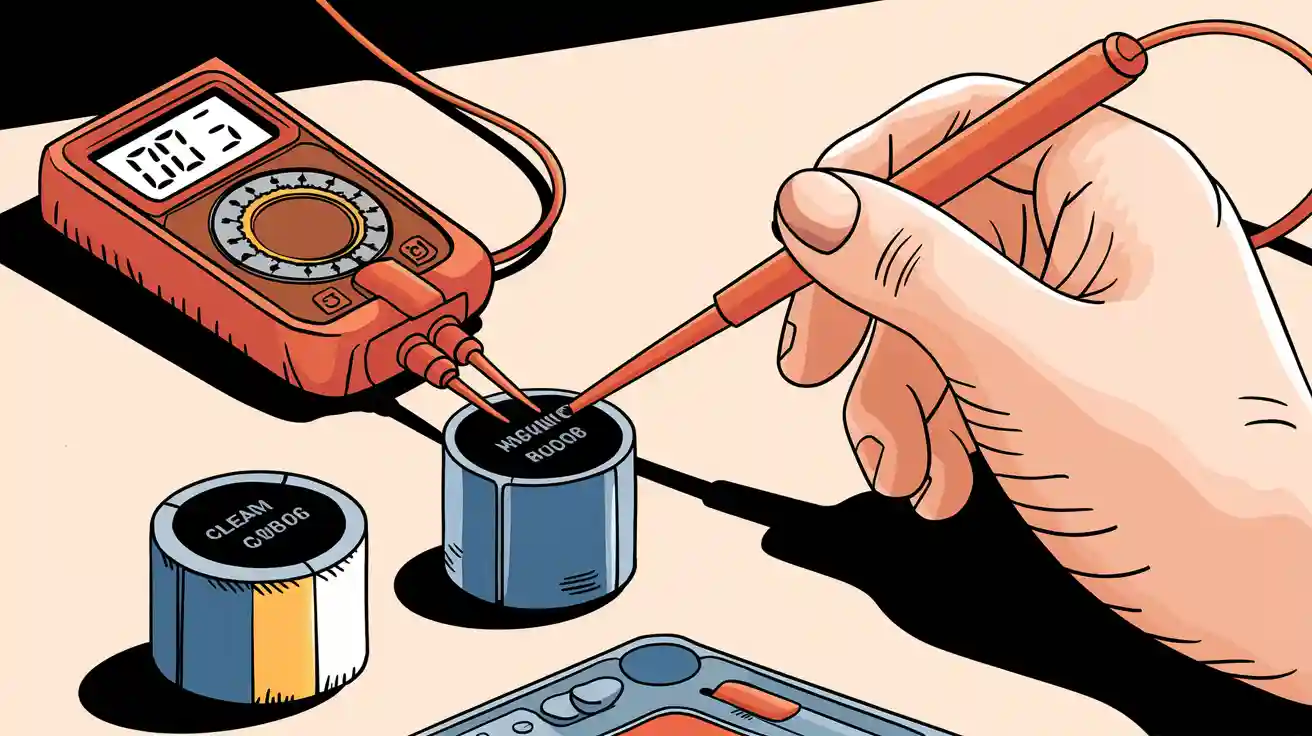
You can use an ohm meter when testing a capacitor, whether it’s electrolytic or non-polarized, but you’ll notice the process and results change depending on the type. Before you check a capacitor, always remove it from the circuit and discharge it. Failing to do so can cause electric shocks or damage your equipment. Here are some safety tips to keep you in good condition:
- Always discharge the capacitor before testing a capacitor with ohm meter to avoid shocks.
- Wear personal protective equipment.
- Make sure your meter works and test leads are safe.
- Double-check polarity if you want to know how to test a capacitor, especially with electrolytics.
When you test, a good capacitor will show a brief movement on the meter, then settle at high resistance. If the reading stays low or shows no movement, the capacitor might be faulty.
Key Takeaways
- Always discharge and remove the capacitor from the circuit before testing to stay safe and get accurate readings.
- Use the highest resistance setting on your analog multimeter and connect probes correctly, paying attention to polarity for electrolytic capacitors.
- Watch the meter needle carefully: a good capacitor shows rising resistance, while a stuck needle at zero or infinity means the capacitor is faulty.
Capacitor Types and Basics
Electrolytic vs Non-Polarized
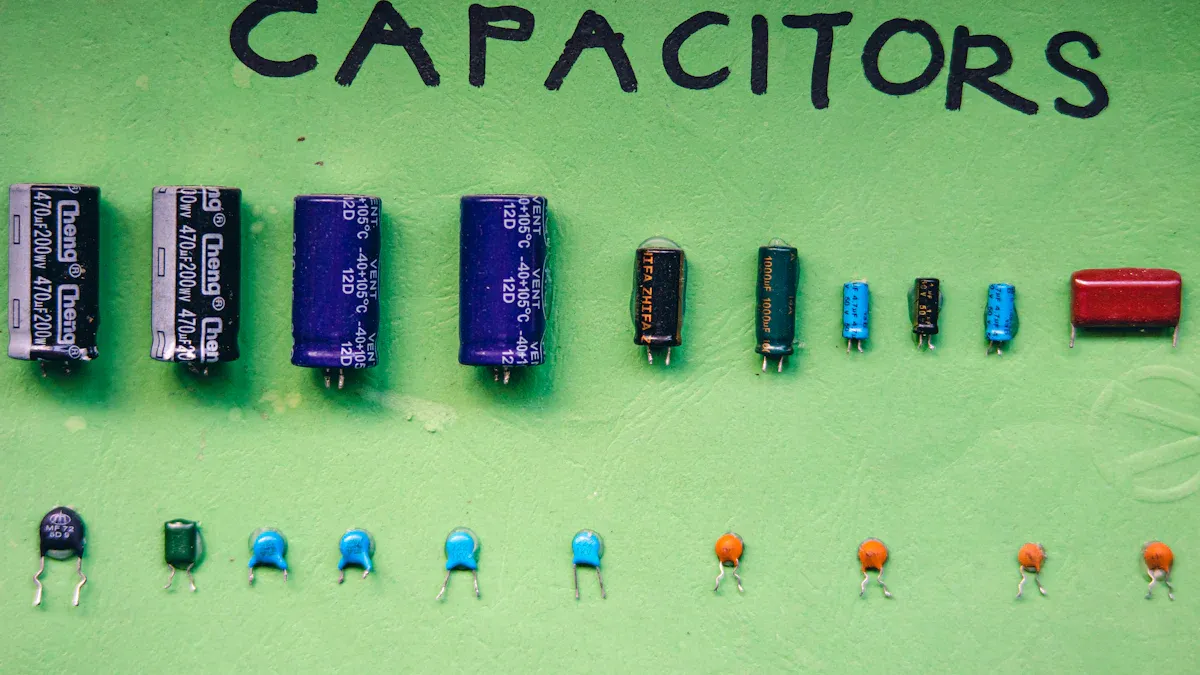
You’ll find two main types of capacitors: electrolytic and non-polarized. Electrolytic capacitors use aluminum foil and an oxide layer, which creates a positive and negative side. This design gives them high capacitance, so they work well for filtering and smoothing voltage in DC circuits. You’ll see them shaped like small cylinders with clear markings for polarity. Non-polarized capacitors, like ceramic or film types, don’t have a set direction. They use materials such as ceramic or plastic film and can handle voltage in both directions. These capacitors fit best in AC circuits, audio systems, and high-frequency applications.
Tip: If you want to check a capacitor’s type, look for a '+' sign or colored band for electrolytics. Non-polarized capacitors usually have no polarity markings.
Why Testing Methods Differ
Testing a capacitor with ohm meter changes depending on the type. Electrolytic capacitors need you to pay attention to polarity. If you connect them the wrong way, you risk damaging the capacitor or your meter. Non-polarized capacitors don’t care about direction, so you can test them without worrying about polarity. When you learn how to test a capacitor, remember that electrolytics are for DC circuits and non-polarized ones work in AC or DC.
Safety Steps
Before testing a capacitor, always make sure it’s in good condition and safe to handle. Here’s how you can stay safe:
- Unplug the device or disconnect power before you check a capacitor.
- Use a multimeter to measure voltage first. If the voltage is high, discharge the capacitor with a resistor tool.
- Wear insulated gloves and eye protection.
- Never short the leads with a screwdriver, especially for high-voltage capacitors.
- Double-check that the capacitor is fully discharged before testing a capacitor.
Note: Not discharging a capacitor can damage your meter or cause a shock. Always follow these steps to protect yourself and your equipment.
Testing a Capacitor with Ohm Meter
Preparation Steps
Before you start testing a capacitor with ohm meter, you need to get everything ready. Safety comes first, so always make sure you work with care. Here’s a simple checklist to help you prepare:
- Turn off the power to the device or circuit. Never try to check a capacitor while it’s still connected to power.
- Use insulated pliers to remove the capacitor from the circuit. If you can’t remove it, disconnect at least one lead.
- Discharge the capacitor fully. You can do this by connecting a 15 to 20k Ohm resistor across the terminals using insulated tools. This step keeps you safe from electric shock and helps you get accurate readings.
- If you see a bleed-off resistor soldered to the capacitor, unsolder one leg to isolate it.
- Gather your tools: an analog multimeter set to a high resistance range, insulated pliers, and a resistor for discharging.
Tip: Always double-check that the capacitor is fully discharged before you move on. This keeps you and your equipment in good condition.
How to Test a Capacitor
Now you’re ready to check a capacitor. Here’s how to test a capacitor step by step:
- Set your analog multimeter to the highest resistance range (like 1kΩ or higher).
- For electrolytic capacitors, connect the positive probe to the positive terminal and the negative probe to the negative terminal. For non-polarized capacitors, you can connect the probes either way.
- Place the probes on the capacitor terminals. Watch the meter closely.
- If the capacitor is in good condition, you’ll see the needle move from zero (low resistance) and then slowly rise toward infinity (high resistance). This shows the capacitor is charging from the meter’s battery.
- If you want to check a capacitor again, swap the meter leads and repeat the test. This helps confirm your results, especially for electrolytic types.
Note: Testing a capacitor with ohm meter does not measure its capacitance directly. It only checks if the capacitor can charge and hold voltage.
Interpreting Results
Understanding the meter readings is key when you check a capacitor with an ohm meter. Here’s what you might see:
| Capacitor Condition | Resistance Reading on Analog Multimeter | What It Means |
|---|---|---|
| Good Condition | Needle moves from low to high, then settles at infinity | The capacitor charges and holds voltage. |
| Shorted Capacitor | Needle stays at zero or very low | The capacitor has a short inside and needs replacing. |
| Open Capacitor | Needle does not move, stays at infinity | The capacitor is open and cannot charge. |
| Leaky Capacitor | Needle rises but stops before infinity | The capacitor leaks current and is not in good condition. |
If you see the needle move as described for good condition, your capacitor is likely working well. If it stays at zero or infinity, you may have a defective capacitor.
Check a Capacitor for Faults
When you check a capacitor, you want to spot any problems quickly. The most common faults you’ll find are shorted or open capacitors. If the needle on your analog multimeter stays at zero, the capacitor is shorted. If it never moves from infinity, you have an open capacitor. Sometimes, a leaky capacitor will show a resistance that never reaches infinity, which means it’s not in good condition.
Don’t forget to look at the capacitor itself. Physical inspection can help you spot a defective capacitor. Look for bulging, leaking, or discoloration. These signs mean the capacitor is not in good condition, even if the meter reading looks okay.
- Bulging or swollen case
- Leaking fluid or corrosion
- Discoloration or burn marks
Combining electrical testing with a visual check gives you the best chance to find a defective capacitor.
Common Mistakes
It’s easy to make mistakes when you’re learning how to test a capacitor. Here are some things to watch out for:
- Forgetting to discharge the capacitor before testing. This can give you false readings and may damage your analog multimeter.
- Not swapping the meter leads for electrolytic capacitors. You might think the capacitor is bad when it’s actually in good condition.
- Misreading the meter. Remember, a good capacitor will show the needle move from low to high resistance.
- Testing the capacitor while it’s still in the circuit. Other components can affect your results.
- Using the wrong meter setting. Always use the highest resistance range on your analog multimeter.
- Relying only on an ohm meter. This tool can’t measure capacitance or ESR, so it won’t catch every problem.
- Touching the leads or capacitor body during testing. This can change the reading and make it hard to check a capacitor accurately.
Remember: Testing a capacitor with ohm meter is a quick way to spot open or shorted capacitors, but it won’t tell you everything about the part’s health. For more detailed checks, use a multimeter with capacitance mode or an ESR meter.
Test a Capacitor with a Multimeter
Capacitance Mode
When you want to test a capacitor with a multimeter, using the capacitance mode on your digital multimeter gives you a clear answer. This mode measures the actual capacitance value in microfarads (μF), so you know if the capacitor is working as it should. Here’s how you can do it:
- Power off the circuit and check for any voltage with your digital multimeter.
- Discharge the capacitor safely by connecting a 20,000 Ω resistor across its leads for a few seconds.
- Set your digital multimeter to capacitance mode. Some meters need you to press a button or turn a dial.
- Remove the capacitor from the circuit to avoid false readings.
- Connect the test leads to the capacitor terminals. Wait a moment for the digital multimeter to auto-range.
- Read the value on the display. If you see “OL,” the capacitor may be faulty or out of range.
Tip: For small capacitors, use the relative mode on your digital multimeter to cancel out the test lead capacitance.
Advantages Over Ohm Meter
A digital multimeter with capacitance mode gives you more information than an analog multimeter or ohm meter. You get an exact number for the capacitor’s value, not just a guess based on resistance. This helps you spot problems like low capacitance, leaks, or high ESR. Many digital multimeters can even test different types of capacitors, including ceramic, film, and electrolytic.
Here’s why you might choose a digital multimeter over an analog multimeter:
- You get accurate readings for a wide range of capacitors.
- Capacitance mode often auto-selects the best range, so you avoid mistakes.
- You can test many capacitor types, from tiny ceramics to large electrolytics.
- Digital multimeters are portable and easy to use anywhere.
Sometimes, you still need an analog multimeter or ohm meter. If your digital multimeter does not have capacitance mode, or if you want a quick check for shorts or opens, the resistance test works well. For most jobs, though, capacitance mode gives you the best results.
When you test a capacitor, always follow these steps for safety:
- Discharge the capacitor fully.
- Remove it from the circuit.
- Set your meter to the highest resistance range.
- Connect the probes correctly.
You get a quick health check, but for precise results, use a multimeter with capacitance mode.
FAQ
How do you know if a capacitor is bad without a meter?
You can look for bulging, leaking, or burn marks. If you see these signs, the capacitor probably needs replacing.
Can you test a capacitor in-circuit with an ohm meter?
You should not test a capacitor while it is still in the circuit. Other parts can affect your reading and give you the wrong result.
What happens if you do not discharge a capacitor before testing?
You might get a shock or damage your meter. Always discharge the capacitor first to stay safe and protect your tools.