How to Identify and Use a 1k Ohm Resistor in Circuits
You can identify a 1k ohm resistor by checking its color code and physical markings. This resistor protects sensitive components and helps stabilize your electronic circuit. Many electronic projects use a 1k resistor for tasks such as current limiting, voltage division, and biasing transistors. The 1 kilohm resistor works as a key part in sensor interfaces, audio circuits, and feedback networks. The table below shows why you might choose a 1k ohm resistor for your electrical circuit:
| Reason for Choosing 1k Ohm Resistor | Explanation |
|---|---|
| Voltage Divider Circuits | Divides input voltages for different components. |
| Current Limiting | Limits current, protecting LEDs and low-power parts. |
| Bias Circuits | Sets stable points for transistors. |
| Pull-up and Pull-down Resistors | Holds digital inputs at steady voltages. |
| Signal Conditioning | Adjusts analog signals for better performance. |
You can confidently use a 1k resistor to improve your electronic designs.
Key Takeaways
- Identify a 1k ohm resistor by reading its color bands or checking printed markings like '1kΩ'.
- Use a digital multimeter to test the resistor’s value and ensure it works properly before use.
- Apply 1k ohm resistors for current limiting, voltage division, pull-downs, and transistor biasing in circuits.
- Choose resistors with the right power rating and tolerance to keep your circuit safe and stable.
- Avoid mistakes by double-checking color codes, inspecting for damage, and using proper testing methods.
Identifying a 1k Ohm Resistor
Color Code
You can quickly spot a 1k ohm resistor by learning to read its color bands. Manufacturers use a standardized color code system to mark the standard resistance value on each resistor. For a 1k resistor, you will see four colored bands. The first band is brown, which stands for the digit '1'. The second band is black, which means '0'. The third band is red, showing a multiplier of 100. The fourth band is usually gold, which tells you the tolerance is ±5%. This color code system helps you identify the resistance value without any tools.
Here is a quick reference table for the color bands on a 1k ohm resistor:
| Band Number | Function | Typical Color | Value/Meaning |
|---|---|---|---|
| 1 | 1st Digit | Brown | 1 |
| 2 | 2nd Digit | Black | 0 |
| 3 | Multiplier | Red | x100 |
| 4 | Tolerance | Gold | ±5% |
If you see a 5-band resistor, you will notice an extra black band for the third digit and a brown band for the multiplier. This version gives you a more precise resistance value, which is useful in sensitive circuits.
Tip: Practice reading color codes on different resistors. This skill helps you pick the right standard resistance value for your project and reduces mistakes.
Physical Markings
You can also identify a 1k resistor by checking its physical markings. Some resistors, especially larger ones, have their resistance value printed directly on the body. You might see "1kΩ" or "1000Ω" written on the side. This marking makes it easy to confirm the resistor's value at a glance.
When you inspect a resistor, look for clear color bands and printed numbers. Make sure the resistor is not burnt or damaged. A healthy resistor will have bright, readable bands and no cracks. If you see faded colors or broken parts, the resistor may not work properly.
- You can use these steps to visually identify a 1k ohm resistor:
- Check the color bands and match them to the standard resistance value chart.
- Look for printed numbers like "1kΩ" or "1000Ω".
- Inspect the resistor for any signs of damage.
- Compare the size and shape with other resistors in your kit.
This visual inspection method works well for beginners. You do not need special tools to find a 1k resistor. You only need to know the color code and look for clear markings. If you want to double-check, you can use a multimeter, but most of the time, reading the bands and markings is enough.
Note: Learning to identify a 1k ohm resistor by color code and physical markings helps you build circuits with confidence. You will avoid mistakes and choose the right resistor every time.
Testing a 1k Resistor
Multimeter Steps
You can test a 1k resistor easily with a digital multimeter. This tool helps you confirm the resistor’s value and check if it works as expected. Follow these steps to measure the resistance:
- Prepare your workspace. Make sure you have good lighting and a clean surface.
- Turn off the multimeter before connecting anything.
- Set the dial to the resistance mode (Ω symbol).
- Plug the black probe into the COM terminal and the red probe into the VΩmA terminal.
- Disconnect the resistor from any circuit. This prevents other components from affecting your reading.
- Hold the resistor by its body, not the leads. Attach one probe to each end. The probe color does not matter for resistance.
- If you use a manual-ranging meter, choose a range that puts 1,000 ohms near the middle of the scale. Start high if you are unsure, then adjust down.
- Read the value on the display. Compare it to the expected 1k resistor value, considering the tolerance band.
- After testing, turn off the multimeter and put away the probes.
Tip: Always check the multimeter battery before testing. A weak battery can cause inaccurate readings.
Measurement Tips
When you measure a 1k resistor, you want the most accurate result possible. Digital multimeters usually give an accuracy of about ±0.5% to ±0.8% plus a few digits. You get the best accuracy when you select the lowest range that still covers the resistor’s value. This helps you see small changes in resistance.
Some common errors can affect your measurement. Long or thin wires add extra resistance, so use short, thick wires when possible. Contact points, like old switches or connectors, can also change the reading. If you notice unstable values, try reseating the probes or cleaning the contacts. Temperature changes can make the resistance drift, so measure at room temperature for best results.
Note: Always disconnect the resistor from the circuit before testing. Other paths for the flow of current can change your reading.
If you need very precise results, use a four-wire (Kelvin) method or a resistor bridge. For most projects, a standard digital multimeter gives you enough accuracy to check a 1k resistor and keep the flow of current safe in your circuit.
Common Uses for 1k Ohm Resistors
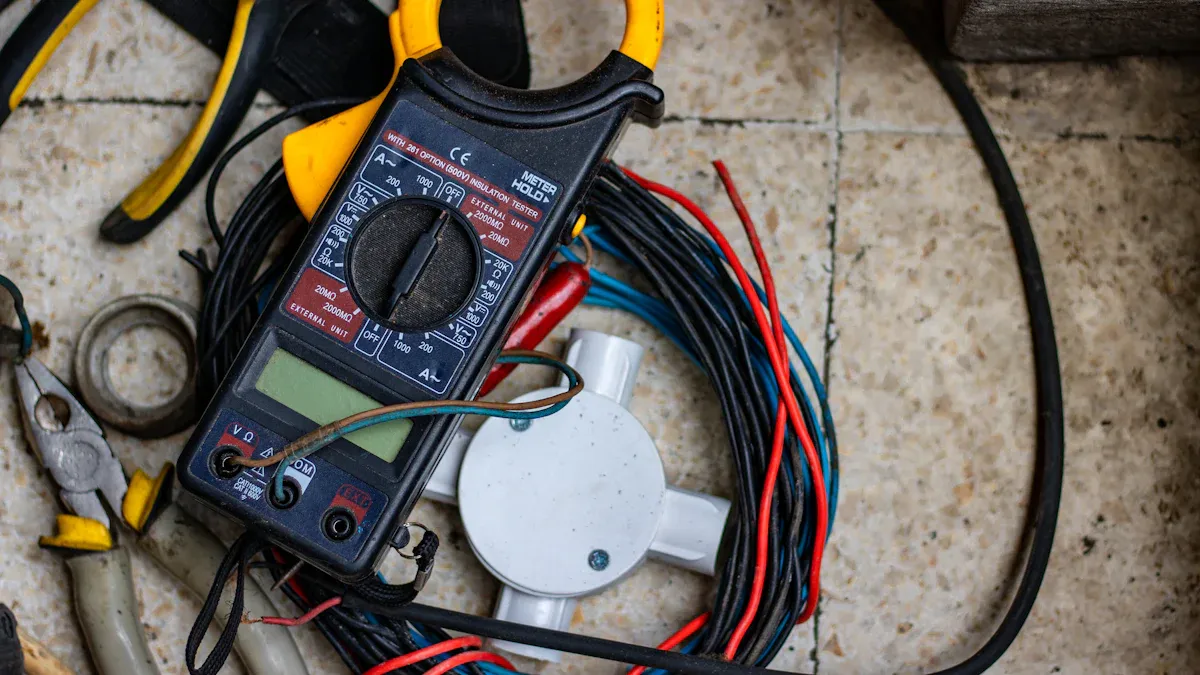
You will find the 1k ohm resistor in many electronic circuits. It protects sensitive components and helps stabilize your designs. Here are the most common uses for 1k ohm resistors in modern electronic devices:
- Voltage dividers for precise voltage control in analog sensors and signal conditioning.
- Current limiting to protect LEDs and other low-power parts.
- Pull-up or pull-down applications to stabilize digital signals.
- Microcontroller interfacing to protect input pins.
- Filter circuits to shape signal frequency responses.
- Feedback networks in amplifiers for stable gain.
- Precision measurement setups like Wheatstone bridges.
- RC circuits for timing and signal shaping.
Current Limiting
You often use a 1k ohm resistor to limit current in LED circuits. When you connect an LED to a 5V supply, the resistor prevents too much current from flowing. This protects the LED from damage and keeps it working longer. For example, with a 5V source and a typical LED voltage drop of 1.9V, the 1k ohm resistor allows about 3 milliamperes of current. This current is safe for most standard LEDs and gives a gentle brightness, which is perfect for indicator lights.
Using a current limiting resistor keeps your LED safe and prevents overheating.
Here is a simple diagram for an LED circuit with a 1k ohm resistor:
[5V] ---[1kΩ]---|>|---[GND]
         Resistor  LED
You can place the resistor before or after the LED. The function stays the same.
Voltage Divider
You use a 1k ohm resistor in voltage divider circuits to scale down voltages for sensors or other components. By pairing the 1k resistor with another resistor, you create a specific voltage drop. This protects sensitive parts and provides the right input levels for analog devices.
For example, if you need to reduce a 5V signal to 2.5V, you can use two equal resistors (1k ohm each) in series. The voltage at the middle point will be half the supply voltage.
Voltage dividers help you control voltage and keep your electronic circuit stable.
Here is a simple voltage divider diagram:
[5V] ---[1kΩ]---+---[1kΩ]---[GND]
                |
              Output (2.5V)
You can adjust the output voltage by changing the resistor values.
Pull-Down Applications
You use a 1k ohm resistor as a pull-down resistor in digital logic circuits. The resistor connects the input pin to ground. This keeps the input at a low voltage (0V) when no signal is present. Without a pull-down resistor, the input could float and cause unpredictable behavior.
- The 1k ohm resistor limits current and ensures the input stays at a reliable logic low.
- It prevents floating states and stabilizes your digital circuit.
- You balance power use and signal stability with this resistor value.
Pull-down resistors make sure your circuit works as expected, even when devices disconnect.
Here is a simple pull-down resistor diagram:
Input Pin
   |
  [1kΩ]
   |
 [GND]
Biasing Transistors
You use a 1k ohm resistor to bias transistors in amplifier circuits. The resistor sets the operating point for the transistor, which helps control current flow. This keeps the transistor working efficiently and prevents damage from too much current.
- The 1k resistor is often used as an emitter load in push-pull amplifier designs.
- It stabilizes transistor operation and improves amplification.
- The resistor protects sensitive components and maintains circuit reliability.
Biasing with a 1k ohm resistor ensures your amplifier works smoothly and safely.
Here is a simple transistor biasing diagram:
      Vcc
       |
      [Collector]
        |
      [Transistor]
        |
      [1kΩ]
        |
      [GND]
You can see how the resistor helps set the current through the transistor.
In summary, the common uses for 1k ohm resistors include current limiting, voltage division, pull-down applications, and biasing transistors. You will find this resistor in almost every electronic circuit, from simple LED projects to advanced amplifiers. It protects your components and keeps your designs stable.
Choosing the Right Resistor
Power Rating
When you choose a resistor, always check its power rating. The power rating tells you how much heat the resistor can handle before it gets damaged. To find the right rating, start by calculating how much power the resistor will use. You can use formulas like P = V² / R, P = I² × R, or P = V × I. After you get the number, add a safety margin. Multiply your result by 1.5 or 2. This step helps the resistor last longer, even if the temperature rises or the air does not move well around it.
Other things matter too. The size and shape of the resistor affect how well it can cool itself. Bigger resistors or those made with wirewound construction can handle more power. If you put the resistor in a tight spot with little airflow, pick a higher power rating. Always think about the environment, like temperature and humidity, because these can change how the resistor works.
Tip: A resistor that runs cool will last longer and keep your circuit safe.
Tolerance
Tolerance shows how close the actual resistance is to the value written on the resistor. You will see 4-band resistors with a ±5% tolerance. This means a 1k ohm resistor could measure anywhere from 950 to 1050 ohms. These are fine for most simple projects. If you need more accuracy, look for 5-band resistors. They offer ±1% or ±2% tolerance, so the resistance stays much closer to 1k ohm. Use these in medical devices, scientific tools, or high-quality audio gear.
| Resistor Type | Tolerance | Resistance Range (1kΩ) | Typical Use |
|---|---|---|---|
| 4-Band | ±5% | 950–1050 Ω | General electronics, toys |
| 5-Band | ±1%/±2% | 990–1010 Ω / 980–1020 Ω | Precision, medical, audio |
Choosing the right tolerance helps your circuit work as planned, especially when small changes in resistance matter.
Type Selection
You can pick from several resistor types. Each type works best in different situations:
- Metal film resistors give you high accuracy, low noise, and good stability. Use them for precise or high-frequency circuits.
- Carbon film resistors cost less and handle high voltage and temperature, but they make more noise and have less stable resistance.
- Wirewound resistors are big and cost more, but they handle the most power and give the best precision.
If you build a circuit that needs stable resistance and low noise, metal film is a smart choice. For high power or tough environments, wirewound resistors work best. Carbon film resistors fit simple or high-voltage projects where exact resistance is not critical.
Note: Always match the resistor type to your circuit’s needs for best results.
Troubleshooting Tips
Color Code Errors
You might sometimes misread the color bands on a resistor. This mistake can lead to using the wrong value in your circuit. To avoid this, always check the color code chart before you place a resistor. Good lighting helps you see the bands clearly. If the bands look faded or unclear, try to compare the resistor with a new one from your kit.
Here are some steps to help you catch color code errors:
- Double-check the color bands against a standard chart.
- Use a magnifying glass if the bands are hard to see.
- Ask a friend or use a phone camera to get a closer look.
- Test the resistor with a multimeter to confirm its value.
If you find a resistor with unclear bands, set it aside and use one with clear markings. This habit helps you avoid mistakes and keeps your circuit working as planned.
Overheating Issues
A resistor can overheat if it handles more power than its rating allows. Overheating often happens when too much current flows through the resistor or when the circuit design does not match the resistor’s power rating. You may notice a burnt smell, discoloration, or even cracks on the resistor body.
Common causes of overheating include:
- Using a variable resistor set too close to zero ohms, which lets too much current flow.
- Not adding a fixed resistor in series to limit current.
- Choosing a resistor with a power rating that is too low for your circuit.
- Poor heat dissipation due to tight spaces or lack of airflow.
To prevent overheating, you should:
- Select a resistor with a power rating higher than your calculated need.
- Place a fixed resistor in series with a variable resistor to keep current safe.
- Calculate the correct series resistor value based on your voltage and current.
- Mount resistors where air can flow, or use heat sinks for high-power circuits.
If you suspect a resistor has failed due to overheating, follow these steps:
- Disconnect the circuit from power.
- Remove the suspected resistor.
- Use a multimeter to check if the resistance is close to 1k ohm.
- Replace the resistor with a new one if the value is off.
- Consider using a higher wattage resistor if overheating caused the failure.
- Check the rest of the circuit for other problems before powering up again.
Keeping an eye on heat and checking your resistor values helps your projects last longer and work safely.
You can identify a 1k ohm resistor by reading color bands, checking physical markings, and using a multimeter. This resistor works in many circuit designs, from voltage dividers to current limiting. The table below shows quick solutions for common problems when identifying resistors:
| Problem | Solution |
|---|---|
| Poor lighting | Use bright, natural light |
| Faded bands | Use a magnifying glass |
| Color confusion | Refer to a color code chart |
| Wrong direction | Read from the end opposite tolerance |
| Manufacturing issues | Double-check with a multimeter |
You can use 1k ohm resistors in general electronics, audio systems, and precision instruments. Try exploring different resistor types, learn about series and parallel configurations, and discover new circuit applications. 📚
FAQ
What does "1k ohm" mean on a resistor?
"1k ohm" means the resistor has a resistance of 1,000 ohms. This value controls how much current flows in your circuit. You use this resistor to protect components and set voltage levels.
Can I use a 1k ohm resistor for any LED?
You can use a 1k ohm resistor with most standard LEDs. It limits the current and keeps the LED safe. If your LED looks too dim, try a lower value, like 470 ohms, but never go too low.
How do I know if my 1k resistor is damaged?
Check for burn marks, cracks, or faded color bands. Use a multimeter to measure resistance. If the value is far from 1,000 ohms, replace the resistor. A damaged resistor can cause your circuit to fail.
Are 1k ohm resistors polarized?
No, 1k ohm resistors are not polarized. You can install them in either direction. The current flows the same way no matter how you place the resistor in your circuit.