How to Identify and Use Crimp Wire Connectors Effectively
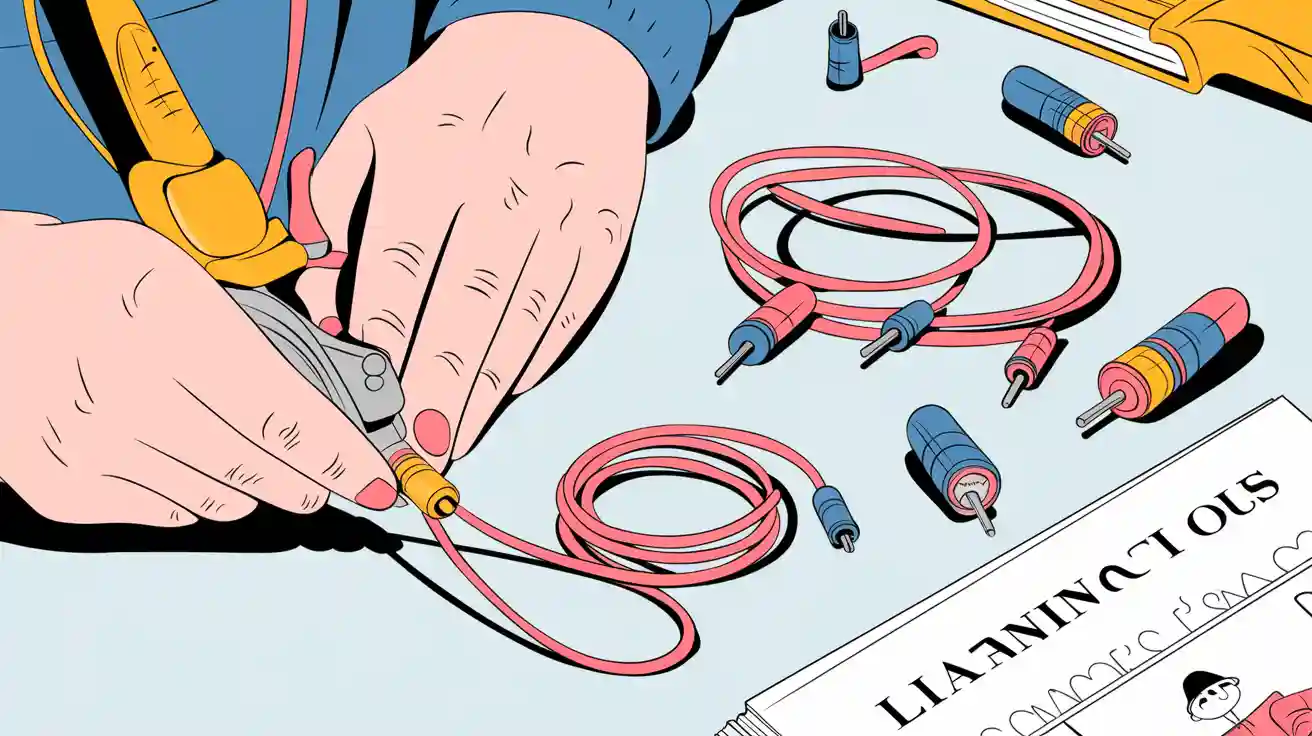
Crimp wire connectors help you join electrical wires quickly and safely. You need a secure connection to keep your devices working and protect against hazards. Loose or poor wire terminations cause about 20 to 25% of electrical failures. When you use crimp wire connectors, you improve safety and reliability in your electrical system.
- Durability: Crimping creates a strong bond that resists tough conditions.
- Variety: You can find connectors in many shapes and sizes for different needs.
- Low electrical resistance: A tight crimp lets electricity flow easily.
Learning to use these connectors helps you work smarter, whether you fix things at home or on the job.
Key Takeaways
- Crimp wire connectors create strong, reliable connections that improve safety and reduce electrical failures.
- Choose the right type of crimp terminal based on your wire gauge and application to ensure a secure fit.
- Proper wire preparation is crucial; clean cuts and correct stripping prevent weak connections and corrosion.
- Always inspect your crimped connections for security and continuity to avoid future electrical issues.
- Using the right tools and techniques makes crimping faster, safer, and more effective than other methods like soldering.
Crimp Wire Connectors Overview
What Are Crimp Wire Connectors
You use crimp wire connectors to join wires in electrical circuits. These connectors help you make a strong mechanical bond by compressing the connector around the wire. The process creates a gas-tight connection that keeps out moisture and air. You can find crimp terminals in two main types: insulated crimp terminals and uninsulated crimp terminals. Insulated crimp terminals have a plastic sleeve that protects the wire and prevents short circuits. Uninsulated crimp terminals do not have this sleeve, so you use them when insulation is not needed.
| Characteristic | Description |
|---|---|
| Connection Type | Gas-tight connection achieved through mechanical deformation |
| Crimping Process | Involves compressing the connector around the wire |
| Types | Insulated and non-insulated crimp connectors |
| Resistance | Highly resistant to vibration and thermal shock |
Crimp wire connectors work well in many settings, such as automotive wiring, home repairs, and industrial machines. You can rely on crimp terminals to keep your electrical connection safe and stable.
Purpose and Benefits
You choose crimp wire connectors because they make your work faster and safer. Crimping does not need heat, so you avoid burns and fire risks. You can perform crimping by hand or with automated tools, which saves time. Crimped connections are more reliable than soldered or twisted connections, especially in harsh environments.
- Crimping creates a secure mechanical connection between electrical conductors.
- You get low-resistance electrical paths and steady contact pressure, which helps electricity flow.
- Crimped connections resist vibration and temperature changes, so they last longer.
- You prevent loose connections, corrosion, and hazards by using crimp wire connectors.
Crimping is consistent and does not depend on your technique as much as soldering does. You can make a strong "cold weld" that holds up under stress. Many industries, including NASA and the military, use crimp terminals because they meet strict standards for reliability.
Here are some main benefits of crimp wire connectors:
- Crimping is faster and easier than soldering.
- Crimped connections seal out air and moisture, which protects the wire.
- You do not need heat, so crimping is safer.
- Crimped connections handle vibration better than soldered ones.
Materials and Structure
You find crimp wire connectors made from materials like brass and copper. These metals conduct electricity well and resist corrosion. Many crimp terminals have a PVC sleeve that insulates the wire and adds protection. The structure of a crimp terminal includes a barrel where you insert the wire and a sleeve or insulation that covers the metal.
You should use stranded wire with crimp terminals. Stranded wire bends easily and fills the barrel, so you get a better crimp. Solid wire does not grip as well and may slip out. The design of crimp wire connectors helps you make a tight, reliable connection that stands up to vibration and weather.
Here is a table comparing crimped connections to knots or twisted connections:
| Attribute | Crimped Connections | Knots/Twisted Connections |
|---|---|---|
| Mechanical Strength | Superior | Inferior |
| Resistance to Vibration | High | Low |
| Environmental Sealing | Excellent | Poor |
| Long-term Reliability | High | Low |
Crimp wire connectors protect your electrical connection from water and weather. You can trust crimping to keep your wires safe in tough conditions.
Identifying Crimp Terminals
Visual Features
You can spot crimp terminals by their shape and color. Many crimp terminals use color coding to help you match them to the right wire size. For example:
- Red, blue, and yellow sleeves show different wire gauge ranges.
- The shape of the crimp terminal, such as ring, spade, or butt, tells you how it connects to other parts.
Insulated crimp terminals have a plastic or nylon sleeve that covers the metal. This sleeve protects against short circuits and keeps the connection safe. Uninsulated crimp terminals do not have this sleeve. You use them when you plan to add insulation later or when the connection sits inside a protected box.
Tip: Always check the color and shape before you start crimping. This helps you avoid mistakes and keeps your work safe.
Types and Sizes
You will find two main types of crimp wire connectors in the market: insulated crimp terminals and uninsulated crimp terminals. Insulated crimp terminals come with a sleeve made from PVC or nylon. This sleeve adds protection and makes installation easier. Uninsulated crimp terminals do not have a sleeve. You use them when you want to add your own insulation or when the connection stays inside a safe area.
To get the best crimp, you need to match the crimp terminal to the wire gauge. Use this table to guide your selection:
| Step | Description |
|---|---|
| 1 | Identify the conductors, including material and gauge. Use specific connectors for mixed metals. |
| 2 | Match the connector family to the job, ensuring the correct size and type are used. |
| 3 | Confirm the environment, using appropriate systems for wet or damp conditions. |
| 4 | Check ratings and counts, ensuring compatibility with wire range and temperature. |
| 5 | Confirm tools and torque, following specified values for proper assembly. |
Common Applications
Crimp terminals work in many places. You see them in cars, homes, and factories. Each type of crimp terminal fits a special job. Here is a table to help you understand where you might use each one:
| Type of Crimp Connector | Application Context |
|---|---|
| Seamless crimp | Automotive electrical systems |
| Seam-type crimping | Automotive electrical systems |
| Non-insulated crimp | Requires insulation for automotive use |
| Insulated crimp | Various sizes for automotive applications |
| Heat shrink insulation | Ideal for marine and automotive under-hood applications |
You should also know that industry standards guide your choices. These standards make sure your crimping meets safety and quality rules. Some important standards include IPC/WHMA-A-620 for cable assemblies, UL 486A-B for electrical safety, and SAE AS7928 for automotive and aerospace use.
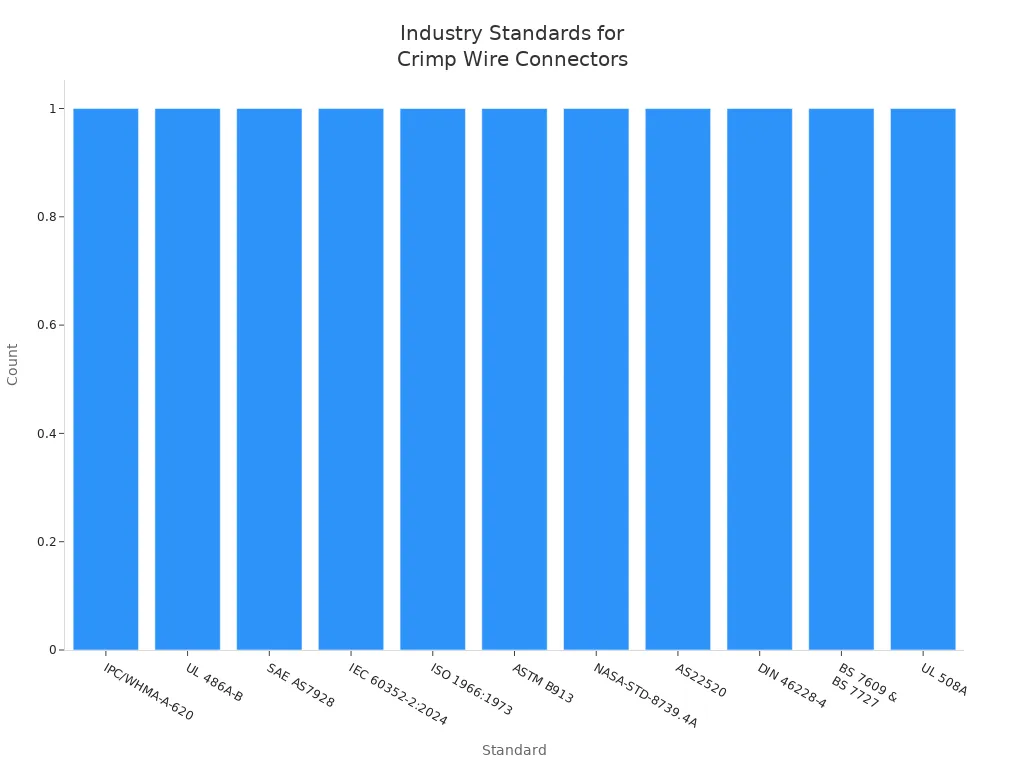
When you follow these standards, you make sure your crimp wire connectors work well and last a long time.
How to Use a Crimping Tool
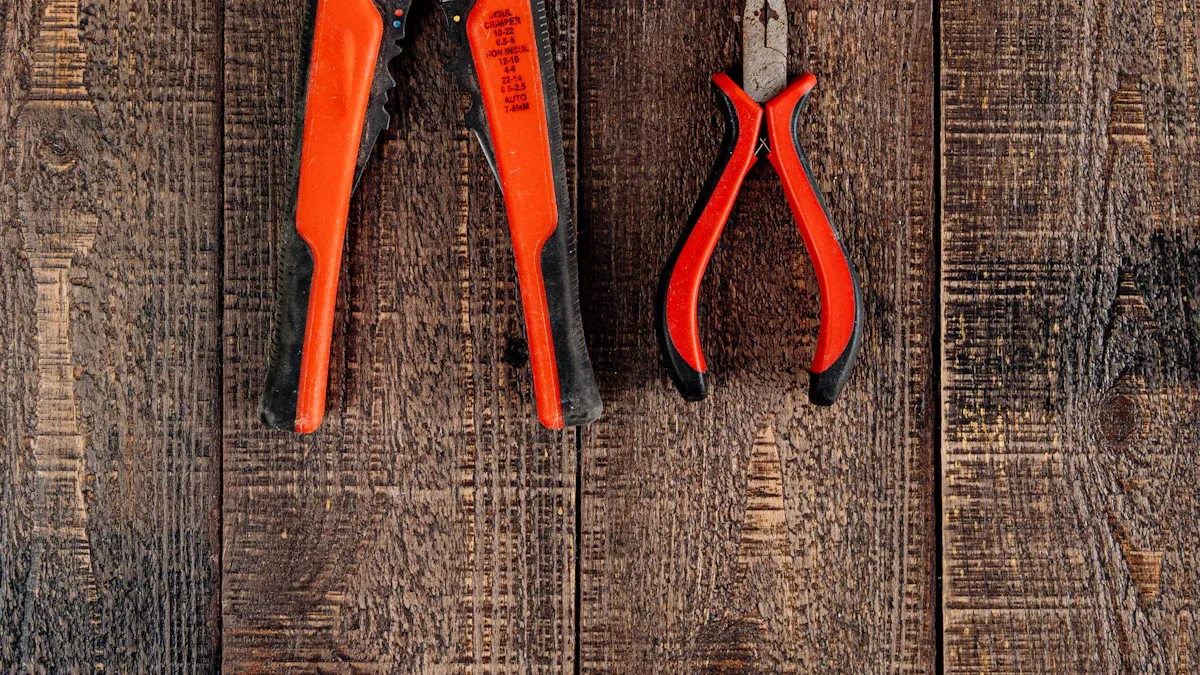
Learning how to use a crimping tool helps you make a safe electrical connection every time. You need to follow the right steps to get a strong, reliable result. This section guides you through wire preparation, the correct crimping technique, and how to check your work.
Preparing Wires
You must prepare your wire before you start crimping. Good preparation keeps your connection strong and helps prevent problems later. Follow these steps:
- Choose the right wire for your project. Check the size (AWG) and make sure it matches your crimp terminal.
- Select the correct crimp terminal. Look for the right size, plating, and insulation for your job.
- Pick the best crimping tool for your connector and wire gauge. Using the wrong tool can damage the connector or wire.
- Cut the wire cleanly. Use a sharp cutter to avoid crushing or fraying the strands.
- Strip the insulation from the wire. Remove just enough so the bare wire fits into the crimp terminal barrel. Do not cut or nick the strands.
- Insert the stripped wire into the crimp terminal. Make sure all strands go inside the barrel.
Tip: Never twist or thin out the wire strands. You want the barrel full for a solid crimp.
Proper wire preparation stops corrosion and keeps your solderless connection strong. If you skip these steps, you risk weak connections, higher resistance, or even electrical shorts.
| Issue | Description |
|---|---|
| Corrosion | Corrosion can form if you leave gaps or expose strands, reducing conductivity. |
| Contamination | Dirt or oil on the wire can block current and weaken the crimp. |
| Increased Contact Resistance | Poor preparation raises resistance, which can cause heat and failure. |
| Electrical Short | Exposed strands may touch other wires, causing shorts. |
| Weak Connection | Loose or missing strands lead to unreliable performance. |
Crimping Technique
You need to use the right crimping technique to get a secure, long-lasting connection. Here is how to use a crimping tool step by step:
- Check that you have the correct crimping tool for your crimp terminal and wire size. There are different types of crimping tool for different connectors.
- Place the crimp terminal with the wire inserted into the jaws of the crimping tool. Make sure the tool lines up with the barrel.
- Hold the tool perpendicular to the wire. This helps you apply even pressure.
- Squeeze the handles firmly. Apply enough force to compress the barrel tightly around the wire, but do not crush or deform the connector.
- Release the tool and remove the crimped connector. The wire should feel secure and not pull out.
Pro Tip: If you are new to crimping, practice on spare wire and crimp connectors before working on your real project.
You must avoid common mistakes during crimping. Using the wrong tool, picking the wrong connector size, or applying too much or too little pressure can all cause problems. Always match your crimping tool to your connector and wire. Take your time to seat the wire fully and apply steady pressure.
A good crimp creates a gas-tight seal. This keeps out moisture and protects your electrical connection from corrosion and vibration. The best crimping tool gives you a consistent, strong result every time.
Inspection and Testing
After you finish crimping, you need to inspect and test your work. This step ensures you have a safe electrical connection that will last.
- Look at the crimped terminal. The barrel should be tightly compressed with no gaps. No wire strands should stick out.
- Tug gently on the wire. It should not pull out of the crimp terminal.
- Check for damage. The insulation should not be crushed or split.
- Perform a continuity test with a digital multimeter. This checks that electricity flows through the connection.
- Flex the wire and connector gently while testing. This helps you find any intermittent faults.
| Method | Description |
|---|---|
| Mechanical Strength Testing | Pull on the wire to check the crimp’s grip. |
| Electrical Checks | Use a multimeter for continuity and resistance. |
| Metallographic Inspection | Advanced labs use microscopes to check for corrosion or defects. |
You may not have access to advanced testing tools, but you can still use a multimeter for basic checks. Crimp wire connectors are designed for low resistance, so you may not see much change on a standard meter. Focus on continuity and a secure mechanical grip.
Note: Always inspect every crimped connection before you finish your project. Careful inspection helps you avoid future failures and keeps your work safe.
A well-made crimp gives you a reliable, solderless connection that stands up to vibration, moisture, and time. When you follow these steps, you get the most from your crimping tool and keep your electrical system safe.
Troubleshooting Crimping Issues
Poor Connections
You may face problems with crimping if you do not follow the right steps. Poor connections often happen when you use the wrong tool or do not match the connector to the wire. You can spot these issues by looking for:
- Loose or missing wires in the terminal
- Soft or incomplete crimps
- Strands sticking out of the connector
- Debris caught inside the terminal
- Double crimps or incorrect placement
You can also test your crimp by gently pulling on the wire. If it slips out, the connection is weak. Visual checks and pull force testing help you find these problems before they cause bigger issues.
| Issue | Description |
|---|---|
| Over-crimping | Cuts insulation or wire strands, which can cause failure. |
| Under-crimping | Leaves loose connections that may pull out and fail. |
| Incorrect strip length | Too short means not enough wire in the crimp; too long leaves strands exposed. |
Fixes and Prevention
You can fix most crimping problems by following a few simple steps:
- Cut the wire to the right length so it fits fully into the connector.
- Make sure all strands go inside the barrel before you crimp.
- Use the correct terminal for your wire size.
- Choose a high-quality crimping tool that matches your connector and wire.
- Apply the right amount of pressure—too much or too little can cause problems.
Tip: Always prepare your wire and connector carefully. Clean cuts and proper stripping help you get a strong crimp every time.
To prevent future issues, inspect your work often. Train yourself or your team on best practices. Keep records of any problems you find so you can spot trends and fix them early.
Mistakes to Avoid
You can avoid many crimping mistakes by watching out for these common errors:
- Using the wrong tool for your connector or wire size
- Skipping wire preparation or stripping insulation incorrectly
- Picking the wrong connector size for your wire
- Over-crimping or under-crimping the terminal
- Placing the connector in the tool the wrong way
A ratcheting crimping tool helps you apply even pressure and reduces mistakes. Always match your tool, connector, and wire for the best results.
You can achieve safe and effective electrical connections by following these essential steps:
- Use the right crimping tool for your connector and wire.
- Prepare wires carefully to improve reliability.
- Inspect and test each connection with a multimeter.
- Learn about different connector types for every project.
- Turn off power before working for safety.
- Follow technical standards to prevent hazards and increase system life.
Continuous learning and attention to detail help you improve your skills. When you use best practices and keep up with new tools, you build strong, long-lasting connections.
FAQ
How do you choose the right crimp connector for your wire?
You should match the connector color to your wire gauge. Red fits 22–16 AWG, blue fits 16–14 AWG, yellow fits 12–10 AWG. Always check the connector’s label before you start.
Tip: Use stranded wire for the best crimp.
Can you reuse crimp wire connectors?
You should not reuse crimp wire connectors. Once you crimp a connector, it loses its grip and may not hold the wire securely again. Always use a new connector for each connection.
What tools do you need for crimping?
You need a wire stripper, a cutter, and a crimping tool. Some crimping tools have color-coded jaws for easy matching. Using the right tool helps you make a strong connection.
- Wire stripper
- Cutter
- Crimping tool
How do you know if your crimp is secure?
You can gently pull on the wire. If it stays in place, your crimp is likely secure. You can also use a multimeter to check for electrical continuity.
| Test Method | What to Look For |
|---|---|
| Pull Test | Wire does not slip out |
| Multimeter Test | Shows continuity |