How to Effectively Test a Capacitor with a Multimeter
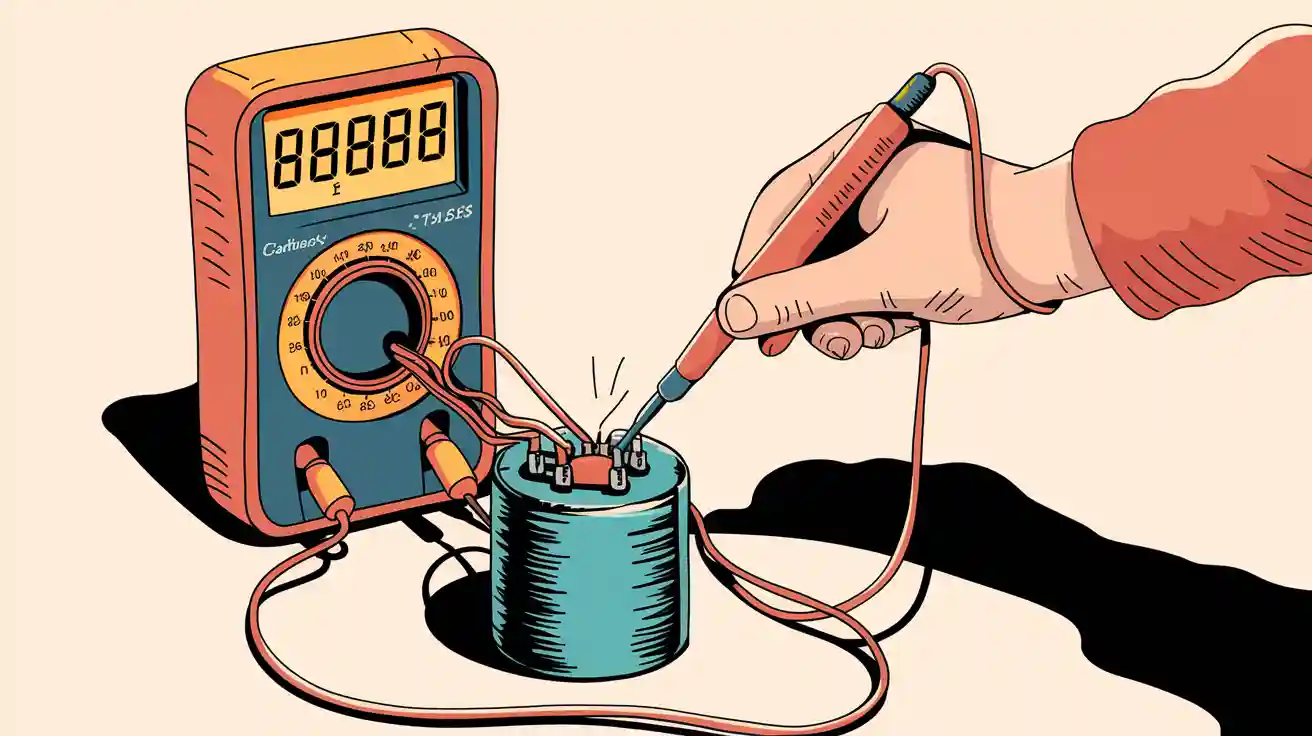
You can easily test capacitor with multimeter, and you don’t need to be an expert to do it. Remember, safety comes first. Always discharge the capacitor before you start. This simple step keeps you safe and helps you avoid shocks. Beginners and DIYers can handle this with confidence.
Key Takeaways
Always discharge the capacitor safely before testing to avoid electric shock. Use a resistor or insulated tool and wear protective gear like gloves and safety glasses.
Use the capacitance mode on your multimeter for the most accurate reading. Remove the capacitor from the circuit and connect the probes correctly, especially for polarized capacitors.
Compare your multimeter reading to the capacitor’s rated value and tolerance to decide if it is good or needs replacement. Look for physical damage as an additional sign of failure.
Safety First
Discharging the Capacitor
Before you test any capacitor, you need to make sure it’s safe. Capacitors can hold a charge even after you turn off the power. If you skip this step, you could get a nasty shock. Here’s a simple way to discharge a capacitor safely:
Disconnect the capacitor from any power source.
Prepare a discharge tool. Most people use a resistor with wires and alligator clips. You can also use an insulated screwdriver or a small light bulb.
Place the capacitor on a stable, non-conductive surface like wood.
Attach the discharge tool’s clips to the capacitor terminals. Let the charge drain through the resistor.
After a few seconds, grab your multimeter and set it to the highest DC voltage range. Check the voltage across the terminals.
If the reading is above 10 volts, repeat the discharge process.
Always use insulated tools and wear protective gear.
Tip: Never use your bare hands to touch the terminals. Even a small charge can hurt.
Personal Protection
You want to stay safe, so always use the right gear. Here’s what you should wear and use:
Safety glasses 👓
Insulated boots
Insulated tools (like screwdrivers and alligator clips)
Work in a dry area and keep away from anything metal or wet. Avoid touching the capacitor’s terminals directly.
Avoiding Electric Shock
Capacitors can pack a punch, even at lower voltages. Anything above 70 volts is risky, but even 12 volts can be dangerous in some cases. Large capacitors with moderate voltage can deliver a painful shock. Always double-check that the capacitor is fully discharged before you start testing. Moist skin, jewelry, or standing on a wet floor can make shocks worse. Take your time and never rush this step. Your safety comes first!
Remove and Inspect

Removing from Circuit
Before you check a capacitor, you need to take it out of the circuit. This step helps you get an accurate reading and keeps you safe. Here’s a simple way to do it:
Power down the device or circuit. Make sure everything is off.
Disconnect one terminal of the capacitor from the circuit. This breaks the connection and makes it easier to handle.
Discharge the capacitor using a resistor. A 10kΩ to 100kΩ, 1-watt resistor works well. Hold it across the terminals for a few seconds.
Use your multimeter set to DC voltage. Check the voltage across the terminals. If you see less than 1 volt, the capacitor is safe to touch.
Remove the capacitor from the circuit. Now you can check a capacitor without interference from other parts.
Tip: Never short the terminals with a metal tool. Always use a resistor to avoid sparks or damage.
Visual Signs of Damage
Once you remove the capacitor, take a close look at it. Damaged capacitors often show clear signs. Here are some things you might see:
Oil leaks or wet spots
Corrosion on the terminals or casing
Powdery or crusty buildup at the top
Deformed plastic wrap
If you spot any of these problems, the capacitor is likely bad. You should replace it before you check a capacitor with your multimeter. A faulty capacitor can cause bigger issues in your device.
Test Capacitor with Multimeter
When you want to test capacitor with multimeter, you have a few different modes to choose from. Each mode gives you different information about the health of your capacitor. Let’s break down how you can use capacitance mode, resistance mode, and continuity mode to check a capacitor.
Capacitance Mode
Capacitance mode is the best way to test capacitor with multimeter. Most digital multimeters have a special setting for this. You usually see a symbol that looks like two parallel lines (||) or the letter "F" for farads.
Here’s how you use capacitance mode:
Set your multimeter to capacitance mode.
Make sure the capacitor is fully discharged and removed from the circuit.
For polarized capacitors (like electrolytic types), connect the red probe to the positive terminal and the black probe to the negative terminal. For non-polarized capacitors, probe placement does not matter.
Touch the probes to the capacitor leads and wait for the reading to settle.
Compare the reading on the display to the value printed on the capacitor’s body.
Tip: Capacitance mode gives you the most accurate measurement. If the value is much lower than what’s printed, the capacitor is likely bad.
Capacitance mode works for both small and large capacitors. When you’re testing an ac capacitor, capacitance mode helps you see if it’s still within the right range. If you want to check a capacitor quickly and get a real number, always start with capacitance mode.
Resistance Mode
Resistance mode can help you spot some problems, but it’s not as precise as capacitance mode. When you use resistance mode to test capacitor with multimeter, you’re looking for signs of a short or open circuit.
Here’s what you do:
Set your multimeter to resistance mode (Ω).
Make sure the capacitor is discharged and out of the circuit.
Place the probes on the capacitor terminals. For polarized capacitors, match the red probe to the positive side.
Watch the display. A good capacitor will show a low resistance at first, then the number will climb higher as the capacitor charges from the multimeter’s battery.
If you see a very low resistance (less than 1 ohm) that does not change, the capacitor might be shorted. If the reading stays very high or shows no movement, the capacitor could be open. Sometimes, you might see a steady low resistance, but this can be normal for some capacitors, especially if you’re testing in-circuit. Resistance mode helps you find shorted capacitors, but you need to think about the circuit and the type of capacitor you’re testing. It’s a rough check, not a final answer.
Note: Resistance mode does not measure the true resistance of a capacitor. It only helps you spot shorts or opens. Always double-check with capacitance mode if you can.
Continuity Mode
Continuity mode is another quick way to check a capacitor, but it has limits. When you set your multimeter to continuity mode, it will beep if it senses a path for current between the probes.
Here’s how to use it:
Set your multimeter to continuity mode (look for the sound wave symbol).
Make sure the capacitor is discharged and out of the circuit.
Touch the probes to the capacitor terminals.
If you hear a beep, the capacitor might be shorted. If there’s no beep, the capacitor is probably not shorted. But, continuity mode is not always reliable for capacitors. Other parts of the circuit can cause a beep, and some capacitors may not show any beep even if they are bad.
Tip: Use continuity mode only as a quick check. Always follow up with capacitance mode or resistance mode for a better answer.
Quick Reference Table
Multimeter Mode | What It Checks | What to Look For | Best For |
|---|---|---|---|
Capacitance Mode | Actual capacitance value | Reading close to rated value | Most accurate test |
Resistance Mode | Shorts or opens | Low or high resistance behavior | Rough diagnostic |
Continuity Mode | Shorts | Beep or no beep | Quick, not reliable |
When you test capacitor with multimeter, always start with capacitance mode if your tool has it. Use resistance mode and continuity mode to check a capacitor for shorts or opens, but remember these are just rough checks. Always pay attention to probe placement, especially for polarized capacitors. This helps you avoid mistakes and keeps your readings accurate.
How to Test a Capacitor with a Multimeter
Step-by-Step Process
Testing a capacitor with a multimeter is easier than you might think. You just need to follow a few simple steps. Here’s how you can do it:
Discharge the Capacitor
Always start by making sure the capacitor is safe. Use a 20,000 Ω, 5-watt resistor and hold it across the terminals for about five seconds. This step keeps you safe from electric shock. Double-check with your multimeter to make sure there’s no voltage left.Remove the Capacitor from the Circuit
Take the capacitor out of the circuit. If you leave it connected, you might get a wrong reading. For testing an ac capacitor or any other type, this step is important.Set Your Multimeter to Capacitance Mode
Turn the dial to the capacitance setting. Some multimeters need you to press a button to switch modes. Look for a symbol that looks like two parallel lines (||) or the letter “F”.Connect the Test Leads
Attach the multimeter probes to the capacitor terminals. For electrolytic capacitors, match the red probe to the positive lead and the black probe to the negative. For ceramic capacitors, you don’t need to worry about polarity.Read the Display
Hold the probes steady for a few seconds. The meter will show a number. If you see “OL,” the value is too high for your meter or the capacitor is faulty.Use Relative Mode for Small Values
If you’re checking a very small capacitor, use the Relative mode on your multimeter. This helps cancel out any extra capacitance from the test leads.
Tip: Repeat the test a couple of times to make sure your results are consistent. If you want to check a capacitor for leakage, you can use a DC voltage source, but always stay within the rated voltage.
Reading and Comparing Values
Once you have a reading, you need to know if your capacitor is good or bad. Here’s how you can figure that out:
Find the Rated Value
Look at the number printed on the capacitor. This is the value the manufacturer says it should have. If you want to be sure, check the datasheet from the manufacturer. These datasheets give you all the details, including the exact value and the allowed range.Check the Tolerance
Every capacitor has a tolerance. This tells you how much the actual value can be above or below the rated value. For example:±5% is for precision jobs like filters.
±10% is for general use.
±20% is for things like power supply filtering. Electrolytic capacitors sometimes have even wider tolerances, like -20% to +80%.
Compare Your Reading
Use this simple table to see if your capacitor is healthy:Rated Capacitance
Tolerance
Acceptable Range
100 µF
±20%
80 µF to 120 µF
47 µF
±10%
42.3 µF to 51.7 µF
10 µF
±5%
9.5 µF to 10.5 µF
If your measured value falls inside the range, your capacitor is good. If it’s outside, the capacitor is likely worn out or damaged.
Look for Other Signs
If you see a value way off from the rated number, or if the meter shows “OL,” the capacitor is probably bad. Sometimes, old capacitors lose value or start leaking current. Always compare your results to the manufacturer’s specs for the best answer.
Note: Manufacturer datasheets are the best place to find the right specs. They list everything you need, from capacitance to voltage ratings and even how much the value can drift over time.
When you test capacitor with multimeter, always compare your results to the specs. If you want to test a capacitor with a multimeter and get a reliable answer, use the right mode and check the numbers carefully. This method works for both electrolytic and ceramic capacitors. If you’re checking a capacitor in a power supply or motor, make sure the value matches what the circuit needs.
Interpreting Results
Good vs. Bad Readings
When you finish testing, you want to know if your capacitor is healthy or not. Your multimeter gives you clues. Here’s a quick table to help you spot the difference between good and bad readings:
Test Type | Healthy Capacitor Reading | Faulty Capacitor Reading |
|---|---|---|
Capacitance | Within ±10% of nominal value (e.g., 9-11 F for 10 F capacitor) | Way outside ±10% range (e.g., 7 F for 10 F capacitor) |
Resistance | Resistance rises slowly to infinity as the capacitor charges | Stays at zero (shorted) or jumps to infinity (open) |
ESR | Low value, close to what’s expected (like 0.1 ohms) | Much higher than normal, showing wear or damage |
Tip: Always discharge and remove the capacitor before you test. This step keeps your readings accurate and keeps you safe.
If you see a reading that matches the healthy column, your capacitor is likely good. If your numbers fall in the faulty column, you probably need to replace it. This method works for all types, including when you’re testing an ac capacitor.
Common Faults
Capacitors can fail in a few common ways. You can spot most of these problems with your multimeter:
Shorted Capacitor: Shows zero or very low resistance. The meter may beep in continuity mode. This means the inside of the capacitor has a short circuit.
Open Capacitor: Shows infinite resistance. The meter never moves. The capacitor has lost its connection inside.
Aging Capacitor: Loses capacitance over time. You might see a value much lower than the rated number. Sometimes, the ESR goes up, even if the capacitance looks okay.
High ESR: The capacitor passes the capacitance test but fails on ESR. High ESR can cause problems in circuits, even if the value seems right.
You should always check a capacitor for these faults before putting it back in your device. Look for bulging, leaks, or strange smells, too. These signs mean the capacitor is bad, even if the numbers look close.
Limitations and Other Methods
In-Circuit Testing Issues
Testing a capacitor while it’s still connected to a circuit can seem quick, but it often leads to trouble. Other parts in the circuit, like resistors or other capacitors, can mess with your readings. You might see a value that looks fine, but it’s actually the result of several components working together. This makes it hard to know if your capacitor is really good or bad.
You should always remove the capacitor from the circuit before testing.
If you test in-circuit, you might miss a hidden fault or get a reading that doesn’t match the real value.
Sometimes, a bad capacitor can look okay because the rest of the circuit hides the problem.
Tip: Always disconnect one leg of the capacitor before testing. This helps you avoid false readings and keeps your results accurate.
Advanced Testers
Standard multimeters do a decent job for basic checks, but they have limits. They can’t measure everything you might want to know about a capacitor. For example, they can’t check for ESR (Equivalent Series Resistance) or leakage current, which are important for older or high-voltage capacitors.
Here’s a quick look at how advanced testers compare:
Tester Type | What It Does Best | Extra Features |
|---|---|---|
Digital Multimeter | Basic capacitance check | Simple and easy to use |
LCR Meter | Measures capacitance, resistance, and inductance | Checks ESR and more |
ESR Meter | Finds ESR problems with high accuracy | Great for spotting hidden faults |
Capacitance Meter | Gives more precise capacitance readings | Sometimes checks leakage current |
Component Analyzer | Full health check: capacitance, ESR, leakage, etc. | Detailed diagnostics for any capacitor |
If you want a quick answer, your multimeter works fine for most jobs. If you need to know more—like if a capacitor is starting to fail—an LCR meter or ESR meter gives you better details. These tools help you spot problems before they cause bigger issues in your devices.
Testing a capacitor with your multimeter is simple if you follow these steps:
Connect the probes and read the value.
Compare the reading to the rated value.
Always double-check your results and replace any faulty capacitors. Using the right mode keeps your readings accurate and your devices safe.
FAQ
Can I test a capacitor without removing it from the circuit?
You can try, but you might get a wrong reading. Other parts in the circuit can mess up your results. Always remove one leg first.
What does “OL” mean on my multimeter when testing a capacitor?
“OL” stands for “Over Limit.” Your capacitor might be open or too big for your meter to measure. Double-check your settings and try again.
Is it safe to touch a capacitor after discharging it?
Yes, once you discharge the capacitor and check with your multimeter, you can touch it. Always wear gloves for extra safety. 🧤