How to Test Radio Tubes at Home A Practical Guide
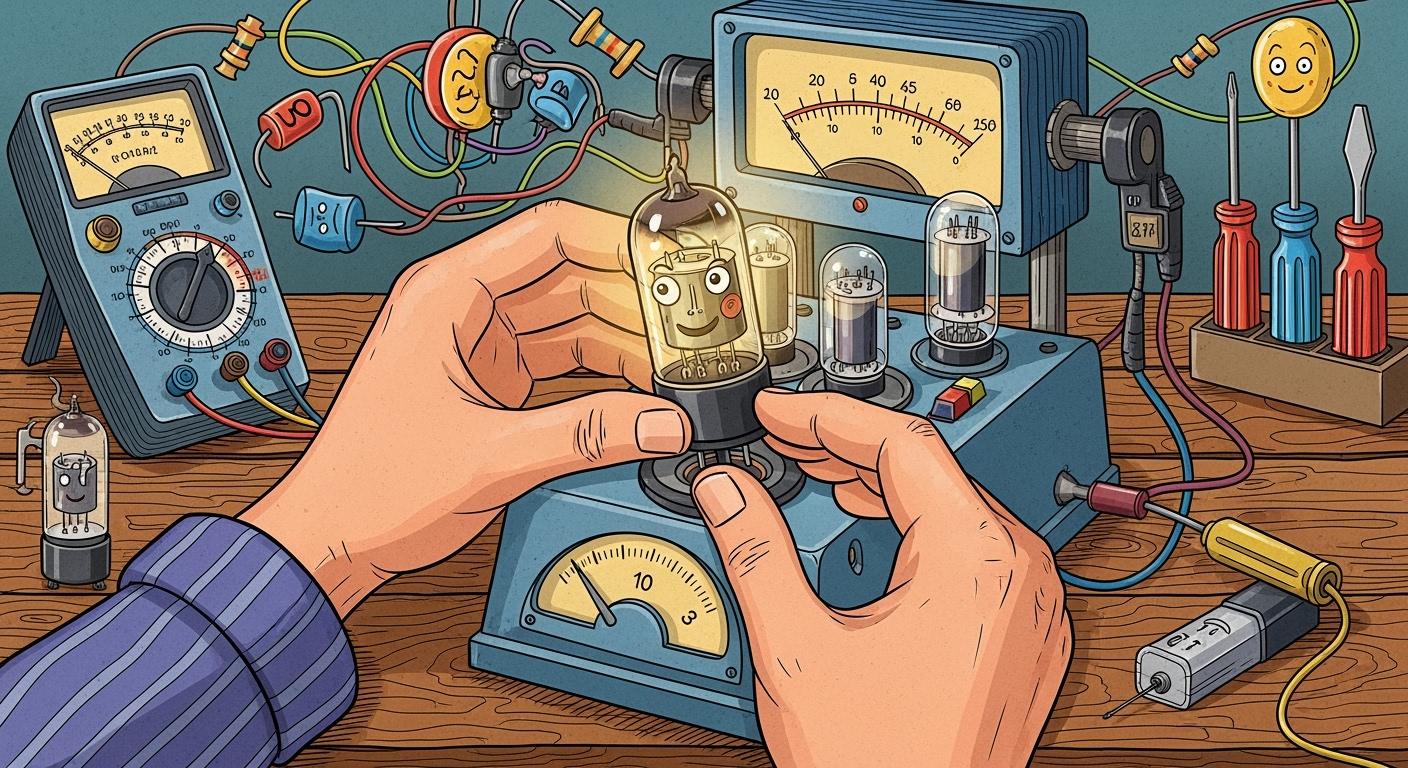
You want to find a bad tube in your gear without special testers. You can easily do this at home. This guide provides a simple process using your eyes and ears to find the faulty radio tube. Every tube eventually fails, so knowing how to spot a problem is a key skill.
Tube Lifespan Facts 💡 A tube's lifespan varies by type. A common 12AX7 preamp tube can last up to 10,000 hours, but an EL34 power tube often needs replacing after 1,000 to 2,000 hours.
These methods, including swapping tubes, are effective. You can confidently identify the problem tube and get your equipment sounding great again.
Key Takeaways
You can find a bad radio tube using your eyes, ears, and by swapping tubes.
Look for a white getter, broken glass, or a dark filament to spot a bad tube visually.
Listen for loud noise, hums, or ringing sounds to find a faulty tube.
Swap tubes between channels to confirm which tube is causing a problem.
Always turn off and unplug your equipment before touching tubes to stay safe.
Visual Inspection Signs
Your eyes are the first tool you should use. A quick visual check can often reveal a dead tube instantly. Before you power anything on, look over the tubes for obvious signs of failure. This simple step saves you time and can prevent further issues with your equipment.
Check the Getter
Look at the top or side of each glass tube. You will see a silver, grey, or sometimes black patch. This is the "getter flash," and its color tells you about the vacuum inside the tube. When a tube's vacuum seal breaks, air leaks inside. The getter material reacts with the oxygen, causing a chemical change. This reaction is a clear sign of a failed tube.
Good Tube: A shiny silver or dark getter flash shows the vacuum is intact.
Failed Tube: A white, frosty, or powdery getter means the vacuum is lost. This tube is definitely bad and needs replacement.
Inspect for Damage
Next, you should check for physical damage. A damaged tube is an unsafe tube.
Safety First! ⚠️ Always make sure the equipment is off and unplugged. Let the tubes cool completely before you touch them. Tubes get very hot and can cause serious burns.
Once a tube is cool, gently remove it. Hold the tube and give it a light shake. If you hear a rattling sound like a broken lightbulb, something inside is broken. This tube is no longer usable. Also, look for any cracks in the glass of the tube.
Observe the Filament
The filament is the part of the tube that glows. Plug in your gear and turn it on in a dim room. You should see a faint, warm orange glow from inside most of the tubes. If one tube stays dark while the others light up, its filament has likely burned out. This tube is bad. Sometimes, you might see a bright blue or purple glow inside a tube that is not the filament. This can indicate a gas leak, meaning the tube is failing and should be replaced. Many power tubes have this glow, but it is a bad sign in preamp tubes.
Auditory Failure Clues
Sometimes a failing tube looks perfectly fine but sounds terrible. Your ears are excellent tools for diagnosing these issues. Power on your equipment and listen carefully. A bad tube often reveals itself through specific unwanted sounds.
Unwanted Noise
A healthy tube should operate quietly, but a failing tube can introduce a lot of noise. You might hear sounds that drown out your music or guitar signal. These noises are a strong clue that one of your tubes is going bad. Listen for these common signs of a noisy tube:
Whistles, a persistent howl, or a low hum.
Crackling or popping sounds, similar to static.
If you hear these sounds, you likely have a faulty tube. The next step is to find which of the tubes is causing the problem.
Microphonic Ringing
Some tubes can become microphonic. This means the tube acts like a microphone, picking up vibrations and turning them into noise. Small-signal preamp tubes are especially prone to this issue. Any vibration a preamp tube picks up gets amplified, making the problem worse. A microphonic tube can cause howls or rattles when you tap the amplifier.
You can perform a simple "pencil test" to find a microphonic tube.
Pencil Test Warning ✏️ Use only the eraser end of a pencil for this test. Never touch hot tubes with your hands or any metal object.
Turn on your amplifier with all volume controls turned up.
Gently tap the top of each tube with a pencil's eraser.
A good tube will make a dull, quiet thump.
A microphonic tube will produce a loud, bell-like ringing sound or feedback through your speakers.
If you find a bad preamp tube, you can try swapping it with another one of the same type. If the ringing stops, you have confirmed the faulty tube. This test helps you pinpoint exactly which of your tubes needs replacement.
Functional Swapping Tests
Visual and auditory checks can point to a problem, but the tube swapping test is the most reliable way to confirm a faulty tube at home. This method uses your stereo amplifier's two channels (left and right) to pinpoint the exact tube that has failed. It is a simple process of elimination that provides a definite answer.
Identify the Problem Channel
First, you need to know if the problem is limited to one side of your stereo setup. Play some audio and listen carefully.
Common signs of a single-channel problem include:
One channel has very low volume while the other sounds fine.
One channel is completely dead, with sound only coming from the left or right speaker.
The issue remains on one side no matter what audio source you use.
To be certain the problem is in your amplifier, you can quickly swap your speaker cables at the amplifier's output terminals. If the problem moves to the other speaker, your amplifier is likely fine. If the problem stays on the same side, the issue is within the amplifier, and a bad tube is a very common cause.
Swap Tubes to Isolate the Fault
Now you will swap identical tubes between the problem channel and the working channel. This is the key step to finding the faulty radio tube.
Extreme Safety Warning! ⚡ You must follow these safety steps. Amplifiers contain capacitors that can hold a lethal electrical charge even when unplugged. Always power off, unplug the unit, and let the tubes cool for several minutes. Never reach inside an amplifier with two hands; keep one hand behind your back to prevent current from passing across your heart.
Here is the safe procedure for swapping your tubes:
Power Down Completely: Turn off the amplifier and unplug it from the wall.
Let Tubes Cool: Wait for the tubes to cool down. Hot tubes are fragile and can cause severe burns. Moving the amp while the tubes are hot can also damage their internal parts.
Identify and Remove: Locate a pair of identical tubes (e.g., two 12AX7 preamp tubes), one in each channel. Gently wiggle the tube side-to-side while pulling upward to remove it from its socket. Never use force.
Swap Positions: Place the tube from the good channel into the bad channel's socket. Put the suspected bad tube into the good channel's socket.
Insert Carefully: Align the pins on the bottom of the tube with the holes in the socket. Gently press the tube down until it is firmly seated.
You do not need to worry about re-biasing your amplifier when swapping preamp tubes. These types of tubes are in self-regulating circuits, making them safe to swap for testing.
Confirming a Bad Radio Tube
With the tubes swapped, you can now confirm your diagnosis. Plug your amplifier back in, turn it on, and listen.
Did the problem move?
If the static, low volume, or dead channel has moved to the other speaker, you have found your bad tube. The problem followed the faulty tube to its new position.
A thin, weak sound that moves with a tube points to a weak preamp tube.
If the problem remains on the original channel, that specific tube is not the cause. You can then repeat the process with another pair of identical tubes.
This swapping method is a powerful and effective way to identify which tube is causing your issue. Once the problem moves with a specific tube, you can be confident that you have found the culprit and can proceed with finding a replacement.
Common Tube Myths
You might see some strange things when you watch your tubes operate. Certain behaviors can look like a serious problem but are actually completely normal. Knowing these common myths will help you avoid replacing a perfectly good tube.
Bright Flashes on Startup
You power on your amplifier and see a bright flash from inside a tube. This sudden flash can be alarming, but it is usually normal behavior.
This event happens when a tube is powered on. The heater filament inside gets hot very quickly, causing a momentary bright flare-up before it settles into its usual warm glow. This is especially common in new tubes or tubes that have not been used for a while.
A brief, bright flash is normal.
It is not a sign of a failing tube.
The flash should quickly fade to a steady, dim glow.
If the flash is continuous or you see sparks, turn the unit off immediately. That indicates a different, more serious problem.
Mismatched Glow Levels
You may look at your set of tubes and notice their glow is not uniform. You might notice one tube glows brighter than its neighbor. This difference in brightness does not mean one tube is better or stronger than the other.
Glow is Not a Performance Meter 💡 The brightness of a tube's filament glow has no relationship to its audio performance or lifespan. It is simply a visual characteristic.
Variations in manufacturing are the main reason for different glow levels. Different brands and even different batches from the same brand can have filaments that glow at slightly different intensities. The important thing is that a healthy tube will have a visible glow. As long as the filament is lit, the tube is receiving power and its heater is working correctly.
You now know how to test a radio tube at home. You can use your eyes, ears, and a simple swapping method. These steps help you find common issues like a weak tube or a noisy tube.
Success! ✅ You can confidently identify the bad tube causing problems.
Your next step is to find a suitable replacement for the faulty radio tube. This new tube will restore your equipment's sound and performance.
FAQ
What if all my tubes glow but I still have a problem?
A tube's glow only shows that its heater filament is working. The tube can still be weak, noisy, or microphonic. You should use the auditory clues and the functional swapping test to find the bad tube even if it glows normally.
Can I use a different tube type as a replacement?
You must replace a bad tube with the exact same type. For example, you should replace a 12AX7 with another 12AX7. Using the wrong type can damage your equipment.
Important Note ⚠️ Always check your amplifier's manual. It may list specific, approved substitute tubes you can use safely.
Do I need to bias my amp after swapping tubes?
You do not need to bias your amp when swapping preamp tubes (like a 12AX7) for testing. However, you must bias the amplifier when you install new power tubes (like an EL34 or 6L6). Biasing ensures the power tubes operate correctly and safely.
Is it safe to touch a tube when the amp is on?
No, never touch a tube when the amplifier is on. Tubes get extremely hot and can cause severe burns. They also operate at very high voltages. Always power off, unplug the unit, and let the tubes cool completely before handling them.