Step-by-Step Guide to Safely Testing a Circuit Breaker
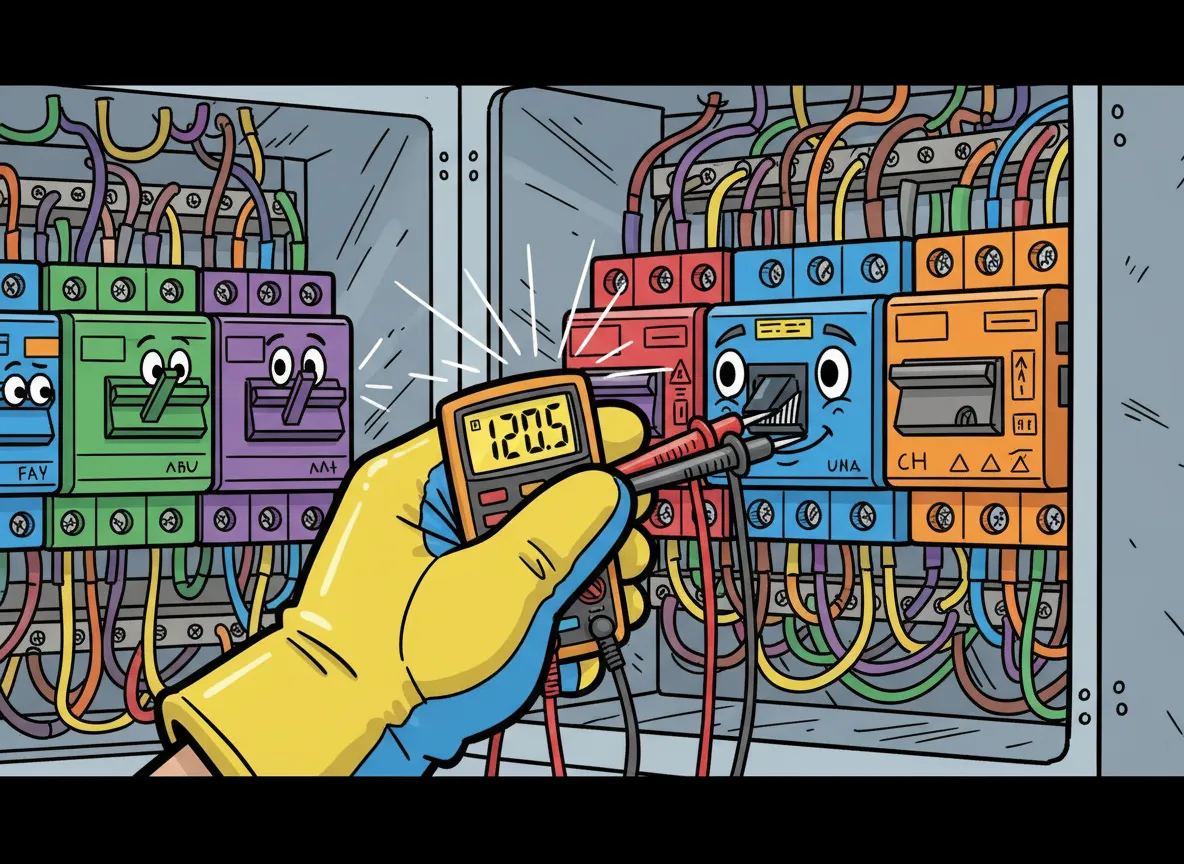
You can learn how to test a circuit breaker by following simple safety steps. Always use the right tools for circuit breaker testing. Start by turning off all appliances in the area. Wear safety gear like insulated gloves and safety glasses. When you test a circuit breaker, check for signs of damage before using any equipment. Circuit breaker testing keeps your home safe and helps prevent electrical problems. If you feel unsure, stop and ask a professional for help.
Key Takeaways
Always turn off power and wear proper safety gear before testing a circuit breaker to avoid electrical hazards.
Use the right tools like digital multimeters and clamp ammeters to test breakers safely and get accurate results.
Inspect breakers visually for damage and test voltage, continuity, and trip functions to check their condition.
Watch for signs of faulty breakers such as frequent trips, burning smells, or flickering lights and replace them promptly.
Call a licensed electrician if you feel unsure, see warning signs, or face complex electrical problems to keep your home safe.
Safety Precautions
Before you test a circuit breaker, you must put safety first. Taking the right safety precautions helps you avoid potential electrical hazards and keeps you protected from injury.
Turn Off Power
Always turn off all appliances and lights connected to the circuit you plan to test. This step reduces the risk of shock and prevents damage to your devices. Next, isolate the power by switching off the main breaker in your electrical panel. Use a voltage detector to confirm that the circuit is not live before you begin any work. Never try to test or touch a breaker if you are unsure whether it is energized.
Tip: Lockout/Tagout (LOTO) devices help you secure the breaker in the off position, preventing accidental re-energization during testing.
Use PPE
Wearing the right personal protective equipment (PPE) is essential for preventing hazards. Here are the most effective PPE items for circuit breaker testing:
Insulated gloves and sleeves rated up to 1,000 volts protect your hands and arms from shock.
Safety glasses with impact-resistant lenses (ANSI Z87.1 certified) shield your eyes from sparks and debris.
Hard hats with electrical insulation (Class E rated) guard your head against potential hazards.
Flame-resistant clothing and arc flash suits meet NFPA 70E and ASTM F1506 standards, reducing burn risks.
Insulated hand tools rated up to 1,000 volts lower your risk of shock.
Voltage detectors and circuit testers help you identify live circuits safely.
Always check that your PPE meets OSHA, ANSI, and NFPA standards for maximum safety.
Avoid Common Hazards
Many homeowners make common mistakes to avoid when testing circuit breakers. Double-check that you never short-circuit a breaker or connect two wires to a single breaker slot. Follow all manufacturer guidelines and NFPA standards for your specific breaker model.
Mistake | Consequence | How to Avoid |
|---|---|---|
Malfunctions, fire hazards | Use new, high-quality components | |
Overloading circuits | Tripped breakers, fire risk | Distribute appliances properly |
DIY panel upgrades | Electrocution, failed inspections | Hire licensed electricians |
If you notice damaged wiring or if the breaker trips repeatedly, stop and call a professional. This approach ensures your safety and helps in preventing hazards.
Tools for Circuit Breaker Testing
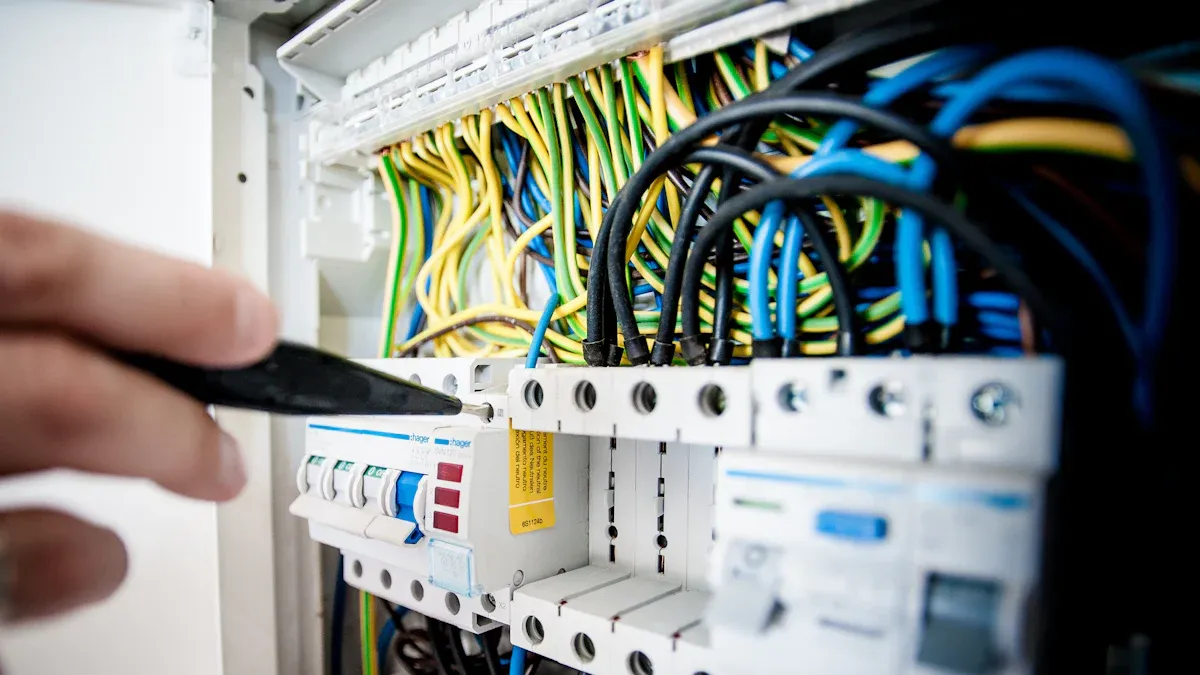
Before you begin circuit breaker testing, you need the right tools. Using professional-grade equipment helps you get accurate results and keeps you safe. Here are the main tools you should have:
Digital Multimeter
A digital multimeter is one of the most important tools for electrical work. You use it to measure voltage, current, resistance, and continuity. When you test a circuit breaker with a multimeter, you can check if the breaker is working or if it has failed. This tool gives you high accuracy and helps you find problems quickly.
Tip: Always use a multimeter rated for the voltage and current in your system. This keeps you safe and prevents damage to your equipment.
You can test a circuit breaker with a multimeter by measuring voltage across the breaker terminals or checking for continuity when the breaker is off. This method works well for most home electrical panels.
Clamp Ammeter
A clamp ammeter, also called a clamp meter, lets you measure current without touching bare wires. You open the jaws and clamp them around a wire. This tool is safer for live circuit breaker testing because you do not need to break the circuit.
Here is a quick comparison between a clamp meter and a digital multimeter:
Feature | Digital Multimeter (DMM) | Clamp Meter |
|---|---|---|
Measures | Voltage, resistance, current (low) | Current (high), some voltage |
How it works | Needs direct contact | Clamps around wire |
Safety | Riskier for live wires | Safer for live circuits |
Best use | Detailed testing | Quick current checks |
You should use a clamp ammeter when you want to measure high current or check circuits without turning off the power.
Other Essential Tools
Professional electricians recommend several other tools for safe and accurate circuit breaker testing:
Insulation testers check if the insulation on wires is still good.
Circuit breaker analyzers test trip time and contact resistance.
Thermal imaging cameras spot hot spots that could mean trouble.
Ground resistance testers make sure your grounding system works.
Circuit breaker finders help you match outlets to the right breaker.
GFCI outlet testers check if safety outlets work as they should.
You can find high-quality tools from trusted brands like Klein Tools or at stores such as Amazon, Ace Hardware, and The Home Depot. These tools help you follow safety standards and make your testing more reliable.
How to Test a Circuit Breaker
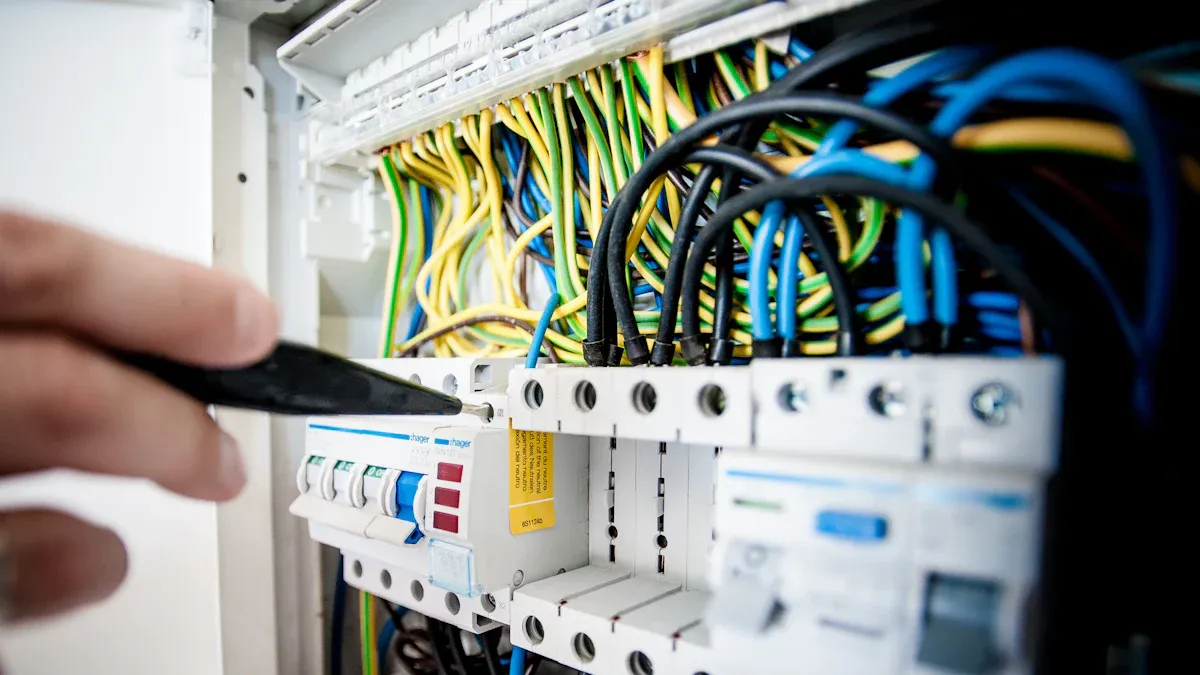
Testing a circuit breaker helps you keep your home safe and your electrical system working well. You can follow detailed steps to diagnose problems and make sure your breaker is in good condition. Here are the main steps to test a circuit breaker safely and effectively.
Visual Inspection
Start with a visual inspection before you use any tools. This step helps you spot problems early and avoid hazards. Always turn off the power supply and use insulated tools to protect yourself from shocks.
Disconnect the power supply and lock out the circuit to prevent accidental energization.
Inspect the breaker for physical damage, such as cracks, rust, melted parts, or scorch marks.
Look for signs of overheating, like unusual smells or flickering lights.
Check for loose connections or damaged wires.
Clean the breaker with a soft brush or compressed air. Avoid abrasive materials.
Tighten any loose screws or bolts on the terminals.
Inspect insulation for cracks or wear and replace if needed.
Manually operate the breaker to see if it moves smoothly.
Make sure all labels are clear and easy to read.
Record your inspection results for future reference.
Tip: Regular inspections help you catch issues before they become serious. If you see any damage, stop and call a professional.
Test a Circuit Breaker with a Multimeter
You can use a digital multimeter to check voltage output and diagnose faults. This tool gives you accurate readings and helps you find out if the breaker is working.
Set your multimeter to measure AC voltage.
Place one probe on the breaker terminal screw and the other on the neutral or ground bar inside the panel.
A working breaker should show a voltage reading close to 120 volts AC.
Outlet Type | Expected Voltage Range (AC) |
|---|---|
Standard 120 V Outlet |
If you see a reading much lower than 120 volts or zero, the breaker may be faulty. Always use a multimeter rated for your system’s voltage. This keeps you safe and protects your equipment.
Note: When you test a circuit breaker with a multimeter, always check voltage output with the breaker in the ON position. If you get no voltage, you may need to replace the breaker.
Check Continuity
Checking continuity helps you find out if electricity can flow through the breaker. This is one of the most important steps to test a circuit breaker.
Turn off the main breaker to make sure the circuit is safe.
Remove the panel cover to access the breakers.
Identify the breaker you want to test.
Set your multimeter to continuity mode or the lowest resistance setting.
Touch one probe to the breaker screw terminal and the other to the output terminal.
Listen for a beep or look for a zero-resistance reading. This means the breaker has continuity and works well.
No beep or a high resistance means the breaker is faulty.
Tip: Always check your multimeter by touching the leads together before you start. This step makes sure your tool works.
If you find no continuity when the breaker is ON, you should replace it. If you get continuity when the breaker is OFF, the breaker may have an internal fault.
Test Trip Function
Testing a circuit breaker’s trip function checks if it will shut off power during a fault. This step is important for safety.
For standard breakers, you can use a clamp ammeter to simulate an overload. If the breaker trips, it works as it should.
For GFCI and AFCI breakers, press the TEST button on the breaker. The breaker should trip right away. Reset it by switching it OFF and then ON.
If the breaker does not trip or reset, it may be defective.
Note: GFCI and AFCI breakers need monthly testing. Press the TEST button to make sure the safety feature works.
A properly working breaker should trip within the time set by safety standards. For example, a 20-amp breaker should trip within 120 seconds at double its rated current. If the breaker does not trip or takes too long, you should replace it.
You can use these detailed steps to diagnose problems and keep your electrical system safe. Circuit breaker testing helps you find faults early and avoid bigger issues. If you ever feel unsure, call a licensed electrician for help.
Interpreting Results
Normal Readings
When you test a circuit breaker, you want to see normal readings. For a 240-volt breaker, your digital multimeter should show about 240 volts between the two hot terminals. This voltage tells you the breaker is working as it should. If you check a standard 120-volt breaker, you should see a reading close to 120 volts. These numbers mean the breaker is healthy and supplying power correctly. You do not need to focus on resistance readings for most home breakers. Voltage testing gives you the best way to detect potential faults early.
Tip: Always compare your readings to the expected voltage for your panel. If you see a steady, correct voltage, your breaker is likely in good shape.
Signs of a Faulty Breaker
You can spot signs of a faulty circuit breaker by watching for certain problems. Certified electricians often look for these warning signs:
Frequent tripping without a clear reason
Burning smell or visible damage near the breaker
Flickering lights or power surges in your home
Breakers that feel hot to the touch
Buzzing or humming sounds from the panel
These are also common signs of a bad circuit breaker. You might notice discoloration, melted plastic, or even frayed wires. If you see any of these issues, identifying a bad breaker becomes much easier. Pay attention to how your appliances work. If your dryer turns off mid-cycle or your oven does not heat up, the breaker could be the problem.
Problem | What It Means |
|---|---|
Flickering lights | Poor connections or faulty breaker |
Burning smell | Overheating or wiring issue |
Frequent tripping | Overload or worn-out breaker |
When to Replace
You should replace a breaker if you see any of these signs of a bad circuit breaker:
Physical damage like scorch marks or melted parts
Burning smells from the breaker panel
Breakers that are hot or make buzzing noises
Breakers that are old, corroded, or wobble in the panel
Inconsistent performance, such as flickering lights or power surges
Repairing a breaker is not safe or recommended. Replacement by a licensed electrician keeps your home safe and your electrical system reliable. If your breaker is more than 15 years old or shows any of these signs of a faulty circuit breaker, it is time for a new one. Upgrading old breakers can also improve your home’s electrical safety.
Troubleshooting Circuit Breakers
Breaker Won’t Reset
If your circuit breaker will not reset, you need to find out why. Several common problems can cause this issue:
Too many devices on one circuit create a persistent overload.
Short circuits happen when wires touch by mistake.
Ground faults occur if a hot wire touches a ground wire or metal part.
The breaker itself may be old or damaged.
Loose wiring or damaged parts in the panel can also stop the breaker from working.
To troubleshoot electrical issues, start by turning off or unplugging all devices on the circuit. Try resetting the breaker by flipping it fully off and then on. If it trips again right away, you may have a short circuit or ground fault. Look for signs of damage like burn marks or a burning smell. If you see any, replace the breaker. For wiring problems or if you suspect a fire risk, call a licensed electrician. Never try to fix complex wiring yourself.
Tip: Always check for overload before resetting. Distribute devices across different circuits to prevent this problem.
Frequent Tripping
You may wonder, what does it mean if a circuit breaker keeps tripping? This usually points to a problem that needs attention. The most common reasons include:
Overloaded circuits from too many devices.
Short circuits caused by faulty wiring or appliances.
Ground faults, especially in wet areas like kitchens or bathrooms.
Loose connections or old, worn-out breakers.
Environmental factors such as heat or humidity.
To troubleshoot electrical issues, unplug all devices and plug them back in one at a time. Watch for flickering lights, warm outlets, or burning smells. If the breaker trips when you use a certain appliance, that device may be faulty. If you cannot find the cause, or if the breaker trips even with nothing plugged in, you should contact a professional.
Note: Upgrading to GFCI or AFCI breakers can help protect your home from ground faults and arc faults.
No Power After Reset
If you reset a breaker but still have no power, follow these steps:
Turn off all appliances on the circuit.
Locate the breaker and flip it fully off, then on.
Wait a few seconds before turning it back on.
If there is still no power, use a multimeter to check for voltage at the breaker.
Check for visible damage, such as burn marks or melted parts.
If the breaker trips again or you find no voltage, the breaker or wiring may be faulty.
Sometimes, what does it mean if a circuit breaker keeps tripping even after you reset it? This often means there is a deeper problem, such as a wiring fault or a bad breaker. If you cannot restore power, do not keep trying to reset the breaker. Call a licensed electrician to inspect your panel and troubleshoot electrical issues safely.
Safety Reminder: Never touch wet panels or wires. If you smell burning or see smoke, leave the area and get help right away.
When to Call a Professional
Warning Signs
You should know when to stop and call a licensed electrician. Some problems with circuit breakers are too risky for you to handle alone. Watch for these warning signs:
The circuit breaker keeps tripping even when you do not use many devices.
You notice burning smells or see scorch marks near the breaker panel.
The breaker feels hot to the touch or you hear buzzing, crackling, or popping sounds.
Lights flicker or dim without a clear reason.
The breaker will not stay reset after you unplug all appliances.
You see visible damage, rust, or melted parts on the breaker.
The breaker is more than 20 years old or you have recently had a power surge.
You have updated appliances, but the breaker cannot handle the new load.
Note: If you see any of these signs, turn off the power right away. Call a licensed electrician to check your system. These problems can lead to electric shock, fire, or power loss if you ignore them.
DIY vs. Professional Help
You can handle some simple electrical tasks, but many jobs need a professional. Knowing the difference keeps you and your home safe.
DIY tasks you can do safely:
Changing light bulbs.
Replacing a light fixture if you feel comfortable and the power is off.
Tasks best left to professionals:
Circuit breaker upgrades or repairs.
Installing new outlets or rewiring after damage.
Fixing breakers that trip often or will not reset.
Electrical panel upgrades.
Trying to fix complex electrical problems yourself can cause injury, fire, or damage to your home. Professionals have the training, tools, and knowledge to follow safety codes. They make sure your repairs pass inspection and protect your home’s value. Improper DIY work can lead to failed inspections, voided insurance, and costly repairs later.
Tip: Always use proper safety gear and turn off power before any DIY work. If you feel unsure or see warning signs, call a licensed electrician. Your safety comes first.
Test Your Circuit Breaker: Best Practices
You can keep your home safe and your electrical system reliable by following best practices when you test your circuit breaker. Experts recommend that you perform circuit breaker testing at least once a year or whenever you make changes to your electrical system. Always check the manufacturer’s instructions for the exact schedule.
Tip: Use personal protective equipment like insulated gloves and safety glasses every time you test your circuit breaker. Safety comes first.
Here are the top steps you should follow:
Schedule Regular Testing
Plan to test your circuit breaker every year. If your home is older or you notice problems, test more often. This routine helps you catch issues early.Follow Safety Procedures
Always turn off power before you begin. Use lockout/tagout devices to prevent accidental power restoration. Wear the right safety gear.Use the Right Tools
Choose tools like digital multimeters, breaker testers, and receptacle testers. These tools help you get accurate results and avoid mistakes.Keep Good Records
Write down the date, results, and any repairs after each circuit breaker testing session. Good records help you track problems and show you follow safety rules.Know When to Call a Professional
If you feel unsure or find a complex problem, call a licensed electrician. Professionals handle advanced tests and repairs safely.
Benefit | Why It Matters |
|---|---|
Stops small problems from becoming big hazards | |
Cost Savings | Reduces expensive repairs and replacements |
Safety Enhancement | Prevents fires, shocks, and power interruptions |
System Longevity | Extends the life of your electrical system |
When you test your circuit breaker, avoid common mistakes to avoid like skipping safety steps or using the wrong tools. Following these best practices keeps your home safe and your electrical system strong.
You can test a circuit breaker safely by following these essential steps:
Verify circuits are de-energized with a voltage tester.
Wear personal protective equipment and use the right tools.
Follow manufacturer instructions for each breaker model.
Ignoring warning signs like frequent trips or burning smells can lead to electrical fires, appliance damage, or even injury. If you ever feel unsure, consult a licensed electrician. Use this guide as a reference for future electrical troubleshooting and to maintain safety in your home.
FAQ
How often should I test my circuit breakers?
You should test your circuit breakers at least once a year. If you notice problems or have an older home, test them more often. Always follow the manufacturer's instructions for your specific panel.
What tools do I need to test a circuit breaker safely?
You need a digital multimeter, insulated gloves, and safety glasses. A clamp ammeter and a voltage tester also help. Always use tools rated for your electrical system.
How often should circuit breakers be tested in commercial buildings?
In commercial buildings, how often should circuit breakers be tested depends on local codes and usage. Many experts recommend testing every six months. High-use areas may need more frequent checks.
Can I replace a faulty breaker myself?
You can replace a breaker if you feel confident and follow safety steps. Always turn off the main power and use proper tools. If you feel unsure, call a licensed electrician.