Troubleshooting Capacitors with a Multimeter: What You Need to Know
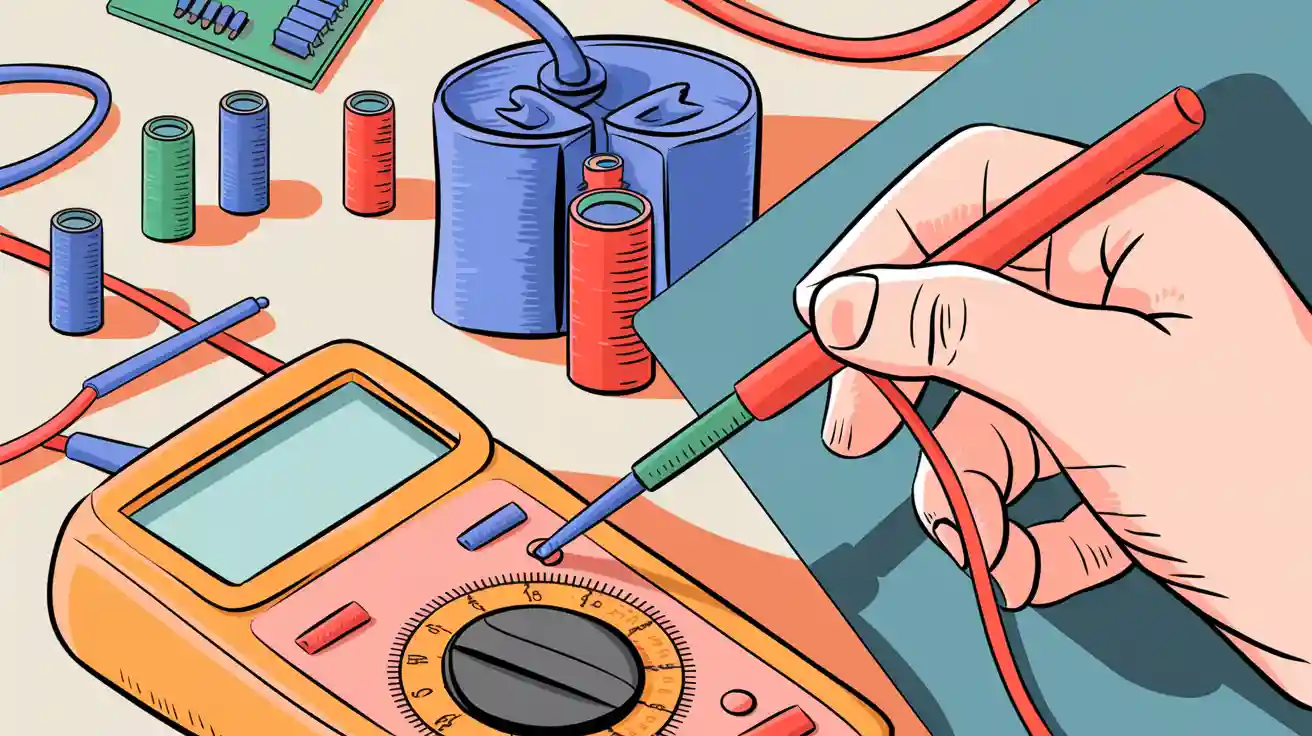
You can learn how to test a capacitor by following a few simple steps. Always disconnect power and discharge the capacitor before you use a multimeter. Select the correct mode on the multimeter to measure capacitance. Place the probes on the capacitor terminals. Read the value and compare it to the capacitor’s rating. Knowing how to test a capacitor multimeter helps you find faults and make repairs safely.
Key Takeaways
- Always disconnect power and fully discharge capacitors before testing to avoid electric shock and equipment damage.
- Use a multimeter with a capacitance mode and remove the capacitor from the circuit for accurate readings.
- Connect probes correctly, matching polarity on polarized capacitors, and compare readings to the capacitor’s rated value.
- Inspect capacitors visually for leaks, bulges, or damage before testing to identify faulty parts early.
- Wear proper safety gear and follow safe handling and disposal practices to protect yourself and the environment.
Safety First
Disconnect Power
You must always disconnect the power before you test a capacitor. Electricity can cause serious injury or even death. Never work on live electrical components. You protect yourself and your equipment when you remove all power sources.
Tip: Always double-check that the power supply is off before you begin.
- Disconnect the power supply completely.
- Make sure no wires or plugs remain connected to the circuit.
- Use a voltage tester to confirm that the circuit is dead.
Discharge Capacitor
Capacitors can hold a charge even after you turn off the power. This stored energy can shock you or damage your tools. You need to discharge the capacitor before you touch it. Use a capacitor discharge tool or a grounding stick rated for the expected voltage and current.
- Hold the discharge tool by its insulated handle.
- Touch the tool to both terminals of the capacitor.
- Wait for a few seconds to let the charge drain away.
- Never assume a capacitor is discharged. Always check with your multimeter before you handle it.
Note: Proper discharge protects your multimeter from sudden surges that can break the device.
Use Protective Gear
Wearing the right gear keeps you safe. Electrical safety organizations recommend several types of protective equipment.
- Wear rubber-insulated gloves covered by leather gloves for shock protection.
- Put on ANSI Z87.1 certified safety glasses to shield your eyes.
- Use closed-toed shoes with non-conductive soles, such as thick rubber or leather.
- If you work near high voltages, wear arc-rated clothing that meets ASTM F1506-18 standards.
- Always follow safety procedures and never skip protective measures.
🛡️ Safety gear helps you avoid accidents and keeps you confident while working with capacitors.
Tools and Setup
Choose a Multimeter
You need the right tool for accurate capacitor testing. When you select a multimeter, look for one with a dedicated capacitance measurement mode. This feature helps you get direct and reliable readings. Many digital multimeter models offer auto-ranging, which makes it easier to set the correct range and improves accuracy. Some models include helpful features like a backlight, hold function, or min/max display. These make testing easier, especially in low-light areas or when you need to record results.
Tip: Choose a multimeter with quality probes and safety features such as non-contact voltage detection. These features add convenience and help keep you safe.
Physical design also matters. A kickstand, magnetic strap, or probe holder can make your work more comfortable. You do not need to buy the most expensive model. Balance performance and cost to get the features you need without paying for extras you will not use.
Remove Capacitor
To get an accurate reading, you should remove the capacitor from the circuit. Start by turning off the power and isolating the capacitor. Identify the type of capacitor so you can use the right discharge method. For large capacitors, use a high-wattage resistor to discharge it slowly. Connect the resistor across the terminals with insulated clips. Watch the voltage drop with your multimeter until it reaches near zero. For small capacitors under 50V, you can use an insulated screwdriver to short the terminals. Always check that the capacitor is fully discharged before you handle it.
Always wear safety glasses and insulated gloves. Avoid touching the terminals directly and work in a dry area.
Prepare Work Area
A safe and organized work area helps you avoid accidents and get better results. Power off the circuit before you begin. Discharge the capacitor using a resistor to prevent sparks. Wear protective gear, such as safety glasses and an ESD wrist strap. Inspect the capacitor for swelling or corrosion before you test it. Set your digital multimeter to the correct capacitance mode. Handle the capacitor carefully and observe the correct polarity, especially for polarized types. Keep your workspace dry and clear of clutter. Follow the manufacturer's instructions for your multimeter and the capacitor you are testing.
A clean and safe work area helps you use a multimeter effectively and protects both you and your equipment.
How to Test a Capacitor Multimeter
Test a Capacitor
You can test a capacitor with a multimeter by following a clear process. Start by removing the capacitor from the circuit. This step prevents interference from other components and helps you get accurate results. Always discharge the capacitor before you begin. Use a resistor to connect across the terminals for a few seconds. This action protects you and your equipment from stored energy.
Here is a step by step to measure a capacitor using the capacitance measurement function:
- Turn on your multimeter and set it to capacitance mode. Look for the symbol that looks like two parallel lines or the letter "C".
- Make sure the capacitor is disconnected from the circuit.
- Discharge the capacitor by placing a resistor across its terminals.
- Connect the multimeter probes to the capacitor terminals. For polarized capacitors, attach the red probe to the positive terminal and the black probe to the negative terminal. For non-polarized capacitors, probe direction does not matter.
- Read the value shown on the multimeter display. The reading will appear in microfarads (µF), nanofarads (nF), or picofarads (pF).
Tip: Always check a capacitor outside the circuit to avoid inaccurate readings.
Testing a Capacitor with a Multimeter
When you test a capacitor, you need to use the correct mode on your multimeter. Capacitance mode gives you the most reliable results. If you use the wrong mode or leave the capacitor in the circuit, you may see false readings. Other components can affect the measurement and make it hard to know if the capacitor works.
You should always use the capacitance mode when testing a capacitor with a multimeter. This mode isolates the actual value of the capacitor. If your multimeter has a relative mode, use it to zero out the baseline reading. This feature removes the effect of the test leads and the meter itself. You get a more accurate result, especially when you measure a capacitor with a low value.
- Relative mode sets the display to zero and stores the current reading as a baseline.
- The next readings show only the difference from this baseline.
- This method corrects for extra capacitance from the leads and the meter.
Note: Using relative mode helps you check a capacitor more precisely.
Measure a Capacitor
To measure a capacitor, you must connect the probes correctly. For polarized capacitors, always match the red probe to the positive terminal and the black probe to the negative terminal. If you reverse the probes, you may damage the capacitor or get a false reading. Correct polarity ensures you get a rising resistance pattern as the capacitor charges. This pattern helps you identify the terminals and protects the component.
You should compare the reading on your multimeter to the rated value printed on the capacitor. If the measured value is much lower or higher than the rating, the capacitor may be faulty. Always allow the capacitor to fully discharge before you measure it. Give it enough time to reach zero volts. Avoid overheating the capacitor during testing. Follow the manufacturer's instructions for both the capacitor and the multimeter.
Common mistakes can lead to wrong results or damage:
| Mistake | How to Avoid |
|---|---|
| Not discharging the capacitor | Always discharge before testing |
| Using the wrong measurement range | Set the correct capacitance mode |
| Ignoring capacitor polarity | Match probes to correct terminals |
| Testing in-circuit | Remove capacitor from circuit |
| Overheating during testing | Use safe voltage and current levels |
Always check a capacitor by following these steps to avoid errors and keep your equipment safe.
You now know how to test a capacitor multimeter by using the capacitance mode, connecting the probes correctly, and comparing the reading to the rated value. Remove the capacitor from the circuit, discharge it, and use the right settings on your multimeter. This process helps you test a capacitor, measure a capacitor, and check a capacitor with confidence.
Interpret Results
Capacitance Reading
When you read the capacitance on your multimeter, compare the value to the number printed on the capacitor or in the datasheet. Most capacitors have a tolerance range. This means the actual value can be a little higher or lower than the rated value. For example, electrolytic capacitors often have a ±20% tolerance, while ceramic capacitors can range from ±1% to ±10%. You can use this table to check typical tolerances:
| Capacitor Type | Typical Tolerance Range |
|---|---|
| Electrolytic | ±20% |
| Ceramic (Class I & II) | ±1% to ±10% |
If your measured value is more than 10% off from the rated value, the capacitor may be faulty. A good practice is to test a capacitor regularly, especially if you notice problems with your device. When you find a reading of zero, the capacitor is likely shorted. If you see an infinite reading, the capacitor may be open. Always use the capacitance mode on your multimeter for the most accurate results.
Tip: Regular testing helps you catch aging capacitors before they cause bigger problems.
Resistance and Continuity
You can also check a capacitor using the resistance or continuity mode on your multimeter. Remove the capacitor from the circuit first. This step prevents other parts from affecting your results. Follow these steps:
- Set your multimeter to resistance mode.
- Connect the probes to the capacitor terminals.
- Watch the display. A good capacitor shows low resistance at first, then the number rises to infinity as it charges.
- If you see a low resistance that does not change, the capacitor is shorted.
- If the resistance stays very high, the capacitor may be open.
For continuity, set your multimeter to continuity mode. A beep or low resistance means a shorted capacitor. No beep or infinite resistance means the capacitor is open.
Note: Resistance and continuity tests help you find shorted or open capacitors quickly.
Signs of Fault
You can spot faulty capacitors by looking at your multimeter readings and knowing what to expect. Here are some common signs:
- Zero capacitance or a beep in continuity mode means a shorted capacitor.
- Infinite capacitance or resistance means an open capacitor.
- A much lower capacitance than the rated value points to an aging or failing capacitor.
- A good capacitor will show a low resistance at first, then rise to open circuit as it charges.
| Faulty Capacitor Type | Multimeter Reading Sign | What It Means |
|---|---|---|
| Shorted Capacitor | Zero capacitance, low resistance, beep | Internal short, needs replacement |
| Open Capacitor | Infinite capacitance, infinite resistance | Broken connection, replace it |
| Aging Capacitor | Reduced capacitance, high ESR | Degraded, may leak or fail soon |
You should always check a capacitor with both capacitance and resistance tests. This method gives you a clear picture of its health and helps prevent equipment failure.
Test an AC Capacitor
AC vs DC Capacitors
You need to know the difference between AC and DC capacitors before you test an ac capacitor. Both types store electrical energy, but they work in different circuits. AC capacitors often appear in air conditioners, motors, and lighting systems. DC capacitors are common in power supplies and electronic devices.
When you start testing an ac capacitor, follow these steps:
- Turn off all power to the circuit.
- Use your multimeter to check that the circuit is de-energized. Set the meter to AC voltage mode for AC capacitors. For DC capacitors, use DC voltage mode.
- Discharge the capacitor safely with a resistor.
- Switch your multimeter to capacitance mode.
- Remove the capacitor from the circuit.
- Connect the leads to the capacitor terminals and read the value.
The main difference in testing an ac capacitor and a DC capacitor is the voltage setting you use on your multimeter at the start. All other steps stay the same.
Special Considerations
Testing an ac capacitor, especially a high-voltage one, requires extra care. You should always treat these capacitors as if they are charged. Wear insulated gloves and safety glasses to protect yourself. Use tools made for high-voltage work to avoid shocks.
- Discharge the capacitor with a high-wattage resistor. Never short the terminals directly.
- Check with your multimeter to make sure the capacitor is fully discharged before you touch it.
- Look for signs of damage like bulging, leaks, or discoloration. These signs mean the capacitor may have internal problems.
- Test an ac capacitor by measuring its capacitance and checking if the value matches the label.
- Check insulation resistance to find any leakage current. High leakage can mean the capacitor is failing.
- Watch the operating temperature. Overheating can shorten the life of the capacitor and cause safety risks.
- Store capacitors in a dry, cool place after you finish testing an ac capacitor.
Always follow safety standards and work in a clean, dry area. Proper handling keeps you safe and helps you get accurate results when testing an ac capacitor.
Visual Inspection

Physical Damage
You can often spot a bad capacitor just by looking at it. Physical damage gives you important clues before you even use a multimeter. When a capacitor fails, it may stop your device from working. For example, a failed capacitor in an HVAC system can prevent the heater from starting. This shows how important capacitors are for making things work.
Look for these common signs of physical damage:
- Oil leakage around the base or terminals
- Deformation or a misshapen body
- Scorched or burnt wires near the capacitor
- A valve cap that sticks out or looks burnt
- The capacitor feels hot to the touch
If you see any of these signs, you should replace the capacitor right away. Damaged capacitors can cause more problems if you leave them in the circuit.
Physical damage often means the inside of the capacitor has failed. You may notice a strange smell or see burn marks. Always handle damaged capacitors with care. Some can leak harmful chemicals.
Leaks and Bulges
Leaks and bulges are strong signs that a capacitor has failed inside. Engineering studies show that oil leaks often happen because of poor sealing at the welds or casing. When a seal fails, air and moisture can get inside. This damages the insulation and causes the capacitor to break down. Leaks usually start at weak spots made during manufacturing or from rough handling.
Bulges form when pressure builds up inside the capacitor. This pressure comes from chemical reactions after the insulation gets damaged. You may see the top or bottom of the capacitor puff out. Sometimes, the casing splits open. Both leaks and bulges mean the capacitor cannot work safely.
Always inspect capacitors for leaks and bulges before you test them. Replace any capacitor that shows these signs to keep your equipment safe.
Next Steps
Replace Faulty Capacitor
You can replace a faulty capacitor by following a careful process. Start by unplugging the device and removing the case. Use the right tools, such as wire cutters, pliers, and a soldering iron. Always discharge the capacitor before you touch it.
Follow these steps to replace a capacitor safely:
- Unplug the device and open the case to reach the circuit board.
- Find the faulty capacitor. Look for bulges, leaks, or other damage.
- Note the polarity and specifications printed on the old capacitor.
- Cut the old leads, leaving a small tail for easier removal.
- Heat the solder joints and remove the old capacitor leads. Use a solder wick if needed.
- Clean the terminals to remove leftover solder or wire bits.
- Test the new capacitor with your multimeter before installing it.
- Trim and bend the new leads to fit the terminals.
- Insert the new capacitor with the correct polarity.
- Solder the leads securely, making sure you have a solid connection.
- Double-check your work against the schematic.
- Close the case and test the device to make sure it works.
🛠️ Always wear safety gear and work in a dry area to protect yourself.
Dispose Safely
You must dispose of used or damaged capacitors in a safe and legal way. Some capacitors contain hazardous materials like PCBs. These chemicals can harm the environment and your health if not handled properly.
- Identify if the capacitor contains PCBs, especially in older oil-filled types.
- Wear protective gloves and allow the device to sit unplugged for at least 48 hours before handling.
- Place PCB capacitors in approved containers with absorbent material.
- Take all used capacitors to a certified electronic waste or hazardous materials recycling center.
- Keep capacitors separate from other waste to prevent contamination.
- Follow all local and federal rules for hazardous waste disposal.
♻️ Safe disposal protects the environment and keeps your community safe.
Prevent Future Issues
You can prevent future capacitor failures by using good maintenance habits. Always follow the manufacturer's instructions for installation and inspection. Use the right personal protective equipment and check for risks before you start work.
- Inspect capacitors often for leaks, bulges, or loose connections.
- Use tools like infrared cameras to spot overheating or faulty joints.
- Control the temperature and humidity in your work area to protect capacitors from stress.
- Make sure all electrical connections are tight before turning the device back on.
- Avoid mechanical vibrations and reverse voltage during installation.
- Use capacitors rated for higher voltages to reduce stress and extend their life.
Regular checks and careful handling help your devices last longer and work better.
Testing capacitors with a multimeter helps you keep your devices safe and working. Always disconnect power, discharge the capacitor, and wear protective gear. Electrical safety authorities warn that capacitors can hold a dangerous charge, so you must use a grounding probe and check connections. Compare your readings to the rated values and replace any faulty capacitors. Inspect capacitors twice a year in industrial settings and every 10 to 15 years for consumer devices. If you see bulging, leaks, or feel unsure about testing, ask a professional for help.
Regular inspection and safe handling protect you and your equipment from harm.
FAQ
How do you know if a capacitor is bad with a multimeter?
You can spot a bad capacitor if the reading is much lower or higher than the rated value. A shorted capacitor shows zero resistance. An open capacitor shows infinite resistance. Always compare your results to the label on the capacitor.
Can you test a capacitor without removing it from the circuit?
You should remove the capacitor from the circuit before testing. Other parts in the circuit can affect your reading. Testing in-circuit may give you false results. Always disconnect and discharge the capacitor first.
What does it mean if my multimeter shows zero when testing a capacitor?
A zero reading means the capacitor is shorted. This type of fault lets current flow straight through. You need to replace the capacitor.
Tip: Always check for shorts before installing a new capacitor.
Why does my capacitor reading not match the value on the label?
Capacitors have a tolerance range. The actual value can be a little higher or lower than the label. If the difference is more than 10% or 20%, the capacitor may be failing.
| Tolerance Type | Typical Range |
|--|--|
| Electrolytic | ±20% |
| Ceramic | ±1% to ±10% |