How to Perform Reliable Continuity Tests with a Multimeter
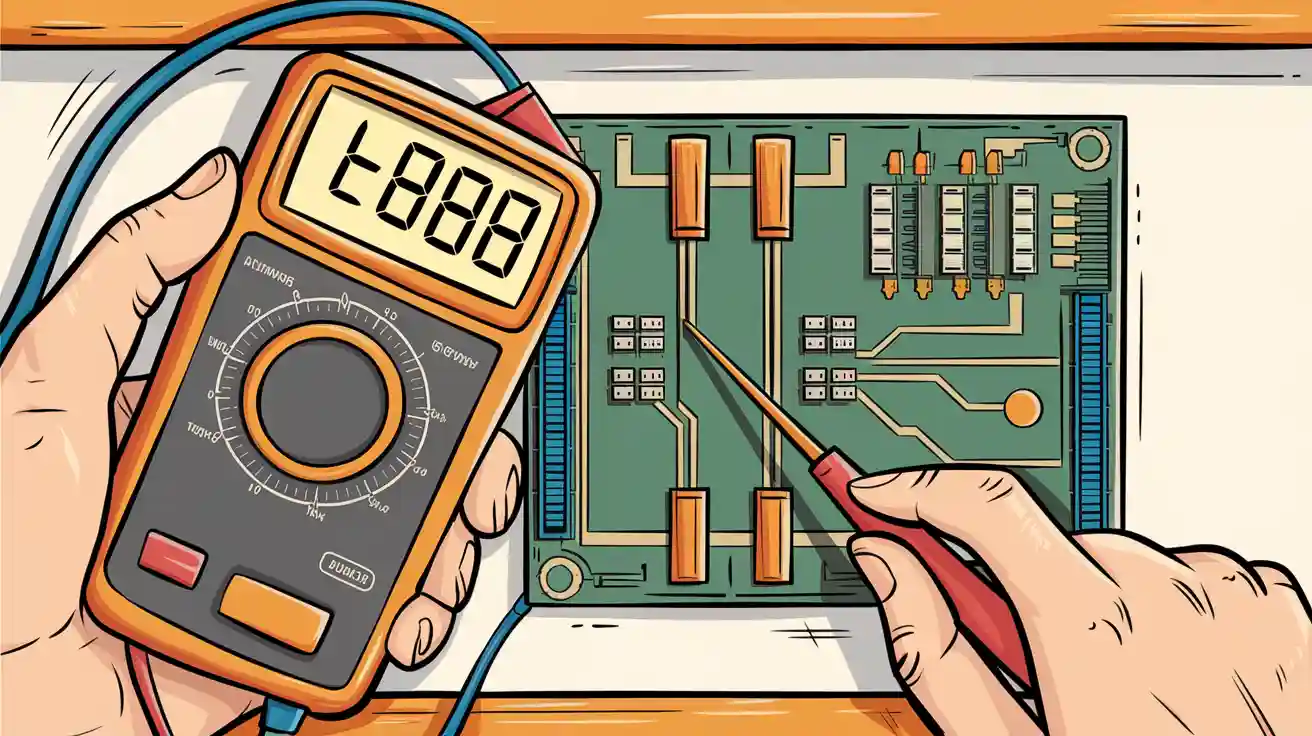
A continuity test checks if electricity flows smoothly through a wire or connection. When you use a multimeter for this job, you make sure there are no breaks or faults in your circuit. This step matters a lot for your safety. You can avoid shocks and arc faults by testing with a multimeter before working on any electrical system. Many experts recommend using fused leads with your multimeter. Fused leads protect you from most mistakes and help stop dangerous failures. These simple safety steps let you use continuity using multimeter with confidence.
Key Takeaways
Always turn off power before testing to stay safe and protect your multimeter.
Check your multimeter and probes first by touching the probe tips together to ensure they work.
Set your multimeter to continuity mode, then place probes on the circuit points to listen for a beep or look for a low reading.
A beep or low resistance means the circuit is good; no beep or high reading means a break or fault.
Keep your probes clean and replace damaged ones to get accurate results and avoid false readings.
What You Need
Multimeter and Probes
You need a good multimeter to start your continuity test. Most people use a digital multimeter because it is easy to read and gives quick results. You can use it for many other tests too, like checking voltage or resistance. In homes, a digital multimeter is the most common tool for this job. In factories or big buildings, you might see clamp meters. These can test live wires without touching bare metal, which helps keep you safe. Analog multimeters exist, but you probably will not use one for basic continuity checks.
You also need test probes. These are the wires with metal tips that connect to your multimeter. Make sure your probes are not damaged. If the wires look frayed or the tips are dirty, you could get a wrong reading. Clean probes help you get the right answer every time.
Tip: Always check your probes by touching them together before you start. Your multimeter should beep or show a low number. If not, you might need new probes.
Safety Steps
Safety comes first when you use a multimeter. Always turn off the power to the circuit before you test for continuity. This keeps you safe from shocks and protects your multimeter from damage. Never skip this step.
Here is a quick checklist to follow before you begin:
Turn off the power to the circuit.
Double-check that your multimeter is set to continuity mode.
Inspect your probes for damage or dirt.
Make sure your multimeter has a good battery.
Clean the contact points you plan to test.
If you use a faulty or uncalibrated multimeter, you might get the wrong results. Sometimes, a low battery or dirty probes can cause problems too. Keeping your multimeter in good shape helps you avoid mistakes. In most cases, calibration is not a big issue for continuity tests, but a well-maintained tool always works better.
Note: Taking a few minutes to check your equipment can save you from hours of confusion later.
Setting Up for Continuity Testing
Continuity Mode and Symbols
Before you measure continuity, you need to set your multimeter to the right spot. Most multimeters have a special continuity function. You can spot it by looking for a symbol that looks like a sideways Wi-Fi icon or a sound wave. This symbol is pretty standard, so you will see it on most brands. When you turn the dial to this setting, you get ready to check continuity in wires, switches, or fuses.
The continuity function works by sending a tiny current through the circuit. If the path is good, your multimeter will beep and show a low number. If the path is broken, you will see a high number or nothing at all. This beep makes it easy to measure continuity without looking at the screen all the time.
Tip: Always make sure the circuit is off before you use the continuity function. Testing a live circuit can damage your multimeter and give you the wrong results.
Probe Connection Check
Now, let’s get your probes ready. You want to connect the black probe to the COM port and the red probe to the port marked for voltage or continuity. This setup is the same for almost every multimeter. Once you have the probes in place, turn the dial to the continuity mode.
Here’s a quick checklist to make sure your multimeter and probes are ready to measure continuity:
Plug the red probe into the terminal marked for voltage or continuity.
If your multimeter beeps or shows a near-zero reading, you know the probes and the continuity function work. If you don’t hear a beep, you might need to clean the probe tips or check the battery. This step helps you avoid mistakes when you check continuity in real circuits.
Note: Never skip this probe check. It saves you from chasing problems that are just bad probe connections.
When you follow these steps, you set yourself up for a safe and accurate continuity test. You can measure continuity with confidence and avoid common mistakes that many beginners make.
How to Conduct a Continuity Test
Test for Continuity with a Multimeter
You want to make sure your circuit or wire lets electricity flow without any breaks. That’s where a continuity test comes in. Let’s walk through how to conduct a continuity test step by step. This process works for most digital multimeters, which are the easiest tools for this job.
Turn Off the Power
Always start by switching off the power to the circuit. This keeps you safe and protects your multimeter from damage. Never skip this step. If you can, unplug the device or flip the breaker.Set Your Multimeter
Turn the dial to the continuity function. Look for a symbol that looks like a sound wave or a sideways Wi-Fi icon. If your multimeter does not have a continuity setting, use the resistance (Ω) mode.Connect the Probes
Plug the black probe into the COM port. Plug the red probe into the port marked V/Ω. Make sure the probes are clean and not damaged.Check the Probes
Touch the metal tips of the probes together. Your multimeter should beep or show a reading close to zero. This tells you the probes and the continuity tester are working right.Test the Circuit or Component
Place one probe on each end of the wire, switch, or fuse you want to check. Hold them steady so you get a good reading.Listen and Look
If you hear a beep or see a low resistance number, you have good continuity. If there is no sound or the display shows “OL” (open loop), you have no continuity.Finish Up
When you finish, turn off your multimeter and store it safely.
Tip: Always discharge any large capacitors before testing. They can hold a charge even after you turn off the power.
Here’s a quick table to help you remember the steps:
Step | What to Do | Why It Matters |
|---|---|---|
1 | Turn off power | Safety first |
2 | Set to continuity function | Prepares the meter |
3 | Connect probes | Ensures correct setup |
4 | Touch probes together | Checks probe and meter health |
5 | Test the circuit/component | Finds breaks or faults |
6 | Listen/look for beep or reading | Confirms good continuity |
7 | Turn off and store multimeter | Keeps your tools safe |
Digital multimeters make this process easy. You get a beep and a clear number on the screen. Analog meters work too, but you have to watch the needle move, which can be tricky. Digital meters are faster and more user-friendly for continuity testing.
Note: Environmental noise or faulty probes can cause false readings. Make sure your work area is free from electrical noise, and always check your probes before you start.
Interpreting Continuity Test Results
When you test for continuity, you want to know if your circuit is open or closed. Here’s what the results mean:
Beep or Low Resistance
If your multimeter beeps or shows a low resistance value, you have good continuity. This means electricity can flow easily. Most meters beep when resistance is below a certain level. For many models, this is under 50 ohms, but it can vary. Here’s a chart showing the threshold for some popular meters:
Multimeter Model
Continuity Threshold (Ω)
Notes
Below 25
Beeper activates under 25 Ω
Tenma 72-7732A
Below 50
Beeper sounds for resistance less than 50 Ω
EEVBlog Multimeter
30 to 480
Threshold range between 30 Ω and 480 Ω
Keithley 2000
Adjustable 1 to 1000
User sets the threshold
Not all meters use the same threshold. Always check your manual if you are not sure.
No Beep or High Resistance
If you hear no sound or see a high resistance reading (or “OL”), you have no continuity. This means the circuit is open, or there is a break somewhere. Sometimes, the resistance is just above the meter’s threshold, so you might see a number but not hear a beep.Special Cases
Some components, like capacitors, can show resistance but not trigger a beep. Large capacitors may even cause the reading to change slowly. This does not mean you have good continuity. You want a steady beep or a low, stable number for a true closed circuit.
Callout:
A beep or low resistance means you have a closed circuit.
No beep or “OL” means the circuit is open or broken.
What to Do If You Get No Continuity
If your continuity tester gives no beep or shows a high reading, try these steps:
Make sure your probes are connected and working.
Clean the contact points and probe tips.
Try testing another known good wire to see if your multimeter works.
If you still get no continuity, the wire or component may be broken.
Safety Alert:
Never test a live circuit. Testing a closed circuit with power on can damage your multimeter and put you at risk of shock. Always power off and discharge any stored energy before you start.
Quick Tips for Reliable Continuity Testing
Always inspect and clean your probes before each test.
Use the right setting on your multimeter.
Test your probes by touching them together before every job.
Keep your work area free from electrical noise.
Replace damaged probes right away.
A continuity test helps you find broken wires, bad switches, and faulty connections. When you know how to conduct a continuity test, you can spot problems fast and fix them safely. Practice using your continuity tester on different circuits. Soon, you’ll feel confident testing a closed circuit and knowing when you have good continuity.
Common Uses and Troubleshooting
Continuity Using Multimeter in Practice
You use continuity using multimeter in many everyday situations. It helps you find problems fast and keeps your home safe. Here are some common ways you can use it:
You can test a wall switch for continuity to see if it works. Place one probe on each terminal of the switch. If the switch is on, you should hear a beep. If you get no continuity, the switch might be broken.
You can test a fuse for continuity by touching the probes to both ends of the fuse. A beep means the fuse is good. No continuity means you need to replace the fuse.
You can test a wire for continuity to check for breaks. Put one probe at each end of the wire. If you hear a beep, the wire is fine. If not, the wire has a break.
You can check connections in outlets or extension cords. Good connections give you a beep. No continuity means you have a loose or broken connection.
Regular continuity testing helps you spot problems before they cause bigger issues. It also keeps your electrical system safe by finding faults early.
Tip: Always turn off the power before you use your multimeter for any continuity test.
Troubleshooting Continuity Testing Issues
Sometimes, continuity using multimeter does not give you the results you expect. Here’s what you can do:
Make sure your multimeter is set to the right mode.
Check that your probes are plugged in and clean.
Confirm the circuit is de-energized before testing.
Try your multimeter on a known good wire to see if it works.
If you still get no continuity, the part you are testing may be faulty.
Here’s a table showing common problems and what they mean:
Problem Type | What You See | What It Means |
|---|---|---|
No beep, high reading | Broken wire or bad switch | |
Short Circuit | Constant beep, low reading | Wires touching by mistake |
Loose Connection | Beep comes and goes | Corroded or loose connection |
Faulty Component | No beep or odd reading | Bad fuse, switch, or resistor |
Grounding Issue | No beep between grounds | Safety problem with grounding |
If you follow these steps, you can solve most problems with continuity using multimeter. Always double-check your setup and stay safe.
You can master a continuity test by following these steps:
Power down the circuit.
Connect your test leads correctly and check for damage.
Place the leads on the points you want to test and listen for a beep.
Always inspect your tools and wear safety gear. Double-check your setup before you start. Practice often—regular testing keeps your skills sharp. Want to learn more? Check out guides on circuits, Ohm’s Law, and breadboard basics.
FAQ
What does it mean if my multimeter does not beep during a continuity test?
If your multimeter stays silent, you probably have a broken wire or a bad connection. Double-check your probes and make sure the circuit is off. Try testing a known good wire to see if your meter works.
Can I use a continuity test on live circuits?
Warning:
Never use a continuity test on a live circuit. You could damage your multimeter or get shocked. Always turn off the power before you test for continuity.
Why does my multimeter beep even when I am not touching anything?
Loose or dirty probes can cause false beeps. Sometimes, moisture or dirt inside the meter can also trigger this. Clean your probes and check your multimeter for any signs of damage.
What should I do if my multimeter shows a high resistance but no beep?
A high resistance reading with no beep means the circuit is open. You might have a break in the wire or a faulty part. Try cleaning the contact points and test again.