Measuring Fuses with a Multimeter Made Easy
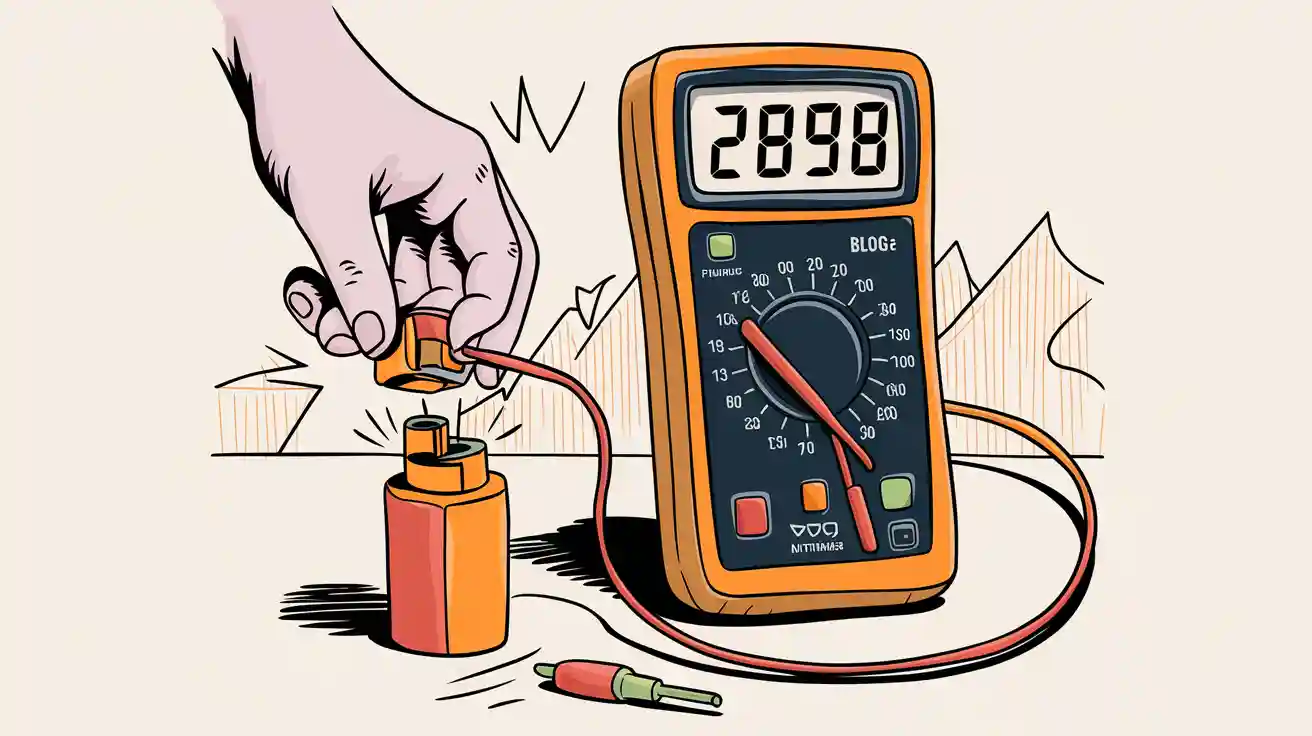
You can learn how to measure fuse with multimeter easily and safely. If you want a quick answer, just follow these steps: turn off the power, remove the fuse, set your multimeter to continuity or resistance mode, and touch the leads to each end of the fuse. Always use the right tools. Many people get hurt by using cheap multimeters, wrong test leads, or unsafe fuses.
Always check that your multimeter and leads match the correct safety ratings. Never replace a fuse with a wire or an unauthorized part.
You will find different fuses in your home and car. Here are some common types:
| Application Type | Common Fuse Types | Use Cases |
|---|---|---|
| Household | Thermal, Fast acting (F-type) | Appliances, short circuit, overheating protection |
| Automotive | Blade, Bolt-down, Cartridge | Car circuits, lights, power windows |
| Household/Industrial | Cylindrical, HRC | Basic, high current/voltage protection |
You can trust guides from brands like Fluke for learning how to measure fuse with multimeter. Anyone can master this skill with care and practice.
Key Takeaways
- Always turn off power and remove the fuse before testing to stay safe and get accurate results.
- Use your multimeter in continuity or resistance mode to check if a fuse is good or blown.
- A good fuse shows continuity (a beep or low resistance); a blown fuse shows no continuity or high resistance.
- Replace blown fuses only with the exact same type and rating to avoid damage or fire risks.
- Wear safety gear and use the right tools to protect yourself while testing and handling fuses.
How to Measure Fuse with Multimeter
Step-by-Step Guide
Learning how to measure fuse with multimeter is simple if you follow the right steps. You can use this guide to check fuses in your home or car. Always focus on safety and accuracy.
-
Turn Off Power
Start by switching off the power to the circuit or device. This step protects you from electric shock and keeps your multimeter safe. -
Verify Power is Off
Use a voltage tester or your multimeter to make sure no electricity flows through the circuit. Never skip this step. -
Remove the Fuse
Take the fuse out of its holder. Sometimes you need a small screwdriver to open the fuse holder. Removing the fuse helps you avoid false readings that can happen if the fuse stays in the circuit. -
Inspect the Fuse Visually
Look at the fuse. Check for a broken wire inside or any burn marks. These signs often mean the fuse is blown. -
Set Up Your Multimeter
Turn your multimeter on. Set it to continuity mode (usually marked with a sound wave or diode symbol). If your multimeter does not have continuity mode, use the resistance (ohms, Ω) setting. -
Check the Multimeter
Touch the two probes together. You should hear a beep in continuity mode or see a low resistance reading. This step confirms your multimeter works. -
Test the Fuse
Place one probe on each end of the fuse. The order does not matter. In continuity mode, a beep means the fuse is good. No beep means the fuse is blown. In resistance mode, a good fuse shows a very low resistance (close to zero). A blown fuse shows high or infinite resistance. -
Record and Replace
Write down your results if you are testing many fuses. Always replace a blown fuse with one that has the same type and rating.
Tip: If you want to know how to test a fuse in a car, you can sometimes use continuity mode without removing the fuse. However, for the most accurate results, always remove the fuse first.
Safety Tips
You must always put safety first when you test a fuse with a multimeter. Here are some important tips to keep you safe and help you get the right results:
- Wear insulated gloves and safety glasses to protect yourself from electric shock or sparks.
- Make sure your workspace is dry and free from clutter.
- Never touch the metal parts of the probes while testing fuses.
- Always disconnect the device from power before removing the fuse.
- Use only insulated tools when removing or handling fuses.
- Double-check that your multimeter is set to the correct mode before you begin.
- Do not bypass a fuse with wire or any other conductor. This can cause fires or damage your device.
- If you see frequent blown fuses or strange electrical problems, call a professional electrician.
Note: Testing fuses regularly helps prevent unexpected failures and keeps your devices safe.
Knowing how to measure fuse with multimeter and how to test a fuse gives you the power to solve simple electrical problems. You can use these steps for testing fuses in many situations, from home appliances to car circuits. Remember, always follow safety rules and use the right tools for the job.
Prepare to Test a Fuse
Before you start, you need to get ready. Good preparation helps you stay safe and get the right results. You will learn how to test a fuse the right way by following these steps.
Power Off and Remove Fuse
You must always turn off the power before you touch any fuse. This step keeps you safe from electric shock. Unplug the device or switch off the main power. Use a voltage tester to make sure the power is really off. Never skip this check.
Next, remove the fuse from its holder. Sometimes you need a small screwdriver. Place the fuse on a non-conductive surface like wood or plastic. This keeps the fuse safe and stops it from rolling away.
Tip: Always handle fuses with care. Hold them by the ends, not the glass or ceramic body.
Multimeter Settings
Now you need to set up your multimeter. This tool helps you find out if the fuse works. Here is a simple list to guide you:
- Connect the black test lead to the Common socket on your multimeter.
- Connect the red test lead to the Ohms (Ω) socket.
- Turn the dial to the lowest Ohms range, such as 200 ohms.
- Touch the metal tips of the leads together. You should see a low resistance reading. This check shows your multimeter works.
- Make sure the fuse is on a clean, non-metal surface.
- Touch the leads to each end of the fuse. Press firmly on the metal caps for a good connection.
- After testing, turn off your multimeter.
You now know how to test a fuse safely and correctly. Always check your multimeter before you start. This habit helps you avoid mistakes and keeps your results accurate. If you follow these steps, you will feel confident every time you need to check a fuse.
Test a Fuse with a Multimeter
Continuity Mode
You can use continuity mode to test a fuse quickly and easily. This method works well for most types of fuses. Many technicians prefer continuity mode because the beep makes testing fuses fast, especially when you have many to check.
Follow these steps to test a fuse for continuity:
- Remove the fuse from its holder or circuit board. This step helps you avoid false readings.
- Set your multimeter to continuity mode. Look for a symbol that looks like a sound wave or diode.
- Place one probe on each end of the fuse. The order does not matter.
When you measure continuity, listen for a beep or look for a reading close to zero ohms. If you hear a beep or see 0 ohms, the fuse is good. If you do not hear a beep or the display shows "OL" (open loop), the fuse is blown.
Note: You can sometimes test a fuse in a car without removing it by using continuity mode. This works because car fuses are easy to reach. However, removing the fuse gives you the most accurate result.
Keep in mind that some blown fuses may still show continuity. This can happen if carbon forms across the broken fuse element. Sometimes, a fuse may partially reconnect after blowing, which can also cause a false reading. If you see strange results, always double-check by removing the fuse and testing again.
Here is what you might see when you test a fuse with a multimeter in continuity mode:
- A good fuse shows continuity (closed circuit).
- A blown fuse usually shows no continuity (open circuit).
- Some blown fuses may still show continuity because of carbon tracing or partial reconnection.
- If the fuse is still in the circuit, other parts like transformers can give you a false reading.
Tip: Always remove the fuse before testing fuses for the most reliable results.
Resistance (Ohms) Mode
You can also test a fuse using the resistance (ohms) mode on your multimeter. This method helps you measure resistance and check if the fuse is working.
Follow these steps to test a fuse with resistance mode:
- Remove the fuse from the circuit or holder.
- Set your multimeter to the lowest ohms (Ω) setting.
- Touch one probe to each end of the fuse.
A good fuse will show a very low resistance, usually close to zero ohms. This means the fuse allows electricity to flow. If the display shows a high number or "OL," the fuse is blown and does not let electricity pass.
Note: If you see a low resistance but the fuse still does not work in your device, check for hidden damage or try testing fuses with a new one of the same rating.
Sometimes, a fuse may show a low resistance even if it is damaged. This can happen with special fuses or if there is a carbon path inside. Always look at the fuse and check for burn marks or broken wires.
When you test a fuse with a multimeter, you learn if the fuse is good or blown. You can use both continuity and resistance modes to make sure your results are correct. Testing fuses helps you keep your devices safe and working.
How to Tell if a Fuse is Blown

Interpreting Results
When you test a fuse, you need to know what the results mean. You can use both your eyes and a multimeter to check for a blown fuse. Look at the table below to see the most common signs:
| Indicator Type | Visual Indicators of a Blown Fuse | Multimeter Indicators of a Blown Fuse |
|---|---|---|
| Glass Fuse | Broken filament inside the glass; discoloration or blackened glass | No continuity; multimeter reads '1' or 'oL' (open loop) indicating no current flow |
| Midget Fuse | Similar to glass fuse; broken internal wire visible | No continuity; multimeter reading '1' or 'oL' |
| Plug Fuse | Broken wire visible through small window; blackened glass | Test by touching metal tips to threaded side and top metal; no continuity if blown |
| Automotive Fuse | Broken wire inside plastic body visible | No continuity between the two blades; multimeter reads '1' or 'oL' |
| Good Fuse | Intact wire or filament; clear glass or plastic | Continuity present; reading close to 0 ohms or continuity beep |
A good fuse will show a low resistance, usually less than 10 ohms, or you will hear a beep in continuity mode. If the multimeter shows "1" or "oL," the fuse is blown. This means the circuit is open and electricity cannot flow. You can use these signs when testing for a bad fuse in any device.
What to Do Next
If you find a blown fuse, you need to replace it with the correct type and rating. Follow these steps to stay safe:
- Find the fuse box. You might see it in a utility room, garage, or basement.
- Turn off all appliances and lights that use the blown fuse.
- Shut off the main power supply before you touch anything.
- Identify the blown fuse by looking for a cloudy or dark center, or by using your multimeter.
- Use a fuse puller to remove the damaged fuse.
- Install a new fuse with the exact same amperage rating.
- Turn the power back on and test the circuits to make sure everything works.
Always use rubber gloves and a plastic fuse puller for extra safety. Never touch exposed wires.
If you use the wrong fuse rating, you can create serious problems:
- A fuse with a higher rating may not blow during an overload, which can cause wires to overheat and start a fire.
- Overloaded circuits can damage your appliances and cost you money.
- The wrong fuse size can increase the risk of electric shock.
- Using the wrong fuse may void your device’s warranty.
You now know how to tell if a fuse is blown and how to replace it safely. Always check your appliance manual or ask an electrician if you are unsure about the correct fuse size.
Troubleshooting and Tips
Common Mistakes
You might run into problems when testing fuses with a multimeter. Many people make the same errors, but you can avoid them with a little care. Here are some of the most frequent mistakes:
- Testing a fuse without turning off the power. This can be dangerous and may damage your multimeter.
- Forgetting to double-check that the power is completely off before you start.
- Using a fuse with the wrong rating as a replacement. This can cause more damage or even start a fire.
- Bypassing a fuse by using a wire or another conductor. This is never safe.
- Ignoring signs of bigger electrical problems, such as fuses that keep blowing or lights that flicker.
Always use insulated tools and wear protective gear like gloves and safety glasses. If you notice repeated fuse problems or other strange electrical signs, call a professional electrician.
When your multimeter gives unclear readings, follow these steps to troubleshoot:
- Make sure the probes touch the fuse terminals firmly. Loose contact can cause bad readings.
- Check that your multimeter is set to the correct mode, such as continuity or resistance.
- Confirm your multimeter is calibrated and working by touching the probes together.
- Disconnect all power before testing.
- Look at the fuse for any signs of damage, even if it looks fine at first.
- Test new fuses before you install them.
Accurate Testing
You want your fuse test to be as accurate as possible. Here are some best practices:
- Always remove the fuse from the circuit before testing. This helps you avoid false readings.
- Use the lowest ohms setting on your multimeter for the most precise results.
- Zero your meter leads by touching them together before you test the fuse.
- Avoid using the ohms setting on a live circuit. This can damage your meter.
- For car fuses, make sure the ignition is in the right position if you need to check voltage.
- Consider using a test light along with your multimeter. A test light can help you spot high-resistance fuses that a multimeter might miss.
When you test internal fuses in electronic devices, always disconnect the device from power and wear safety gear. Set your multimeter to continuity or resistance mode. Place the probes firmly on each end of the fuse. A beep or low resistance means the fuse is good. No beep or infinite resistance means the fuse is blown. Always check new fuses before installing them and keep a record of your results for future reference.
Regular testing and good habits help you catch problems early and keep your devices running safely.
Learning how to test a fuse with a multimeter gives you a valuable skill. You protect your home and devices when you check fuses often. Regular testing helps you spot problems like short circuits, overloaded circuits, and voltage drops early.
- You lower the risk of fire hazards and electrical shocks.
- You keep your fuse box safe and your electrical system reliable.
- You save money by preventing costly repairs.
Always follow safety steps and use the correct fuse rating. Mastering this skill gives you confidence and peace of mind. 🛠️
FAQ
How do you know which fuse rating to use?
You should always check the device manual or the old fuse for the correct rating. The rating is usually printed on the fuse body. Using the wrong rating can damage your device or cause safety risks.
Can you test a fuse without removing it?
You can sometimes test car fuses in place using continuity mode. For the most accurate results, always remove the fuse before testing. Other circuit parts can affect your reading if you leave the fuse installed.
What does "OL" mean on a multimeter when testing a fuse?
"OL" stands for "Open Loop."
This means the fuse is blown. No current can flow through it. You need to replace the fuse if you see this reading.
Is it safe to replace a fuse with a higher rating?
Never replace a fuse with a higher rating.
A higher-rated fuse may not blow during a fault. This can cause overheating, fire, or damage to your device. Always use the correct rating.