How to Check a Fuse with a Multimeter for Beginners
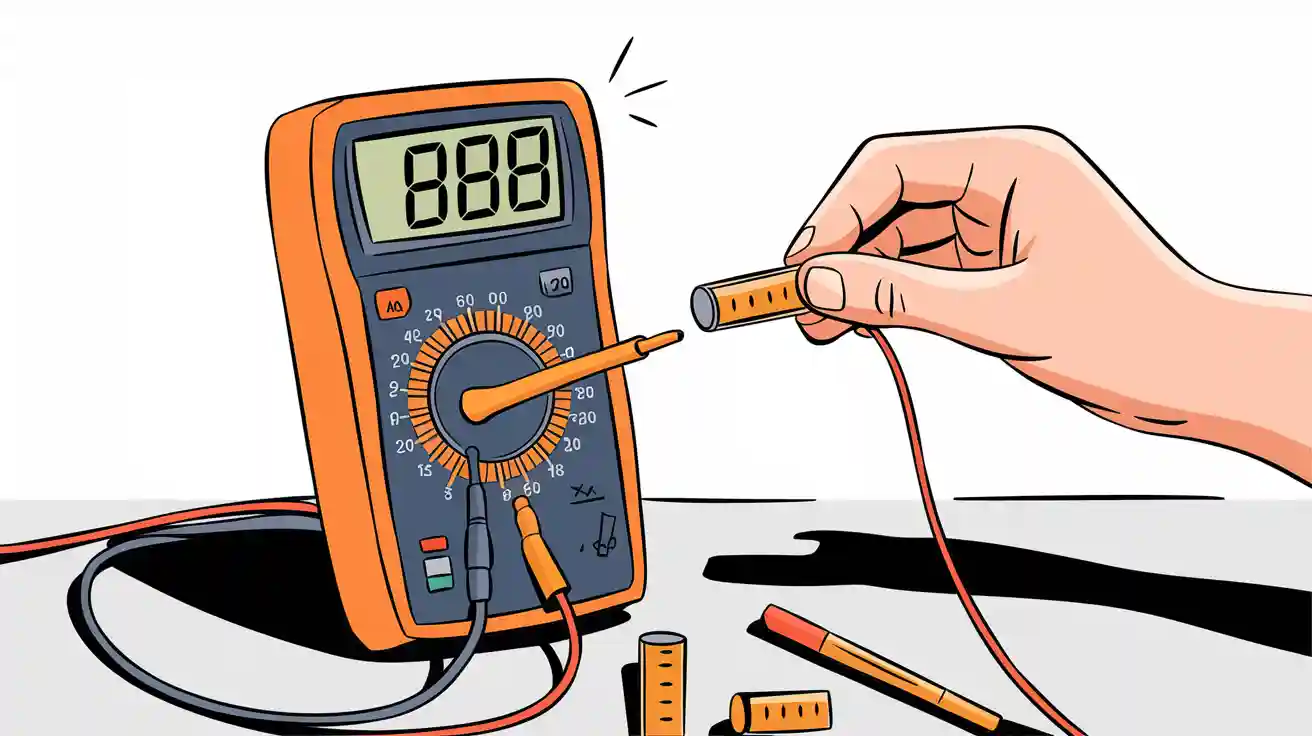
You can check a fuse with a multimeter by simply testing both ends of the fuse. This process works quickly and helps you find out if the fuse is still good. Many homes and cars use different types of fuses, such as blade fuses, glass tube fuses, and plug fuses. Always focus on safety and make sure you use the right settings when using a multimeter. You will find that how to check a fuse with a multimeter is easy to learn, even if you want to know how to test a fuse for the first time.
Key Takeaways
Always turn off power and wear safety gear before testing a fuse to avoid electric shock and injury.
Set your multimeter to continuity or resistance mode, then place the probes on each end of the fuse to check if it is good or blown.
Replace blown fuses with the exact same rating and inspect your circuit if fuses keep blowing to prevent further damage.
Safety Tips
Turn Off Power
Before you check any fuse, always turn off the power to the circuit. This step keeps you safe from electric shock or burns. Never remove a fuse while the circuit is live. If you skip this step, you risk serious injury or even fire. Use the main switch or breaker to cut off power. After you turn off the power, use a tester or your multimeter to confirm the circuit is not live. Never assume a circuit is safe until you check it yourself.
⚠️ Tip: If you feel unsure about any step, ask a certified electrician for help. Safety comes first.
Some common mistakes include removing a fuse without turning off the power or measuring resistance on a live circuit. These actions can damage your multimeter and put you in danger. Always follow the rule: power off first, then test.
Use Protective Gear
When you work with fuses, wear the right protective gear. Electrical safety groups recommend flame-resistant clothing and voltage-rated gloves. These gloves protect your hands from electric shock. Safety glasses or a face shield guard your eyes from sparks or debris. Heavy-duty leather boots give extra protection for your feet.
Use insulated hand tools rated for the circuit voltage.
Wear gloves tested for electrical work.
Choose clothing that covers your arms and legs.
Use safety glasses or a face shield.
If you need to remove a fuse from an energized circuit, use insulated fuse-handling tools. Never use bare hands or metal objects. Proper gear lowers your risk of shock, burns, or other injuries. Always inspect your gear before use to make sure it is in good condition.
Remove the Fuse
Find the Fuse Holder
You need to find the fuse holder before you can remove the fuse. Fuse holders come in different types. In homes, you often see cartridge fuse holders or panel mount fuse holders. These are usually inside appliances or control panels. In cars, you may find blade fuse holders or in-line fuse holders. Blade fuse holders protect many automotive circuits. In-line fuse holders are common in car wiring and make it easy to replace a fuse. Sometimes, you see fuse blocks, which hold several fuses together for different circuits.
🔎 Tip: Look for a small plastic or metal case labeled “fuse” or check your device’s manual to find the exact location.
Take Out the Fuse
You must follow safe steps to remove a fuse. Start by unplugging the device or turning off the main power. If the device was just used, wait a few hours. This gives time for any stored electricity to discharge. Open the cover to reach the fuse holder. Check if the ring nut that holds the fuse is loose. Tighten it if needed so the holder does not spin.
If the fuse feels stuck, try these methods:
Attach a dowel with a bit of super glue to the end of the fuse and pull gently.
Make a small wire loop to hook under the fuse and lift it out.
Use compressed air to loosen the fuse.
After you remove the fuse, clean the area with isopropyl alcohol and a cotton swab. If you cannot remove the fuse, ask a professional for help or consider replacing the fuse holder.
Set Up the Multimeter
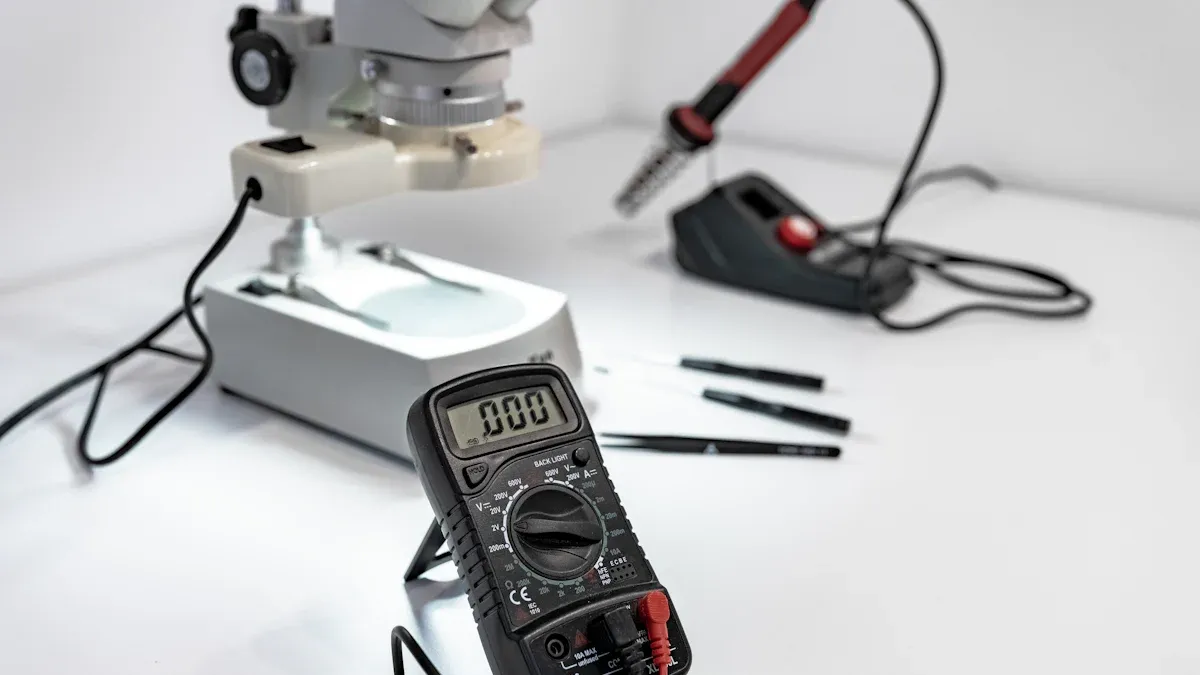
Before you test a fuse, you need to set your multimeter to the correct mode. Most digital multimeters have both continuity and resistance settings. You can use either one to check a fuse, but continuity mode is easier for beginners.
Continuity Mode
Set your multimeter to the continuity setting. Look for a symbol that looks like sound waves or a diode. In this mode, the multimeter will beep if there is a complete path for electricity. This beep means the fuse is good. You do not need to watch the screen all the time. The sound tells you if the fuse works.
💡 Tip: Continuity mode is best for beginners because it gives you a clear beep when the fuse is good. You do not have to read numbers or guess what they mean.
Many people like continuity mode because:
The test is quick and simple.
It is safe because you test with the power off.
The mode works well for low-resistance parts like fuses.
Resistance Mode
If your multimeter does not have a continuity setting, use resistance mode (ohms, marked as Ω). Turn the dial to the lowest ohms range. When you touch the probes to the fuse, a good fuse will show a low number, close to zero. If the screen shows "OL" or "1," the fuse is blown.
🔎 Note: Always check your multimeter before you start. Touch the two probes together. In continuity mode, you should hear a beep. In resistance mode, you should see a reading close to zero. This step makes sure your multimeter works.
You can find many good multimeters for beginners. Brands like Etekcity, Crenova, and AstroAI offer easy-to-use models at a low price. Digital multimeters are best for clear readings and simple operation.
How to Check a Fuse with a Multimeter
Place Probes on Fuse Ends
You can easily learn how to check a fuse with a multimeter by following a few simple steps. Start by making sure the power is off and you have removed the fuse from its holder. Always wear safety gloves and glasses before you begin.
To test a fuse with a multimeter, follow these steps:
Plug the black probe into the COM socket and the red probe into the VΩmA socket on your multimeter.
Turn the dial to continuity mode (look for a symbol that looks like sound waves) or to resistance mode (marked as Ω).
Touch the two probes together. In continuity mode, you should hear a beep. In resistance mode, you should see a reading close to zero. This step checks that your multimeter works.
Hold one probe on each metal end of the fuse. It does not matter which probe goes on which end. Make sure you press firmly so you get a good connection.
💡 Tip: For blade fuses, touch the probes to the metal prongs. For glass or ceramic fuses, touch the probes to the metal caps on each end.
Read the Results
After you place the probes, you need to read the results to know if the fuse is good or blown. This is the most important part of how to check a fuse with a multimeter.
Continuity Mode:
If you hear a beep, the fuse is good. The beep means electricity can flow through the fuse. If you do not hear a beep, the fuse is blown. The circuit is open, and the fuse cannot carry current.Resistance Mode:
Look at the display. If you see a low resistance value, close to 0 ohms, the fuse is good. This means the fuse allows electricity to pass through. If the screen shows "OL," "1," or a very high number, the fuse is blown. "OL" stands for "over limit" and means there is no path for electricity.
⚠️ Note: A beep or a low resistance reading means the fuse is intact and working. No beep or an "OL" reading means the fuse is blown and needs to be replaced.
You can use these steps for any type of fuse, including glass tube, ceramic, or blade fuses. Always make sure you have good contact between the probes and the fuse ends. If you want to test a fuse for continuity, use the continuity mode for a quick answer. Many people find this method the easiest when learning how to test a fuse.
Testing a fuse with a multimeter helps you find problems fast. If you need to test a fuse with a multimeter in a car or home, always follow these steps. You can also use these steps when you want to know how to test a fuse for the first time.
🛠️ Tip: If you keep blowing fuses, check for other problems in the circuit. A good fuse should not blow unless there is a fault.
Interpret the Results
Good Fuse Readings
When you test a fuse with a multimeter, you want to see signs that the fuse is in good condition. A good fuse will show a very low resistance value, usually close to zero ohms. This reading looks almost the same as when you touch the multimeter leads together. Most fuses in good condition have resistance in the milliohm range, sometimes up to a few hundred milliohms, depending on the type and rating. You do not need to measure this value exactly. If your multimeter shows a low number near zero, you can trust the fuse is working.
✅ Tip: If you hear a beep in continuity mode or see a low resistance value, the fuse is in good condition and can safely stay in your device.
You can also look at the fuse. If you see a thin, unbroken wire inside, this usually means the fuse is still good. Always rely on your multimeter reading for the final answer.
Blown Fuse Readings
If you want to know how to tell if a fuse is blown, check for these signs. A blown fuse will show a very high resistance or an open circuit on your multimeter. The display may read "OL," "1," or another symbol for overload. You will not hear a beep in continuity mode. This means the fuse cannot carry current and needs to be replaced.
A blown fuse often has a broken or missing wire inside.
Sometimes, the wire may look almost whole, but the fuse still fails under load.
Always use your multimeter to confirm, since visual checks can miss hidden breaks.
⚠️ Note: Testing for a bad fuse with a multimeter is more reliable than just looking at it. Some fuses may appear fine but do not work when the circuit is on.
If you keep finding blown fuses, you may have a bigger problem in your circuit. Always replace a blown fuse with one of the same rating and check for other issues if fuses blow again.
Visual Inspection
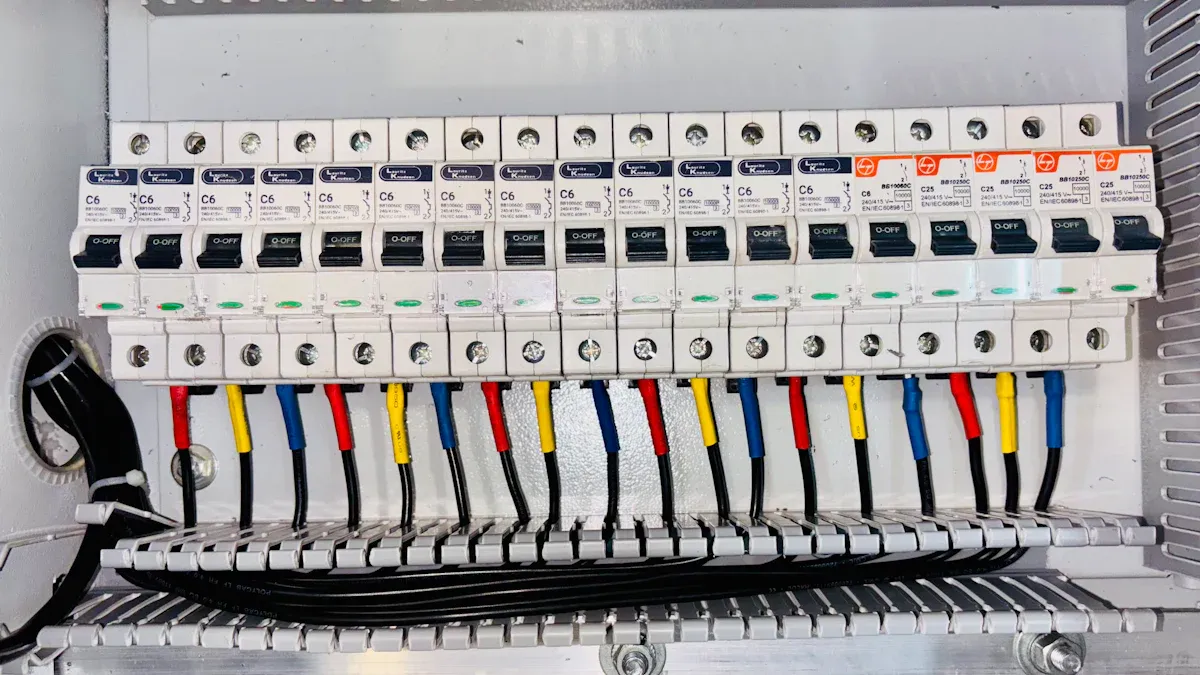
Signs of Damage
You can often spot a bad fuse just by looking at it. Most fuses have a clear body, so you can see the inside. Here are some signs that show a fuse might be blown:
Burnt or melted spots inside or on the outside of the fuse
Black or brown marks that look like burn marks
A melted or warped fuse body
Electrical parts, like your radio or headlights, stop working
Dim or flickering lights in your car or home
A burning smell or warning light on your dashboard
🔍 Tip: Always check both the inside and outside of the fuse for damage. Some fuses may look fine at first glance but have small cracks or burn marks.
When to Use a Multimeter
Sometimes, a fuse looks perfect on the outside, but it still does not work. You cannot always trust your eyes. Some fuses have hidden damage that you cannot see. In these cases, you need to use a multimeter to test the fuse. A multimeter checks if electricity can flow through the fuse. This test helps you find blown fuses that show no visible damage. You should use a multimeter if you see no clear signs of damage but your device still does not work. This method works well for all types of fuses, including blade, glass tube, and ceramic fuses.
Troubleshooting Tips
Common Mistakes
Many beginners make similar errors when working with fuses and a multimeter. You can avoid these problems by learning what to watch for:
Using the wrong setting on the multimeter, such as measuring voltage while set to current mode. This can give false readings or damage your tool.
Placing the probes in the wrong ports, especially after measuring current. If you forget to switch them back, you may get inaccurate results or blow the internal fuse.
Measuring current by placing the meter in parallel instead of in series. This can short the circuit and harm your meter.
Using damaged leads or a faulty meter. This puts your safety and accuracy at risk.
Testing resistance or continuity on a live circuit. This can damage your meter and give you false readings.
Not reading the manual for your specific meter. Each model has unique features and safety steps.
Replacing a blown fuse with the wrong type. Using a fuse with the wrong rating can damage your device or meter.
⚠️ Tip: Always double-check your settings and probe placement before you start. Take a moment to review your meter’s manual if you feel unsure.
Accurate Testing
You can improve your results by following a few simple steps:
Disconnect power and wear safety gear before you begin.
Set your multimeter to continuity or resistance mode. Test the probes together to make sure the meter works.
Place the probes firmly on each end of the fuse. Good contact is important for accurate readings.
Listen for a beep or look for a low resistance value. These signs mean the fuse is good.
Check for physical damage, such as broken wires or burn marks.
Test new fuses before installing them. This helps you avoid using a faulty replacement.
Calibrate your meter regularly to keep it accurate.
Write down your results. Keeping records helps you spot patterns and prevent future problems.
📝 Note: Careful steps and good habits help you get reliable results every time you test a fuse.
Replace a Blown Fuse
Use Correct Rating
When you replace a blown fuse, always use one with the exact same rating as the original. The rating includes both the amperage and voltage. You can find the amperage marked on the fuse, such as 10A or 15A. This number tells you how much current the fuse can handle before it blows. If you use a fuse with a higher rating, it may not blow when needed, which can damage your wiring or devices. A fuse with a lower rating might blow too soon, even during normal use.
⚠️ Tip: Never use foil or other objects to bypass a fuse. This can cause fires or serious damage.
Using the correct fuse rating keeps your circuit safe.
The voltage rating makes sure the fuse can safely stop the flow of electricity if it blows.
Manufacturers design fuses to protect your devices and wiring from harm.
Prevent Future Issues
If you notice that a new fuse blows soon after you install it, you may have a bigger problem. Common causes include overloaded circuits, short circuits, or faulty wiring. Sometimes, old fuse panels cannot handle modern electrical loads. Power surges, damaged outlets, or faulty appliances can also cause repeated fuse failures.
Sign | What It Means | What You Should Do |
|---|---|---|
Possible wiring or appliance problem | Call a licensed electrician | |
Burn marks or odor | Overheating or short circuit | Stop using and get an inspection |
Old fuse panel | May not meet current safety standards | Consider upgrading your system |
If you want to learn how to replace a fuse safely, always turn off the power first and check for the correct rating. If the fuse keeps blowing, do not ignore it. Ask a professional to inspect your wiring and devices. This step helps prevent electrical fires and keeps your home safe.
You can test a fuse with a multimeter by following these steps:
Set your multimeter to continuity or resistance mode.
Place the probes on each end of the fuse and check for a beep or low resistance.
Inspect for damage and record your results.
Safety Step | Impact on Success |
|---|---|
Reduces accidents | |
Visual inspection | Prevents failures |
If you feel unsure or unsafe, ask a professional for help. Testing a fuse is quick and easy when you follow these tips.
FAQ
How do you know if a fuse is blown without a multimeter?
You can look for a broken wire or burn marks inside the fuse. If you see damage, the fuse is likely blown.
Can you test a fuse while it is still in the circuit?
You should remove the fuse before testing. Testing in the circuit can give false results because other parts may affect the reading.
What happens if you use the wrong fuse rating?
Using the wrong fuse rating can damage your device or cause a fire. Always match the new fuse to the original rating for safety.