Ethernet Pinout Tips Every Beginner Should Know
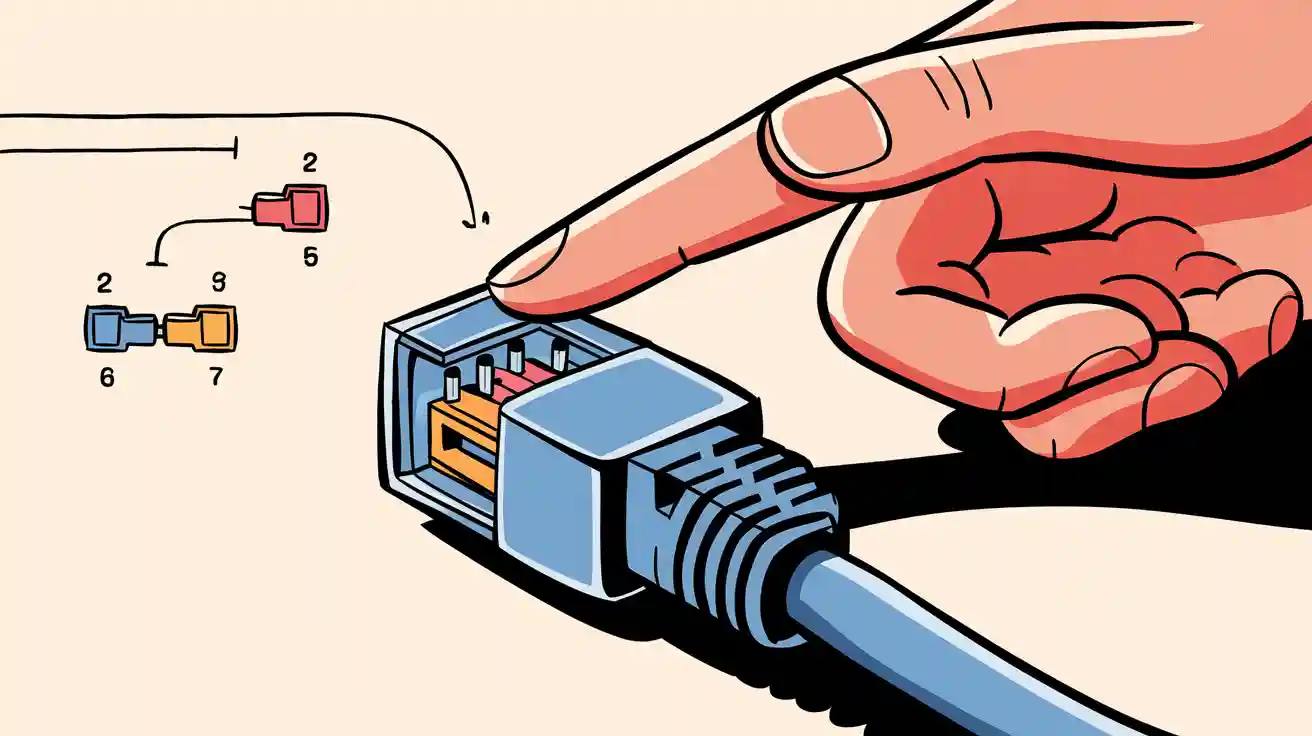
The correct ethernet pinout for reliable network connections uses either the T568A or T568B standard with proper wiring on both ends of the cable. You need to use an RJ45 connector and match each wire to the right pin to keep your network stable.
When you follow the right ethernet pinout and use good cabling, you avoid slow speeds, packet loss, and dropped connections.
- Neat RJ45 connector terminations and quality ethernet cables help your network run smoothly.
- Testing your connections ensures your RJ45 connector and ethernet pinout work as intended. Always follow each step and double-check your connections for the best results.
Key Takeaways
- Always use the same wiring standard, T568A or T568B, on both ends of your ethernet cable to ensure stable connections.
- Use quality RJ45 connectors and tools like wire strippers and crimpers to make neat, reliable cables.
- Test every cable with a cable tester before installation to catch wiring mistakes early.
- Choose straight-through cables for connecting different devices and crossover cables for similar devices like two computers.
- Double-check your wire order before crimping to avoid common network problems like slow speeds and dropped connections.
Ethernet Pinout Basics
What is Ethernet Pinout
You need to understand ethernet pinout before you start making cables or setting up a network. The ethernet pinout shows you how to connect the eight wires inside an ethernet cable to the pins on an RJ45 connector. This wiring scheme follows standards like T568A and T568B. Each standard tells you the exact order for the colored wires. When you use the correct pinout, you make sure the twisted wire pairs line up properly. This helps reduce crosstalk and keeps your signal strong.
The ethernet pinout also decides which wire pairs send and receive data. Your devices, like computers and switches, use these pairs to talk to each other. For example, a computer’s network card uses certain pins to send data and others to receive it. The pinout makes sure these connections match up, so your devices can communicate without problems. You need to follow the same wiring standard on both ends of a cable for straight-through connections. If you want to connect two similar devices, you use a crossover cable with T568A on one end and T568B on the other.
Tip: Always double-check your ethernet pinout before crimping the connector. A small mistake can cause big network issues.
The two most common ethernet pinout configurations are T568A and T568B. T568B is popular in offices and commercial buildings. T568A is often used in homes and government projects. Both standards work well, but you must use the same one on both ends for most connections.
Why Pinout Matters
You might wonder why the ethernet pinout is so important. The answer is simple: it keeps your network running smoothly. If you mix up the wires or use the wrong pinout, your connections will not work right. Devices may fail to communicate, or you might get slow speeds and dropped connections. Sometimes, the network will not work at all.
Incorrect pinout can cause many problems:
- Devices cannot send or receive data.
- You may see frequent disconnections.
- Network speed drops, and you get lag or high latency.
- Data packets get lost, and you lose accurate data transmission.
- Crosstalk and electrical noise increase, which hurts signal quality.
When you follow the correct ethernet pinout, you help your network deliver accurate data transmission. You also avoid errors that can lead to frustration and wasted time. Proper pinout keeps your connections stable and your ethernet devices working as they should.
Note: Even though many modern devices can auto-sense cable types, using the right pinout is still important for compatibility, especially with older equipment.
If you want reliable ethernet connections, always pay attention to the pinout. This small detail makes a big difference in network performance and helps you avoid common mistakes.
RJ45 Connector and Pinout
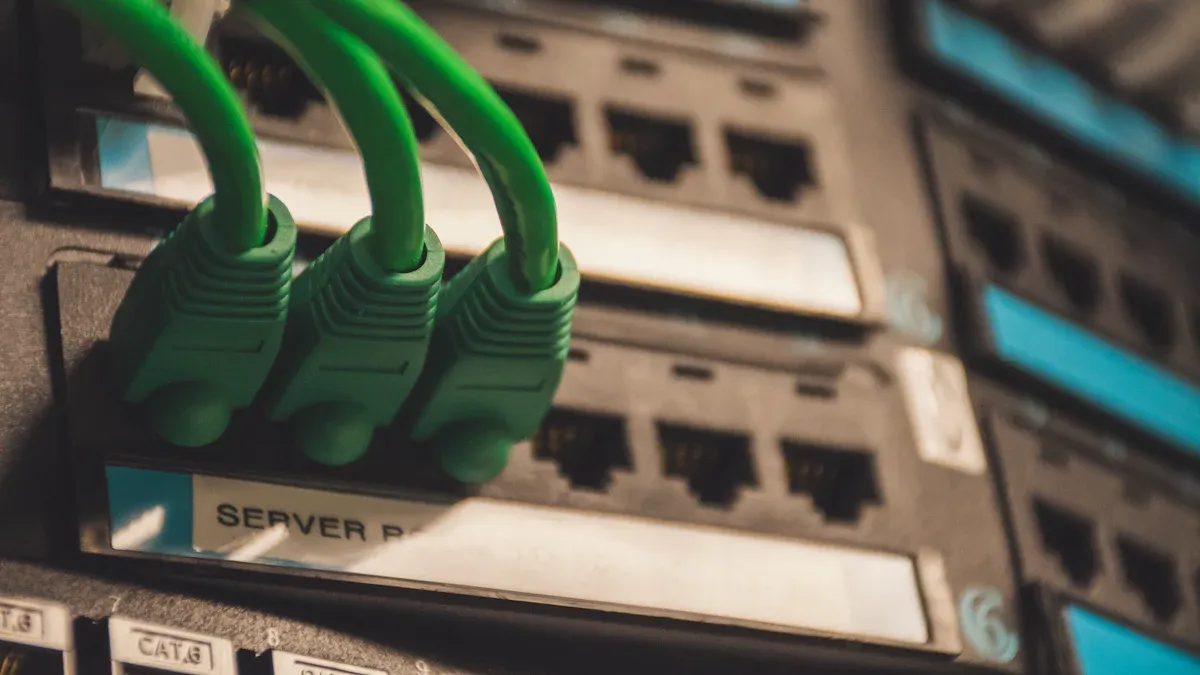
RJ45 Pinout Overview
When you work with Ethernet cables, you will use an rj45 connector almost every time. The rj45 connector is an 8P8C modular plug that connects to the eight wires inside your cable. You need to follow a specific rj45 pinout to make sure your network works correctly. The ANSI/TIA-568 standard defines two main rj45 pinout options: T568A and T568B. Both standards use all eight pins, but the order of the colored wires changes between them. T568A puts the green pair on pins 1 and 2, while T568B puts the orange pair there. This swap is the only difference, but it matters for network compatibility.
You should always use the same rj45 pinout on both ends of a cable unless you want a crossover cable. Mixing T568A and T568B creates a crossover cable, which connects two similar devices directly. Most home and office networks use straight-through cables, so keep the rj45 pinout consistent. If you look at an rj45 wiring diagram or a pinout diagram, you will see the exact order for each wire color. This helps you avoid mistakes and keeps your connections reliable.
Tip: Always double-check your rj45 pinout before crimping. A small error can cause big network problems.
Here is a quick pinout diagram for T568A and T568B:
| Pin Number | T568A Wire Color | T568B Wire Color |
|---|---|---|
| 1 | White/Green | White/Orange |
| 2 | Green | Orange |
| 3 | White/Orange | White/Green |
| 4 | Blue | Blue |
| 5 | White/Blue | White/Blue |
| 6 | Orange | Green |
| 7 | White/Brown | White/Brown |
| 8 | Brown | Brown |
Pin Functions
Each pin in the rj45 connector has a special job. In a standard Ethernet cable, pins 1 and 2 send data, and pins 3 and 6 receive data. The other pins help with faster speeds or Power over Ethernet (PoE). When you look at a pinout diagram, you see how each wire connects to a pin and what that pin does.
Here is a table showing the pin functions for the T568B rj45 pinout:
| Pin | Wire Color (T568B) | Function Description |
|---|---|---|
| 1 | White/Orange | Transmit Data + (TX+) |
| 2 | Orange | Transmit Data - (TX-) |
| 3 | White/Green | Receive Data + (RX+) |
| 4 | Blue | Bi-directional Data + (Gigabit/PoE) |
| 5 | White/Blue | Bi-directional Data - (Gigabit/PoE) |
| 6 | Green | Receive Data - (RX-) |
| 7 | White/Brown | Bi-directional Data + (Gigabit/PoE) |
| 8 | Brown | Bi-directional Data - (Gigabit/PoE) |
You use only four pins for 10/100 Mbps Ethernet, but all eight pins work for gigabit speeds and PoE. The rj45 pinout makes sure each device sends and receives data on the right wires. This is one of the key features of rj45 connectors. If you follow the rj45 wiring diagram and use the correct rj45 pinout, your network will stay fast and stable.
Ethernet Cable Wiring Standards
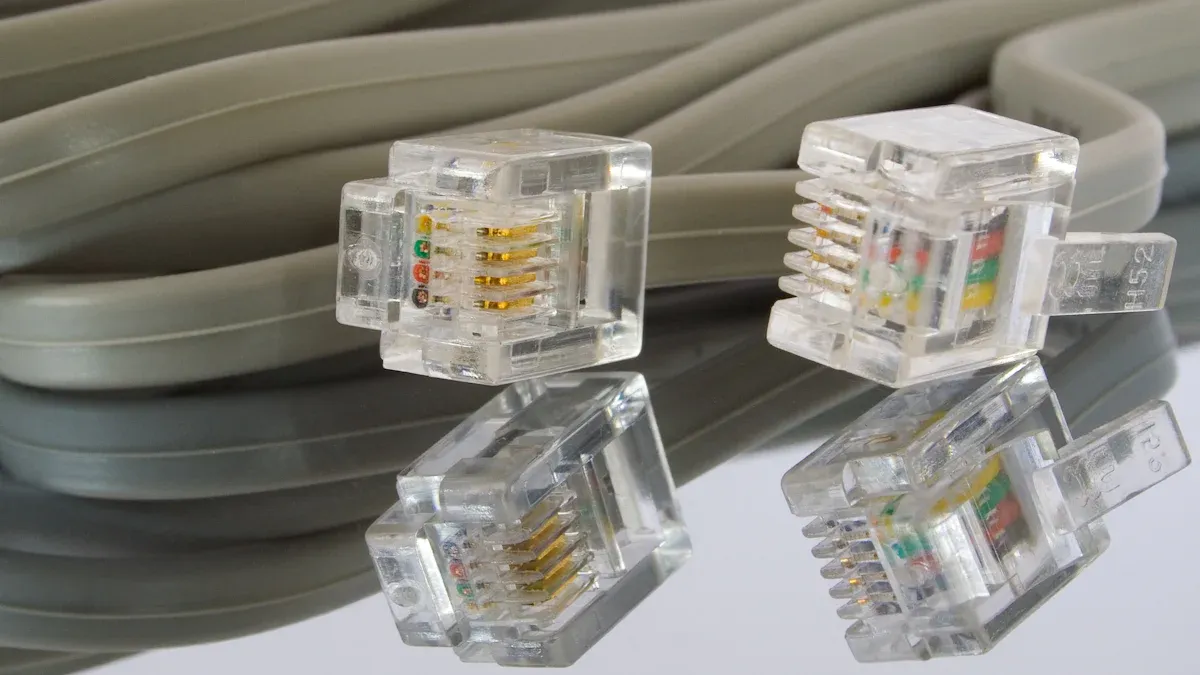
T568A vs T568B
When you make an ethernet cable, you need to choose between two wiring standards: T568A and T568B. Both standards use the same four color pairs—green, blue, orange, and brown. Each pair has a solid color wire and a white-striped wire. The main difference is the order of the green and orange pairs. T568A starts with green/white on pin 1, while T568B starts with orange/white on pin 1. You can see the difference in the table below:
| Pin Number | T568A Color Code | T568B Color Code |
|---|---|---|
| 1 | Green/White | Orange/White |
| 2 | Green | Orange |
| 3 | Orange/White | Green/White |
| 4 | Blue | Blue |
| 5 | Blue/White | Blue/White |
| 6 | Orange | Green |
| 7 | Brown/White | Brown/White |
| 8 | Brown | Brown |
You should always use the same wiring standard on both ends of the ethernet cable. Mixing T568A and T568B on opposite ends causes connectivity problems and can make your network unreliable. Both standards work the same way for speed and performance, so your choice depends on your needs.
- T568A is often used in homes and government projects. It works well with older devices like fax machines and cordless phones because it matches older wiring systems.
- T568B is more common in offices and modern network setups. Many commercial buildings use T568B for all ethernet cable installations.
Tip: Always check if your project or contract requires a specific standard. If not, pick one and use it everywhere for your network.
Consistency is the most important rule. If you use T568A on one end, use T568A on the other. This keeps your ethernet connections stable and avoids troubleshooting headaches.
Straight-Through vs Crossover
You will use two main types of ethernet cables in your network: straight-through and crossover. The difference comes from how you wire each end of the cable.
A straight-through ethernet cable has the same wiring order on both ends. For example, if you use T568A on one end, you use T568A on the other. The same goes for T568B. Each pin connects to the same pin number on the other end. This type of cable connects different types of devices, such as a computer to a switch or a router to a modem. Most network setups use straight-through cables.
A crossover ethernet cable has a different wiring order on each end. One end uses T568A, and the other uses T568B. This swaps the transmit and receive wires. You need a crossover cable when you connect two similar devices directly, such as two computers or two switches. The crossover lets the devices send and receive data without a switch or router in between.
Here is a table to help you see the difference:
| Parameter | Straight-Through Cable | Crossover Cable |
|---|---|---|
| Wiring Sequence | Same wiring order on both ends | Different wiring order on each end |
| Pin Connections | Pin 1 to Pin 1, Pin 2 to Pin 2, etc. | Pin 1 to Pin 3, Pin 2 to Pin 6, etc. |
| Usage | Connects different device types (computer to switch) | Connects similar devices (computer to computer) |
| Network Reliability | High, if both ends match | Needed for direct device-to-device connections |
Note: Many modern network devices support Auto-MDIX, which lets them adjust for cable type automatically. However, older devices still need the correct cable type to work.
If you use the wrong cable type, your devices may not connect. For example, if you try to connect two computers with a straight-through cable, the network connection may fail. Always choose the right cable for your devices to keep your network running smoothly.
- Use a straight-through ethernet cable for most home and office networks.
- Use a crossover ethernet cable for direct connections between similar devices, like two computers or two switches.
- Always double-check your wiring before crimping the RJ45 connectors.
Choosing the correct cable type and wiring standard helps you avoid connection problems and keeps your ethernet network reliable.
How to Identify and Make Ethernet Cables
Step-by-Step Process
Making your own ethernet cables can save you money and help you build custom lengths for your network. You need to follow each step carefully to ensure a reliable connection. Here is a simple guide to help you make a cable with the correct rj45 pinout:
- Measure and cut the ethernet cable to your desired length. Always add a little extra for slack.
- Strip about 1.5 to 2 inches of the outer jacket using a wire stripper. Be gentle so you do not damage the wires inside.
- Untwist the four pairs of wires and straighten them out.
- Arrange the wires in the correct order for the T568B standard: White/Orange, Orange, White/Green, Blue, White/Blue, Green, White/Brown, Brown.
- Hold the wires flat and trim them evenly so they reach the end of the rj45 connector.
- Insert the wires into the rj45 connector with the clip facing down. Make sure each wire sits in its own groove and the cable jacket goes inside the connector for strain relief.
- Use a crimping tool to press the rj45 connector onto the cable. Squeeze firmly until you hear a click.
- Check that the copper ends of the wires are visible at the front of the rj45 connector and that the order is correct.
- Test the finished cable with a cable tester to make sure all connections work.
Tip: Always double-check the wire order before crimping the rj45 connector. A small mistake can cause the ethernet cables to fail.
Tools Needed
You need the right tools to make ethernet cables that work well. Using high-quality tools helps you avoid mistakes and makes the job easier. Here are the essential tools for beginners:
- Cutting tool: Use this to cut the ethernet cables to the right length.
- Wire stripper: This tool removes the outer jacket without damaging the wires inside.
- Crimping tool: You need this to attach the rj45 connector securely. Good crimpers have comfortable grips and work with different cable types.
- rj45 connectors: These connectors fit on the ends of your ethernet cables.
- Cable tester: Use this to check if your cable works and if the rj45 pinout is correct.
Common mistakes include using the wrong wire order, damaging wires while stripping, or not pushing the wires fully into the rj45 connector. Avoid sharp bends in the ethernet cables and do not run them near power lines to prevent interference. Always plan your cable routes and leave some slack for easy installation.
Note: Investing in a good crimping tool makes your rj45 connections more reliable and helps your ethernet cables last longer.
Troubleshooting Ethernet Pinout Issues
Common Problems
When you work with ethernet cables, you may face several common problems that make troubleshooting necessary. Many beginners run into these issues:
- Loose or damaged cables and connectors often cause unstable connections.
- Plugging cables into the wrong ports or devices can stop your network from working.
- Overlooking simple checks, like making sure devices are powered on and cables are fully inserted, leads to wasted time.
- Using the wrong rj45 pinout or mixing up T568A and T568B standards can cause network failures.
- Poor cable management and lack of shielding increase interference and signal loss.
- Mismatched speed and duplex settings sometimes cause link flapping, where the connection drops and reconnects.
Tip: Always inspect your cables for cuts, crushing, or other physical damage before you start network troubleshooting.
If you do not fix pinout errors, you may see symptoms like no link lights, unreliable connections, or even hardware damage. The table below shows some possible consequences:
| Consequence / Symptom | Cause / Explanation | Impact on Ethernet Functionality |
|---|---|---|
| Link down, LEDs off | Incorrect rj45 pinout or power issues | Network link fails to establish |
| Hardware damage | Poor grounding or shielding | Device may stop working |
| Unreliable status indicators | Electrical interference | Hard to diagnose problems |
| Increased downtime | Need for frequent resets | More maintenance required |
Fixing Pinout Errors
You can solve most rj45 pinout problems with careful troubleshooting and the right tools. Follow these steps for effective network troubleshooting:
- Use an Ethernet cable tester. Connect one end of the cable to the main unit and the other to the remote unit.
- Turn on the tester and run the test. The tester checks each wire for continuity and correct rj45 pinout.
- Read the results. The tester will show if you have any opens, shorts, or crossed wires.
- If you find a pinout error, cut off the faulty RJ45 connector.
- Strip the cable jacket to expose the wires.
- Untwist and arrange the wires according to your chosen rj45 pinout standard (T568A or T568B).
- Trim the wires so they are even and insert them into a new RJ45 connector.
- Use a crimping tool to secure the connector.
- Test the cable again. Repeat the process if the tester still shows errors.
Note: Always follow the rj45 pinout diagram as your guide. This step helps you avoid repeating the same mistake.
By following these troubleshooting steps, you can fix most pinout errors and keep your network running smoothly. Good network troubleshooting skills help you spot and solve problems quickly, saving you time and frustration.
You can build a reliable network by following these essential tips:
- Always use the same wiring standard, like T568A or T568B, for every rj45 cable.
- Avoid sharp bends and kinks to protect the twisted pairs inside each rj45 cable.
- Use cable management tools and label each rj45 cable for easy troubleshooting.
- Test every rj45 connection with a cable tester before installation.
- Practice making rj45 cables to improve your technique and prevent common mistakes.
- Document your rj45 wiring diagrams and use high-quality tools for consistent results.
- Choose guides from certified experts to learn more about rj45 pinout and cable wiring.
Tip: Double-check every rj45 pinout before crimping to avoid costly errors and keep your network running smoothly.
FAQ
What happens if you mix T568A and T568B on one cable?
If you use T568A on one end and T568B on the other, you create a crossover cable. This cable connects similar devices, like two computers. For most networks, you should use the same standard on both ends.
Can you reuse RJ45 connectors after crimping?
No, you cannot reuse RJ45 connectors once you crimp them. The metal pins inside get pressed into the wires. If you remove the connector, it will not work well again. Always use a new connector for each cable.
How do you know if your Ethernet cable is bad?
You can use a cable tester to check each wire. If the tester shows a broken or crossed wire, the cable is bad. You may also notice slow speeds, dropped connections, or no network signal.
Do all eight wires need to be connected for Ethernet?
For 10/100 Mbps Ethernet, only four wires carry data. Gigabit Ethernet and Power over Ethernet (PoE) use all eight wires. You should always connect all eight wires for best performance and future upgrades.
What tools do you need to make Ethernet cables?
- Cable cutter
- Wire stripper
- Crimping tool
- RJ45 connectors
- Cable tester
These tools help you cut, strip, arrange, and test your cables. Using the right tools makes your work easier and your cables more reliable.