DB9 connector tips for local DIY projects
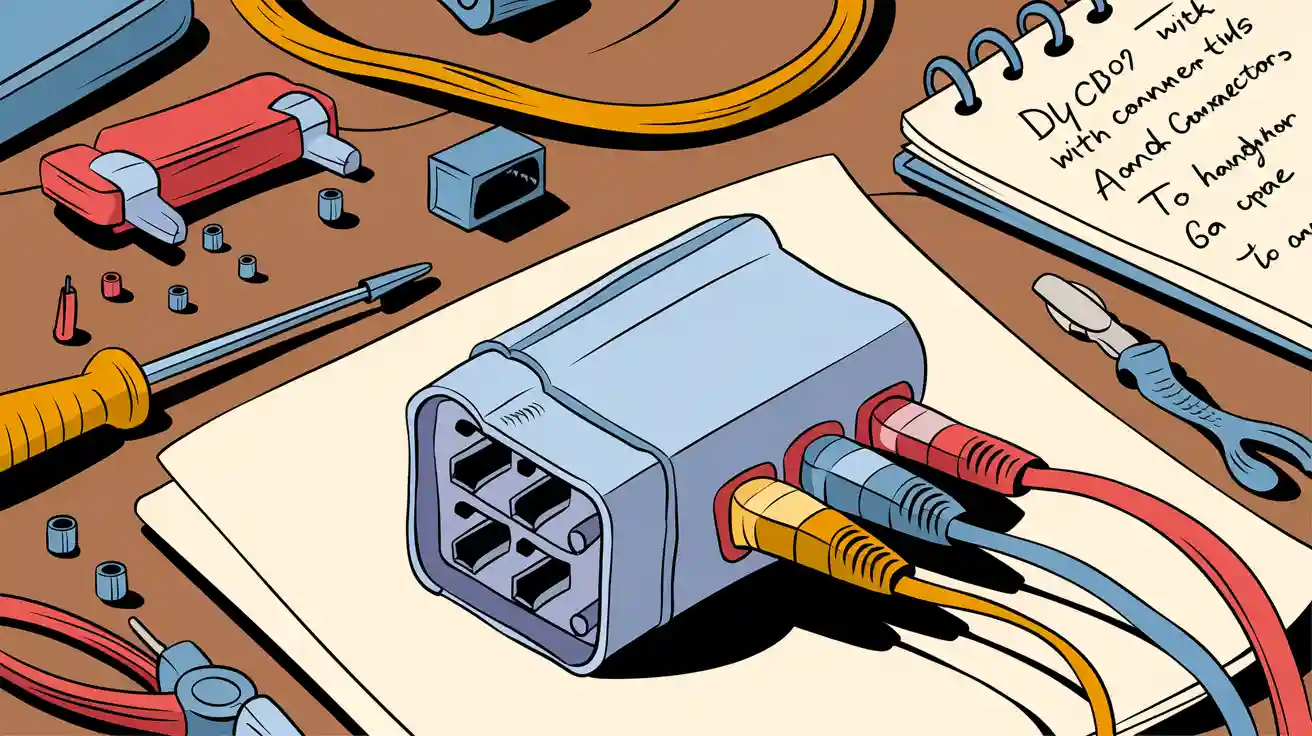
Ever tried to squeeze a db9 connector into a tight spot, only to find it just won’t fit? You aren’t alone. Many DIYers run into issues with space or struggle to match the right connector to their project. Always check each connector for damage before you start. Think about your power and data needs, too. A little planning saves a lot of frustration!
Key Takeaways
- Choose the right type of DB9 connector (male or female) for your devices to ensure a proper fit and reliable connection.
- Always check the pin assignments and data specifications before wiring to avoid communication errors in your projects.
- Consider the environment where your DB9 connector will be used. For harsh conditions, opt for rugged, sealed connectors to enhance durability.
- Use crimping for a quick and strong connection when installing DB9 connectors, as it is more reliable than soldering for most DIY projects.
- Inspect connectors for damage before installation. Replace any damaged parts to maintain strong serial communication.
DB9 Project Needs
Connection Type
When you start a DIY project, you need to pick the right connection type. The db9 connector, also known as the 9-pin d-subminiature connector, is a classic choice for serial communication. You often see it in home automation, robotics, and even retro gaming setups. The db9 fits well in small spaces, so you can use it when you have limited room on your project board.
You should always check if you need a male or female db9 connector. Male connectors have pins, while female connectors have holes. Make sure your devices match up, or you might end up with a connection that just won’t work. If you want reliable serial communication, double-check the pin assignments before you start wiring.
Tip: Keep your cable runs short. Long cables can cause signal loss and make communication less reliable.
Data Specs
The db9 connector supports different data signals, which makes it great for many types of communication. Each pin has a special job. Here’s a quick look at what each pin does:
- Pin 1: DCD - Data Carrier Detect
- Pin 2: RXD - Receive Data
- Pin 3: TXD - Transmit Data
- Pin 4: DTR - Data Terminal Ready
- Pin 5: GND - Signal Ground
- Pin 6: DSR - Data Set Ready
- Pin 7: RTS - Request to Send
- Pin 8: CTS - Clear to Send
- Pin 9: RI - Ring Indicator
You need to match the data specs of your devices. If you use the wrong settings, your serial communication might not work at all. Always check the baud rate on both devices. If they don’t match, you’ll get errors or no data at all.
Here’s a table with the recommended power and data specs for db9 connectors in home automation projects:
| Specification | Value |
|---|---|
| Current Rating | Up to 5A per pin |
| Voltage Rating | Up to 300V |
| Operating Temperature | -55°C to +105°C |
Note: Use shielded cables to cut down on electromagnetic interference. This helps keep your communication clear and steady.
Environment
The place where you use your db9 connector matters a lot. If you build a project for your desk or a clean room, a standard db9 will work fine. But if you plan to use your project outside or in a workshop, you need to think about the environment.
- High or low temperatures can make the connector brittle or even melt the plastic.
- Fast temperature changes can lower the strength of the insulation, which can cause electrical problems.
- Different materials in the connector can expand or shrink at different rates. This can lead to loose connections or even breakage, especially in high-speed communication setups.
If you want your project to last, pick a db9 connector that matches your environment. For harsh places, look for sealed or heavy-duty connectors. These can handle dust, moisture, and rough handling much better.
Tip: Standard db9 connectors may not work well on factory floors or outdoors. Choose a more rugged type for those spots.
Matching the connector specs to your project needs is key. If you use the wrong db9, you might face power issues, data errors, or even damage your devices. Always check the specs before you buy or install a connector. This way, your communication stays strong, and your project runs smoothly.
DB9 Connector Types
Male vs. Female
When you look at a db9 connector, you will notice two main types: male and female. The male db9 has nine metal pins sticking out. The female db9 has nine holes that match up with those pins. You need to match the right type to your device. If you try to connect two male connectors, they will not fit. The same goes for two female connectors. Always check your device before you buy a db9 connector. This simple step saves you time and frustration.
You might see db9 connectors on old computers, game consoles, or even some modern gadgets. The male connector usually plugs into the device, while the female connector sits on the cable. Sometimes, it is the other way around. If you are not sure, look at the pinout diagram for your device. This will help you pick the right connector every time.
Tip: Keep a spare male and female db9 connector in your toolbox. You never know when you will need one for a quick fix!
Pin Layouts
The db9 pinout is what makes this connector so useful for communication projects. Each pin has a special job. If you want reliable serial communication, you must connect the right pins. The db9 pinout follows a standard layout, but you should always double-check your device’s manual.
Here is a quick look at the most common db9 pinout for serial communication:
| Pin | Signal Name | Description |
|---|---|---|
| 2 | RXD | Receive Data |
| 3 | TXD | Transmit Data |
| 5 | GND | Signal Ground |
Other pins also play important roles in communication. Here is a table with more db9 pinout details:
| Pin | Signal Name | Description |
|---|---|---|
| 1 | DCD | Data Carrier Detect |
| 4 | DTR | Data Terminal Ready |
| 6 | DSR | Data Set Ready |
| 7 | RTS | Request To Send |
| 8 | CTS | Clear To Send |
| 9 | RI | Ring Indicator |
You can see that each pinout has a unique signal. If you mix up the pin functions, your communication will not work. Always use the correct db9 pinout for your project. Some projects only use a few pins, while others use all nine. If you want to customize your setup, you can choose which pins to use for your signals.
Signal Use
The db9 connector shines in communication projects because of its flexible signal use. You can use it for serial communication, data transfer, or even custom control signals. The db9 pinout lets you send and receive data, control devices, and check the status of your connection.
Here are some ways you can use the db9 connector signals:
- Connect a computer to a microcontroller for programming.
- Link two devices for serial data transfer.
- Use the db9 for custom control signals in robotics or automation.
If you want to make your own cable, you can pick which signals to use. Some people only need RXD, TXD, and GND for simple serial communication. Others use all the pins for more advanced setups. The db9 connector supports many pinout options, so you can build what you need.
You can also find db9 connectors with special features for DIY projects. Some have easy solder cups, which make wiring simple. Others use a durable metal shell to block interference. You might even find connectors in different colors to help you organize your cables. Here is a table with some customization options:
| Feature | Description |
|---|---|
| Standard 9-Pin Layout | Compatible with RS-232 serial ports and common D-sub hardware. |
| Easy Solder Cups | Large, clearly marked solder cups accept standard wire gauge for fast assembly. |
| Durable Metal Shell | Provides shielding against interference, ensuring reliable performance. |
| Color Variability | Connectors may come in different shell colors, maintaining functionality. |
| Versatile Applications | Suitable for DB9 male adapters, serial cable connectors, or replacements. |
| Recommended Wire Size | Works with 22-26 AWG wire for optimal connections. |
Note: If you want the best results, use the recommended wire size and a metal shell. This helps your db9 connector last longer and keeps your communication strong.
The db9 connector gives you many ways to set up your project. You can use the standard db9 pinout or create your own. Just remember to match the pinout and signal to your device. This way, you get reliable serial communication every time.
Build Quality
Durability
You want your db9 project to last. Start by checking each connector before you mount it. Look for any signs of physical damage. Bent pins, cracks, or corrosion can ruin your serial communication. Even a small amount of oxidation can cause electrical problems. Loose connectors can also break your connection. Here’s a quick checklist to help you spot trouble:
- Look for bent or missing pins.
- Check for green or white spots (signs of oxidation).
- Wiggle the connector gently to see if it feels loose.
- Make sure the shell is not cracked.
If you find any of these issues, replace the db9 connector before you mount it. This simple step keeps your serial communication strong and your electrical signals clean.
Shielding
Shielding protects your db9 from electrical noise. If you use your connector in a busy workshop or near other electronics, you need good shielding. A metal shell blocks outside signals that can mess up your communication. For high-frequency serial communication, steel, zinc alloy, or stainless steel shells work best. These materials often have a special coating like tin, nickel, or gold. This coating adds extra durability and helps with electrical conductivity.
Tip: Always mount your db9 connector with the shell grounded. This helps stop electrical interference and keeps your data safe.
Contact Material
The material inside your db9 connector matters a lot. Good contact material keeps your serial communication reliable, even after many mount and unmount cycles. Brass is a common choice for pins and sockets. Many db9 connectors use gold or tin plating on the contacts. This helps prevent corrosion and keeps the electrical connection strong.
Here’s a table to show how different materials and wear can affect your db9 connector:
| Mechanism | Impact on Reliability and Longevity |
|---|---|
| Wear from mount cycles | Contact surface wears down, which can cause higher resistance and failure. |
| Loss of spring force | Deformed contacts may not hold tight, especially if you mount in a spot with lots of vibration. |
| Debris generation | Tiny bits of worn material can build up, causing bad electrical connections. |
For the best results, choose a db9 connector with brass contacts and gold plating. This combo gives you long life and steady electrical performance. If you plan to mount your db9 in a place with lots of electrical noise, pick a connector with a metal shell and strong insulation. Thermoplastics like PBT or LCP work well for the insulator. They keep your electrical signals stable, even if you mount your project in a tough spot.
Compatibility
Device Match
You want your db9 project to work right the first time. Start by checking if your equipment uses the same type of db9 connector. Some devices use a male connector, while others use a female one. Look at your equipment’s manual or the port itself. If you see pins, you need a female connector. If you see holes, you need a male connector. This simple check saves you from buying the wrong part.
Many types of equipment use db9 for serial communication. You might find db9 on old computers, test tools, or even modern electrical equipment. Always match the connector to your device. If you use the wrong one, your communication will not work. Some equipment, like data loggers, need a db9 to connect to CAN networks. This setup helps you collect data from your electrical equipment without trouble.
Standards
You need to follow industry standards to keep your db9 project safe and reliable. Different fields use db9 for different reasons. Here are some common standards you might see:
- NMEA 2000: Used in boats and marine equipment. This standard lets you connect devices in a marine network. Sometimes you need an interface converter to make everything work together.
- DeviceNet: Used in factories and industrial automation. DeviceNet helps you connect M12 and db9 equipment. This setup makes your communication more reliable.
- CANopen: Used in modern networks. CANopen lets you add older db9 equipment to new systems. You can extend your network or test new setups with this standard.
- Data Logger: Some data loggers use db9 to connect to CAN networks. This setup makes it easy to collect and store data from your equipment.
Tip: Always check your equipment’s manual for the right db9 standard. This step helps you avoid communication errors.
Adapter Use
Sometimes your equipment does not match up. Maybe you have a db9 connector, but your device uses a different port. You do not have to give up on your project. You can use adapters to connect different types of equipment. For example, you might use a db9-to-USB adapter for modern computers. You might also use a db9-to-M12 adapter in industrial settings.
Adapters help you link old and new equipment. They also let you use db9 for serial communication with devices that do not have a db9 port. Just make sure the adapter supports the right signals for your communication needs.
Note: Not all adapters work with every type of serial communication. Always check the specs before you buy.
If you match your db9 connector to your equipment, follow the right standards, and use the right adapter, your communication will stay strong. Your electrical equipment will work together, and your project will run smoothly.
DB9 Installation Tips
Soldering vs. Crimping
When you install a db9 connector, you have two main choices: soldering or crimping. Each method has its own strengths. Crimping often works better for most DIY projects. You get a connection that stands up to heat, vibration, and movement. Crimped connections also last longer in tough spots. You can finish a crimped connection faster, and you do not need as much skill as soldering. Soldering takes more time and practice. If you do not heat the joint enough, you might get a cold solder joint, which can break your serial communication. Many industries pick crimping because it is reliable and easy to automate.
Tip: If you want a quick and strong connection, try crimping. Save soldering for small repairs or when you need a custom fit.
Cable Management
Good cable management keeps your db9 project neat and your communication clear. Here are some steps you can follow:
- Prepare your cable by stripping the jacket and wires. Make sure you cut the right length for your connector.
- Twist wire pairs together. This helps keep your serial signals strong and reduces noise.
- Attach each wire to the correct pin on your db9 connector. Use a pinout diagram to avoid mistakes.
- Add strain relief, like a clamp or backshell. This stops the cable from pulling on your connections.
- Line up the male and female connectors before you plug them in. Misalignment can bend pins and break your serial communication.
You should also use shielding and proper grounding. Shielded cables block outside signals that can mess up your data. Twisted-pair wiring helps stop interference, which keeps your serial communication steady.
Troubleshooting
Sometimes, things do not work as planned. Here are some common steps to fix db9 connection problems:
- Check that the transmit (TX), receive (RX), and ground (G) pins match on both devices.
- Use a multimeter to test pins 2, 3, and 5. Make sure you have a straight-through cable.
- Double-check the baud rate settings on both devices. They must match for serial communication to work.
- Look at your cable pinout. Make sure TX and RX are not swapped.
If you follow these steps, you can solve most db9 communication issues. Careful installation and a little patience go a long way in keeping your project running.
Buying DB9 Connectors
Trusted Sources
You want your db9 project to work right, so you need a good connector. Not all stores sell high-quality parts. Some places stand out for their reliable products and service. Here are a few trusted sources where you can find the right db9 connector for your serial communication needs:
- Metalized DIY Kit, DB9 Male / Female: This kit lets you build your own db9 or HDB15 adapters. It comes with shielded covers and connectors, which help keep your communication strong.
- DB9 Connector | 9 Pin D-Sub Connector: You can find many types of db9 connectors here. They offer different shapes and sizes, so you can match your project’s needs.
- DB9 Connector: This company has a long history of making quality db9 connectors. You can trust their products for your serial projects.
You can find both male and female connectors at these places. They also offer parts for different environments, so your db9 project can handle tough spots.
Pitfalls
Buying a db9 connector can seem easy, but there are some traps to watch out for. Many people buy the wrong part or get a connector that does not last. Here are some common pitfalls:
- Picking the wrong pin layout. Always check your device’s manual before you buy.
- Choosing a connector with poor build quality. Cheap connectors can break or cause bad communication.
- Ignoring the specs. Make sure the connector matches your serial communication needs.
You can check the specs and build quality before you buy. Look for details like the product name, material, and warranty. Here is an example of what to look for:
| Specification | Details |
|---|---|
| Product Name | StarTech.com Assembled DB9 Male Solder D-SUB Connector with Plastic Backshell |
| Manufacturer Part Number | C9PSM |
| Connector Type | DB-9 Serial - Male |
| Connector Details | 1 x 9-pin DB-9 Serial Male |
| Product Material | Plastic |
| Warranty | Lifetime |
| Environmental Compliance | RoHS, WEEE |
Tip: Always check for a warranty and compliance with safety standards. This helps you avoid problems with your db9 project.
If you follow these tips, you will get a connector that keeps your communication clear and your serial project running for a long time.
You want your serial project to work every time. Start by checking the voltage needs and gather all your parts. Remove the cover from your db9 connector and make sure every wire connects right. Use a continuity tester to check your serial lines. Always inspect for bent pins and use thumbscrews for a secure fit. Protect your serial pins with covers when not in use. If you have tight spaces, try right-angle adapters. These steps help you avoid common mistakes and keep your project running strong.
FAQ
What tools do I need to install a DB9 connector?
You need a wire stripper, a small screwdriver, and either a soldering iron or a crimp tool. A multimeter helps you check your connections. Keep a pinout diagram nearby for quick reference.
Can I use a DB9 connector for USB devices?
No, you cannot plug a DB9 connector directly into a USB port. You need a special adapter that changes the signals. Always check if your device supports this kind of connection.
How do I know if my DB9 cable is wired correctly?
Use a multimeter to test each pin. Check that pin 2 connects to pin 2, pin 3 to pin 3, and so on. If you see a mismatch, rewire the cable.
What should I do if my DB9 connection is not working?
- Check for bent pins or loose wires.
- Make sure the baud rates match.
- Try swapping the TX and RX pins.
- Test the cable with another device.
If you still have trouble, try a new connector or cable.