Circuit Board Repair Mistakes to Watch Out For in 2025
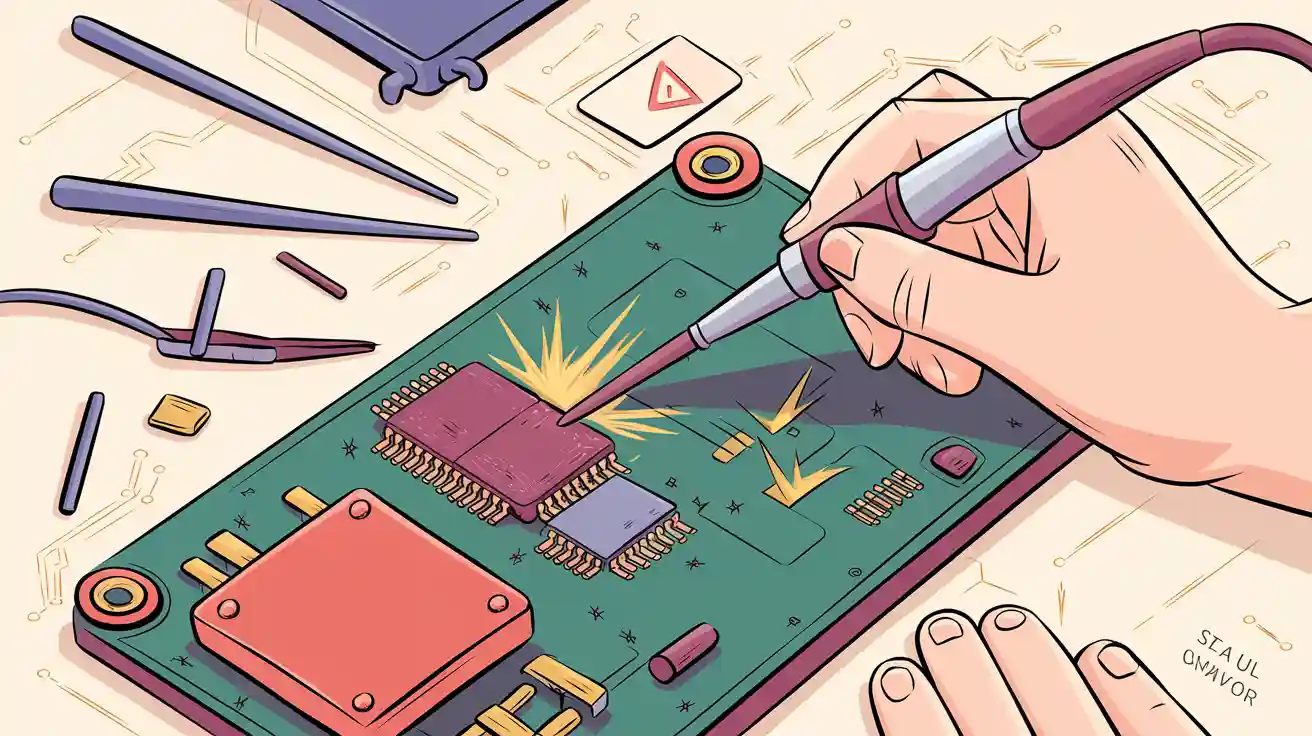
Mistakes in circuit board repair can waste your time and money. You might feel frustrated when tiny components hide faults or when you cannot find a service manual. Many technicians face these problems:
- Miniature parts make circuit board repair harder to see and fix.
- Intermittent failures take hours to diagnose.
- Poor solder joints or loose connections often cause hidden issues.
- Sometimes, you must test each part, which can feel endless.
You can ask yourself if your repair habits match today’s challenges. Staying alert helps you avoid common errors and keeps your skills sharp.
Key Takeaways
- Always diagnose circuit board problems carefully before starting repairs to save time and avoid extra damage.
- Use the right tools and safety gear to protect both yourself and the circuit board during repair.
- Avoid common mistakes like poor soldering, using wrong parts, skipping cleaning, and rushing repairs to improve reliability.
- Handle circuit boards gently and keep them clean to prevent physical damage and long-term failures.
- Keep learning and maintain your tools regularly to stay skilled and make every repair successful.
Common Causes of Circuit Board Damage
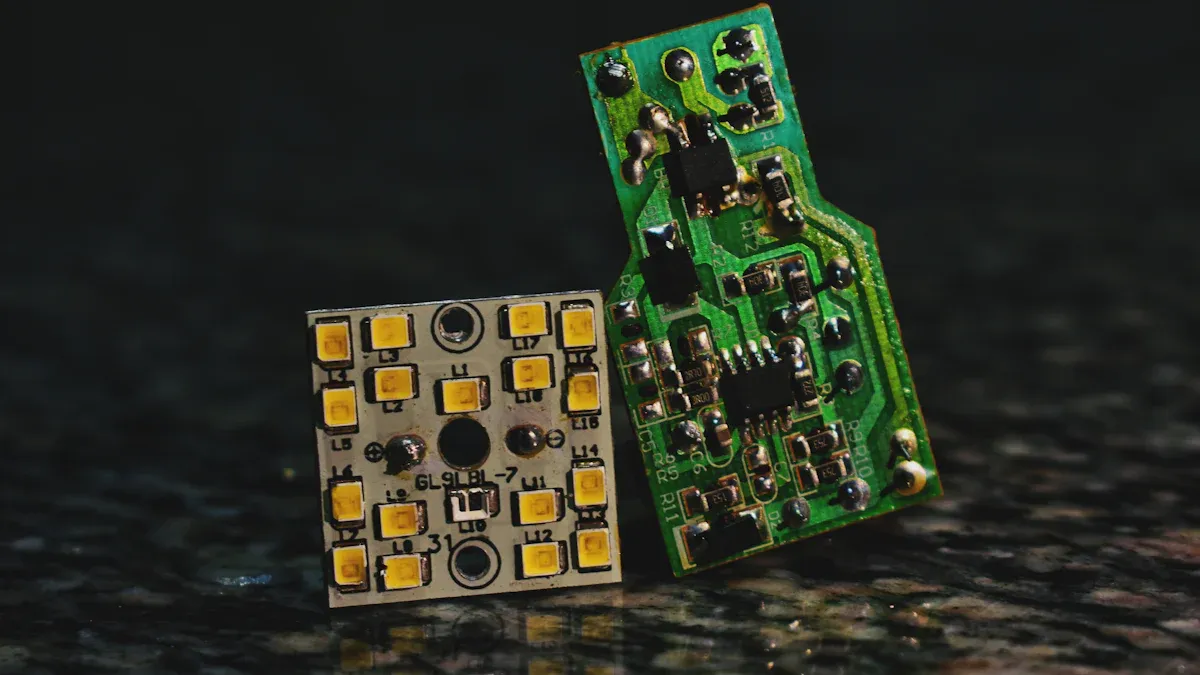
Overheating
You often see overheating as one of the most common causes of circuit board damage. When a pcb gets too hot, the heat can burn chips, melt plastic, or even cause explosions. Repeated heating and cooling cycles make the pcb expand and contract. This movement creates cracks in solder joints and weakens connections. Overheating also stresses the materials inside the pcb, which can lead to broken wires or failed parts. If you let a pcb run above its safe temperature, you risk burning out components and causing permanent damage.
Tip: Always check for blocked vents or dust buildup. These can trap heat and make your pcb overheat faster.
Physical Damage
Physical damage happens when you drop, bump, or press too hard on a pcb. Even a small crack can break a connection or damage a chip. Vibration during use can loosen parts or create false solder joints. Sometimes, you see damage from water, dust, or insects getting inside the pcb. If you use too much force during repairs, you might break the board or lift pads off the surface.
| Type of Physical Damage | Cause/Description |
|---|---|
| Cracks or full breaks | Drops, impacts, or physical shocks |
| Damage from excessive force | Happens during disassembly or repair |
| Accidental bumps | Physical shocks causing board damage |
Component Failure
Component failure is another major reason for pcb problems. Extreme heat, poor design, or bad installation can make parts stop working. Sometimes, you see failures from electrical stress, like static electricity or power surges. Moisture, dust, and age also cause parts to wear out. If you use low-quality components, they might fail under normal use. Overcrowding parts on a pcb can make them overheat and break down faster.
Poor Soldering
Poor soldering creates weak spots on your pcb. If you do not heat the solder enough, you get cold joints that look dull and grainy. These joints can break or lose contact over time. Too little solder leaves gaps, while too much can cause bridges that short out the pcb. Cracked solder joints often appear after the pcb heats up and cools down many times. Lifted pads happen when you overheat the board or use too much force. Each of these problems makes your pcb less reliable.
| Soldering Defect Type | Description | Impact on PCB |
|---|---|---|
| Cold Solder Joint | Dull, weak joint | Causes poor or lost connection |
| Solder Bridge | Extra solder connects pads | Creates short circuits |
| Lifted Pad | Pad detaches from board | Hard to repair, may break traces |
Loose Connections
Loose connections often start with poor soldering or bad parts. When a connection is loose, electricity cannot flow well. This makes the spot heat up, which can cause even more damage. Dust, moisture, and temperature changes also make connections worse. As the pcb ages, connections can wear out and become unreliable. If you ignore loose connections, you risk fires or total pcb failure.
Note: Always inspect your pcb for loose parts or signs of heat damage. Fixing these early can save your board.
Circuit Board Repair Mistakes
Inadequate Diagnosis
You might feel tempted to guess the problem when you repair a pcb. Inadequate diagnosis happens when you skip careful testing and try to fix issues by trial and error. This mistake often leads to missed faults or unnecessary part replacements. Complex pcb designs and hidden components make fault finding harder. If you do not use tools like oscilloscopes or thermal cameras, you risk missing the real cause of failure. Poor diagnosis increases repair time, costs, and the chance of repeated failures. Accurate diagnosis helps you fix the right problem and improves the success rate of circuit board repair.
Tip: Always follow a step-by-step process for fault detection, location, and isolation. Use advanced diagnostic tools when possible.
Using Wrong Tools
Using the wrong tools during pcb repair can damage the board and make the problem worse. For example, a soldering iron with the wrong tip or temperature can overheat components or lift pads from the pcb. Non-ESD-compliant tools can cause electrostatic discharge, damaging sensitive chips. If you use tools that do not fit or are not designed for electronic circuit board repair, you may break traces or create poor solder joints. Inspection and testing with the right equipment help you spot weak connections and misaligned parts. Using proper tools keeps your printed circuit board repair safe and effective.
Common risks when using incorrect tools:
- Physical damage to the pcb or components
- Poor solder connections and cold joints
- Overheating and burning sensitive parts
- Increased risk of electrical overstress or ESD damage
- Lower repair quality and reliability
Ignoring Safety
Ignoring safety is a serious mistake in circuit board repair. You must always disconnect power before working on a pcb. Failing to wear protective gear, such as safety glasses or ESD wrist straps, puts you at risk of injury and can damage the board. Many technicians forget to ground themselves, which can cause static electricity to destroy delicate components. Not following safety rules can lead to electric shock, burns, or even fires. Safe practices protect both you and the pcb.
Note: Always check that the power is off and wear the right safety gear before starting any pcb repair.
Incorrect Replacement Parts
Using the wrong replacement parts during pcb repair can cause many problems. If you install a part that does not match the original, you may create solder bridges or short circuits. Poorly matched components can overheat, fail quickly, or cause erratic board performance. Sometimes, it is hard to find exact parts for older or custom pcbs, but using substitutes can reduce reliability and lifespan. Repairs with incorrect parts often do not meet industry standards, leading to more failures and unhappy customers. Always double-check part numbers and specifications before replacing anything on a pcb.
Problems caused by incorrect parts:
- Solder splatter and damage to nearby components
- Short circuits and overheating
- Poor connectivity and increased failure rates
- Reduced product reliability and customer satisfaction
Skipping Cleaning
Skipping cleaning after pcb repair is a common mistake that can lead to hidden failures. Even "no-clean" flux residues can absorb moisture and cause leakage currents or short circuits. Residues may trigger corrosion, especially in high-density or high-voltage pcbs. If you leave flux or dirt on the board, you make inspection and testing harder. Over time, these residues can cause failures that are difficult to trace, especially in critical fields like medical or aerospace electronics. Cleaning prevents corrosion, improves testing, and extends the life of your pcb.
Alert: Always clean the pcb after solder work to remove flux and other residues. This step helps prevent long-term failures.
Disturbing Nearby Components
When you repair a pcb, you may accidentally disturb nearby components. Moving parts or solder joints before they cool can create "disturbed joints," which are weak and unreliable. Excess solder or poor technique can cause solder bridges, leading to shorts and damaged traces. Vibrations or force during repair can shift components, causing misalignment or open circuits. The close spacing of parts on modern pcbs increases the risk of these problems. Careful handling prevents new faults during electronic circuit board repair.
Watch out for:
- Solder bridges and shorts
- Misaligned or shifted components
- Broken traces and open circuits
Rushing Repairs
Rushing through pcb repair often leads to mistakes. You might skip important steps, use too much or too little solder, or miss hidden faults. Lack of patience can cause you to overlook safety checks or proper cleaning. Fast repairs may seem efficient, but they often result in poor connections, repeated failures, and extra costs. Taking your time ensures each step is done right and improves the reliability of your printed circuit board repair.
Reminder: Slow down and follow each repair step carefully. Quality matters more than speed in pcb repair.
Why Mistakes Happen
Lack of Training
You need strong skills and knowledge to repair a pcb. Without proper training, you may not know the right way to handle small parts or use tools. Many common mistakes happen when you do not have enough experience. For example, improper soldering can damage a pcb and make the problem worse. If you rush through a repair or skip steps, you might miss the real cause of the issue. Training helps you learn patience and attention to detail, which are both important for pcb work. When you do not understand how each pcb component works, you can easily overlook hidden faults. Using the wrong tools or not knowing how to test a pcb also leads to errors.
If you want to avoid mistakes, keep learning and practicing your pcb repair skills.
Time Pressure
You might feel rushed to finish a pcb repair quickly, especially if you have many boards to fix. Working too fast often leads to skipped steps and missed problems. When you hurry, you may not clean the pcb well or test it after the repair. This can cause new issues or leave old ones unsolved. Rushing also increases the chance of using the wrong replacement parts or making poor solder joints. If you ignore warning signs like strange smells or smoke, you risk damaging the pcb further. Taking your time helps you spot small details and avoid costly errors.
Most cited reasons for pcb repair mistakes:
- Improper soldering
- Using incorrect replacement parts
- Failure to clean the pcb properly
- Not testing the pcb after repair
- Rushing the repair process
- Ignoring warning signs
- Lack of patience and attention to detail
Outdated Equipment
Using old or worn-out tools makes pcb repair much harder. If your soldering iron does not heat evenly, you can create cold joints or lift pads from the pcb. Aging pcb components, like old capacitors, often cause power problems that are hard to find. These issues can come and go, making the repair process confusing. Many older pcb parts are no longer made, so you may need to use substitutes. This can make the pcb less reliable and harder to fix. When you do not have the right testing tools or up-to-date manuals, you increase the risk of making mistakes during pcb repair.
Always check your equipment before starting pcb work. Upgrading your tools can make repairs safer and more accurate.
Overconfidence
You might think you know everything about pcb repair, but overconfidence can lead to big mistakes. Skipping steps or ignoring safety rules puts both you and the pcb at risk. If you do not double-check your work, you may leave behind loose connections or solder bridges. Overconfidence can also make you overlook small signs of trouble on the pcb, such as slight discoloration or odd smells. Even experienced technicians need to stay careful and follow each step. Paying attention to every detail helps you avoid errors and keeps the pcb working well.
Stay humble and always review your pcb repairs, no matter how many times you have done them.
PCB Repair Prevention Tips
Visual Inspection
You should always start pcb repair with a careful visual inspection. Use a magnifying glass or microscope to check for missing, misaligned, or damaged components. Compare the pcb to a known-good board or design guidelines. Look for dull solder joints, burn marks, or swollen capacitors. Automated optical inspection and x-ray tools help you find hidden defects, especially on complex boards. Good lighting and UV lamps make it easier to spot coating problems.
Checklist for Visual Inspection:
- Use proper magnification and lighting
- Compare to a ‘Golden Board’ or design guidelines
- Check for missing, misplaced, or reversed parts
- Inspect solder joints for cracks or bridges
- Look for coating issues using UV light
Tip: Inspect at several stages, not just before repair.
Proper Diagnosis
Accurate diagnosis prevents wasted time and extra damage. Begin by checking for obvious signs like burned parts or broken traces. Use a multimeter for continuity testing and to measure voltages. Compare your pcb to a working one to spot differences. Test each component, especially if you suspect failure. Use oscilloscopes and thermal cameras for advanced troubleshooting circuit board problems.
Do’s:
- Start with a visual check.
- Measure power supply voltages.
- Test components with the right tools.
- Compare with a working pcb.
Don’ts:
- Do not skip steps in the step-by-step circuit board repair process.
- Do not guess the problem.
Soldering Best Practices
Good soldering keeps your pcb reliable. Always use the right amount of heat and solder. Clean the tip of your iron and the surfaces before you start. Follow IPC guidelines for joint shape and quality. Reflow cracked joints and avoid moving parts while solder cools. Practice on old boards to improve your skills.
Best Practices Table:
| Do’s | Don’ts |
|---|---|
| Use ESD-safe tools | Overheat components |
| Clean surfaces before solder | Use too much solder |
| Follow IPC guidelines | Rush the process |
ESD Protection
Electrostatic discharge can destroy sensitive pcb parts. Work at an ESD-safe station with mats and wrist straps. Wear anti-static clothing and use grounded tools. Store boards in anti-static bags. Regularly test your ESD equipment to make sure it works.
Note: Keep humidity between 40% and 70% to lower static risk.
Cleaning Methods
Cleaning after repair stops corrosion and shorts. Use isopropyl alcohol or special flux removers with swabs or brushes. For tough jobs, try ultrasonic cleaners. Dry the pcb fully before testing. Avoid harsh chemicals that can damage plastics.
Cleaning Guidelines:
- Always power down before cleaning.
- Use ESD-safe tools.
- Rinse and dry boards well.
- Remove all flux and dust.
Safe Handling
Handle pcbs with care to prevent cracks and contamination. Wear gloves or finger cots. Hold boards by the edges and support them from underneath. Store pcbs in airtight, anti-static containers. Always unplug devices and discharge capacitors before starting printed circuit board repair.
Safe Handling Do’s:
- Wear safety glasses.
- Work on grounded mats.
- Wash hands before and after handling.
Alert: Limit handling to reduce the risk of damage during electronic circuit board repair.
Circuit Board Repair Tools
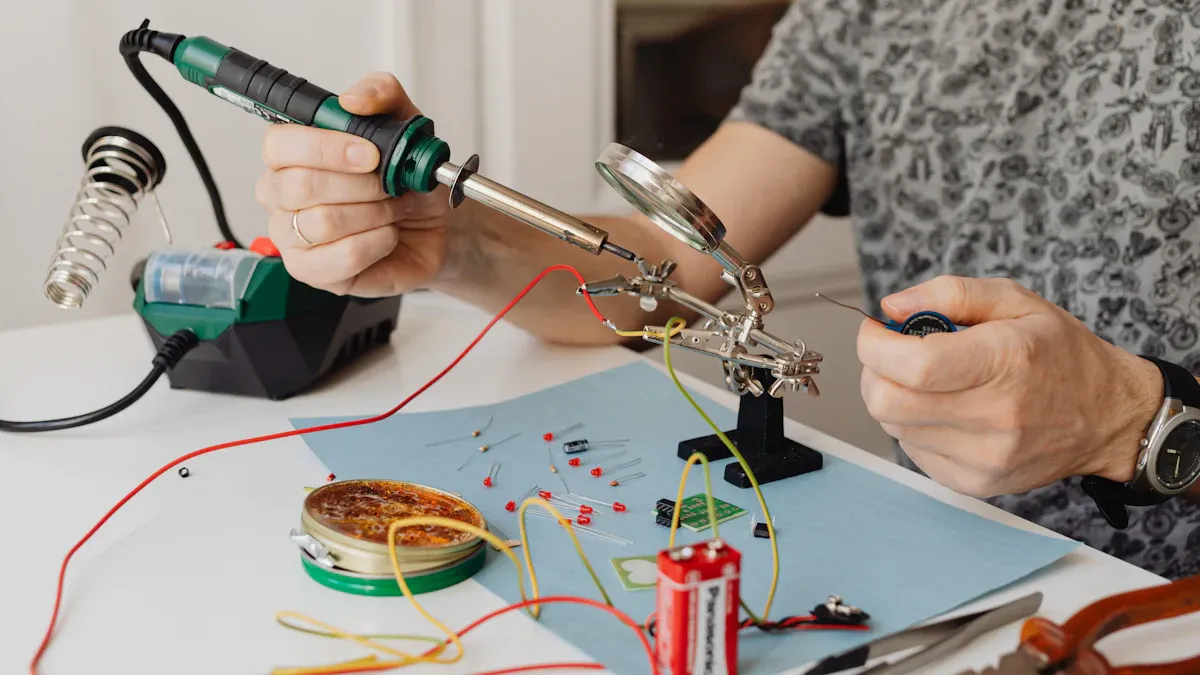
Essential Tools
You need the right tools to repair a pcb well. In 2025, many tools help you work faster and safer. Each tool has a special job. Some tools help you solder parts onto a pcb. Others help you test or clean the board. Here are the most important tools for pcb repair:
- Soldering irons with adjustable temperature control let you set the right heat for each pcb job.
- Desoldering tools, like pumps and braid, help you remove old solder from a pcb without damage.
- Multimeters check voltage, resistance, and continuity on a pcb.
- Oscilloscopes show you the signals moving through a pcb.
- Soldering stations give you a safe place to work on a pcb.
- Power supplies let you test a pcb with the correct voltage.
- Flux pens and flux removers help you make clean, strong solder joints on a pcb.
- Safety equipment, such as static discharge wrist straps, anti-static mats, safety goggles, and gloves, protect both you and the pcb.
Tip: Flux pens make it easy to apply just the right amount of flux to a pcb. Tacky flux from a syringe helps hold small parts in place on a pcb, which is great for surface-mount work.
A good set of tools helps you find and fix problems on any pcb. You can spot broken traces, test each part, and make sure every pcb works as it should.
Tool Maintenance
You must take care of your tools to keep your pcb repairs safe and accurate. Clean your tools often to remove dust and dirt that can harm a pcb. Store your tools in their cases in a cool, dry place. Always keep your work area free of static to protect the pcb.
- Clean soldering iron tips and keep them tinned so they heat the pcb well.
- Use isopropyl alcohol and lint-free cloths to wipe tools after working on a pcb.
- Use compressed air to blow dust off your pcb tools.
- Never clean or take apart tools while they are hot or plugged in.
- Calibrate multimeters and oscilloscopes often to get correct readings on a pcb.
- Replace worn wires and loose connectors before they cause trouble on a pcb.
- Check batteries in your tools so they do not fail during a pcb repair.
- Keep your safety gear clean and ready for every pcb job.
Note: Update the software or firmware on your digital tools. This keeps your pcb repairs up to date and safe.
A regular maintenance routine helps your tools last longer and keeps every pcb repair job smooth. When you care for your tools, you protect every pcb you work on.
You can avoid the most common circuit board repair mistakes by staying careful and using the right tools. Always check your work, clean your board, and follow safety steps. Keep learning new repair methods to improve your skills.
Tip: Share your own repair stories or tips in the comments. Your experience can help others in the repair community!
FAQ
What is the most common mistake in circuit board repair?
You often see poor soldering as the top mistake. Cold joints, solder bridges, and lifted pads can all cause failures. Careful soldering and inspection help you avoid these problems.
How do you know if a component is faulty?
You can test components with a multimeter or compare readings to a working board. Look for signs like discoloration, swelling, or burning. If you see these, replace the part.
Can you repair a circuit board without special tools?
You can fix simple issues with basic tools, like a soldering iron and multimeter. For advanced repairs, you need specialized equipment. Using the right tools makes your work safer and more reliable.
Why should you clean a circuit board after repair?
Cleaning removes flux, dust, and debris. These can cause corrosion or short circuits over time. A clean board lasts longer and works better.
What safety steps should you follow during repair?
- Always unplug the device.
- Wear safety glasses and an ESD wrist strap.
- Work on an anti-static mat.
- Double-check that the board has no power before you start.