Simple Ways to Avoid Circuit Board Repair Setbacks
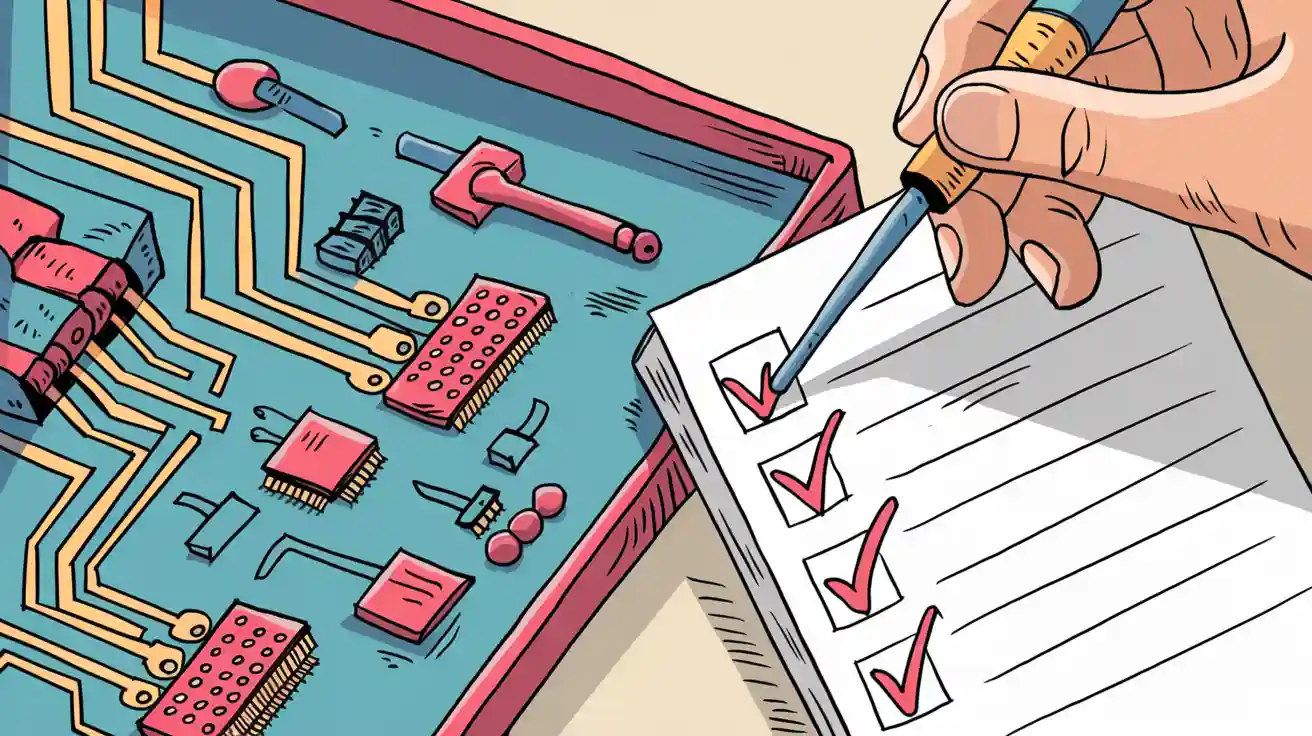
You can avoid most setbacks in circuit board repair by starting with strong preparation. Always take time to understand the circuit board before you touch any tools. Careful inspection helps you spot problems early. Use methodical troubleshooting to find faults in the circuit board. Safe handling and the right techniques protect both you and the board. These habits make circuit board repair easier and more successful.
Key Takeaways
Prepare well by understanding the circuit board and using the right, high-quality tools to avoid damage and mistakes.
Inspect the board carefully before repair, looking for physical damage, poor solder joints, and dirt to catch problems early.
Follow a step-by-step troubleshooting process using proper testing tools to find faults accurately and avoid replacing good parts.
Use correct soldering techniques and genuine parts to ensure strong connections and reliable repairs.
Work safely by controlling static electricity, handling the board gently, and double-checking your work before powering up the board.
Tools for Circuit Board Repair
Essential Tools
You need the right tools to succeed in circuit board repair. Industry experts recommend using high-quality tweezers, such as the Techni Tool 2ACF.SA1, because they offer precise control and protect sensitive parts from static electricity. You should also have a digital multimeter for measuring voltage and checking connections. Oscilloscopes help you see electronic signals and find faults. Other helpful tools include soldering guns, hot air guns, adhesive copper tape, and sharp knives. Specialized kits and testing equipment make it easier to replace components and locate problems. When you use these tools, you can spot issues early and avoid mistakes.
Tip: Always choose ESD-safe tools to prevent static damage to your circuit board.
Common Tool Mistakes
Many beginners use the wrong tools or skip important ones. For example, using a regular screwdriver instead of a proper tool can slip and damage the board. Cheap tweezers may scratch or break small parts. If you use a soldering iron that gets too hot, you might burn the board or melt nearby components. Skipping testing tools like a multimeter can lead to missed faults. You should avoid these mistakes by investing in quality tools and learning how to use them correctly. Good tools help you find faults faster and reduce repair setbacks.
Workspace Setup
A clean and organized workspace helps you work safely and efficiently. Dust and humidity can cause corrosion, rust, and short circuits on your circuit board. These problems make repairs harder and can even damage the board further. You should keep your workspace dry and free from dust. Use air filters and control humidity if possible. Store your tools in labeled containers so you can find them quickly. A static-free bench protects your board from static electricity. When you set up your workspace well, you improve your chances of a successful repair and help your circuit board last longer.
Circuit Board Inspection

Before you start any repair, you need to perform a careful inspection of the circuit board. This step helps you catch problems early and avoid bigger issues later. You should always inspect physical components and look for signs of trouble.
Visual Checks
Begin by looking closely at the surface of the circuit board. Use a magnifying glass or microscope if you have one. Many problems hide in plain sight. Common issues you might spot include:
Poor solder joints that can cause the board to fail.
Incorrect component placement or wrong orientation.
Scratches, cracks, or burned spots on the board.
Solder bridges or cold solder joints.
Misaligned parts, even by a small amount.
Missing components or loose attachments.
Debris or dust that can hide defects.
Tip: Take breaks during inspection. Fatigue can make you miss small but important details.
Physical Damage
You should inspect physical components for any signs of damage. Look for broken pins, cracked chips, or eroded parts. Burned or discolored areas often mean overheating or chemical damage. Sometimes, you will find missing traces or open circuits. Printed circuit boards can also have hidden faults under large chips or inside multiple layers. If you see anything unusual, mark it for further testing.
Cleaning Before Repair
Cleaning the board before you repair it is very important. Dirt, dust, and leftover flux can cause new problems or hide existing ones. Use isopropyl alcohol and a soft brush to remove residues. Aerosol dusters help blow away debris from hard-to-reach spots. Proper cleaning ensures you can inspect physical components clearly and prevents electrical failures after repair. If you skip this step, you risk leaving behind residues that can cause short circuits or corrosion.
Note: Clean boards last longer and work better after repair.
Circuit Board Troubleshooting
Troubleshooting helps you find the real cause of a problem before you start repairs. You need to use the right troubleshooting techniques to avoid wasting time and money. Careful circuit board troubleshooting can save you from replacing the wrong parts or missing hidden faults.
Diagnosis Steps
You should always follow a step-by-step approach when you troubleshoot. Here is a common process professionals use:
Start with a visual inspection. Look for burn marks, bulging parts, or dull solder joints.
Power on the board safely. Feel for hot spots, but use caution to avoid burns.
Test individual components like resistors and capacitors with a multimeter. Compare their values to the correct specifications.
Test integrated circuits by comparing them to a known good IC of the same type.
Measure power supply voltages on the rails. Make sure they match what the board needs.
Compare your board to a working one. Look for differences in both appearance and electrical readings.
Use signal probing tools, such as oscilloscopes, to check voltage and waveforms at test points.
Tip: Always document your findings. Good notes help you track symptoms and spot patterns during troubleshooting.
Testing Components
You need the right equipment for circuit board troubleshooting. Different tools help you test individual components and test integrated circuits. Here is a quick guide:
Testing Equipment | Method Description | Advantages | Limitations |
|---|---|---|---|
Measures electrical properties with a fixture | High accuracy, detects shorts and opens | Needs custom fixture, best for large batches | |
Flying Probe Test | Uses movable probes for flexible contact | Good for prototypes, no fixture needed | Slower, less coverage than ICT |
Functional Circuit Test | Powers up the board to check overall function | Confirms board works as a whole | May not find exact fault |
Boundary Scan (JTAG) | Uses built-in test circuits for hard-to-reach areas | Great for dense boards, no probes needed | Needs JTAG-enabled parts, setup can be tricky |
You should use a multimeter to test individual components and test integrated circuits. Oscilloscopes help you see signal problems that are hard to spot with other tools.
Avoiding Misdiagnosis
Many people make mistakes during circuit board troubleshooting. You might guess the wrong faulty part or trust only what you see. For example, a burned spot does not always mean the part is bad. Complex boards have many layers and hidden paths, so you need advanced troubleshooting techniques. Rely on your tools, not just your eyes. Use multimeters, oscilloscopes, and signal probes to confirm your findings. If you skip steps or rush, you risk misdiagnosis. Professional technicians use careful troubleshooting techniques and double-check their results. This approach helps you avoid replacing good parts and keeps your repairs on track.
Soldering and Replacement
Soldering Mistakes
Many beginners make the same mistakes when working on circuit boards. You can avoid these problems if you know what to look for. Here are the most common soldering mistakes:
Disturbed joint—moving the part during soldering causes weak, flaky joints.
Cold joint—using too little heat creates lumpy, cracked joints.
Overheated joint—too much heat burns or deforms the joint.
Insufficient wetting—heating only the pin or pad leads to poor solder flow.
Solder starved—using too little solder weakens the connection.
Too much solder—excess solder can cause shorts or poor conductivity.
Solder bridge—extra solder connects two joints and creates a short.
Lifted pad—overheating or pulling lifts the pad from the board.
Stray solder—loose bits can cause shorts if not removed.
Untrimmed leads—leads left too long may touch other parts and cause shorts.
Tip: Always inspect your work with a magnifier to catch these issues early.
Correct Techniques
You can protect your circuit board by using the right soldering techniques. Set your soldering iron to a temperature between 300°C and 350°C. Use a digital soldering station to control heat. Choose the correct tip size for your job. Clean the tip often and use fresh solder. Apply heat for only as long as needed. Use heat sinks, like metal clips, to protect sensitive parts from too much heat. Take breaks to let the board cool. Practice helps you learn how much heat and time to use for each joint.
Note: Clean both the board and component leads before soldering to improve the bond.
Choosing Parts
Always select genuine replacement parts for your repairs. Counterfeit parts can fail quickly and damage your board or other components. These fake parts often have poor markings, rough surfaces, or uneven leads. They can cause product failures, safety risks, and extra costs. You can spot counterfeit parts by checking for clear markings, smooth surfaces, and straight leads. Use trusted suppliers and inspect parts before installing them.
Method | Description |
|---|---|
Look for clear markings, smooth texture, and correct dimensions. | |
X-Ray Inspection | Check inside the part for proper structure and wire bonds. |
Electrical Testing | Test the part to make sure it works as expected. |
Buy from trusted suppliers with good inspection practices. |
Callout: Using the right parts keeps your repairs safe and reliable.
Safety and Handling
Static Precautions
Static electricity can damage sensitive parts on your circuit board. You need to control static in your workspace to keep your repairs safe. Follow these steps to reduce static risks:
Use grounded anti-static mats, wrist straps, and heel grounders. These tools help discharge static safely.
Ground your workbench, tools, and furniture. This stops static from building up.
Wear anti-static clothing and use ESD-safe tools. Regular clothes and tools can create static.
Keep humidity between 30% and 50%. Dry air increases static buildup.
Check your static control equipment often. Replace worn-out mats or straps right away.
Tip: Static fields from clothing or surroundings can reach several feet. Always use full static control, not just a wrist strap.
Power Safety
Electricity can cause serious injuries, even at low voltage. You must follow safety rules every time you work with power:
Use insulated tools and wear safety gear like gloves and goggles.
Never work on a live circuit. Use lock-out or tag-out procedures to keep power off.
Inspect your tools and cords for damage. Replace frayed wires or broken plugs.
Keep water and cleaning sprays away from your work area.
Use Ground Fault Circuit Interrupters (GFCIs) to prevent shocks.
Remove jewelry before working with electricity.
Callout: Always unplug equipment by pulling the plug, not the cord. This prevents damage and keeps you safe.
Preventing Physical Damage
Careful handling protects your circuit board from physical harm. Many repairs fail because of rough treatment or poor storage. Here are some ways to prevent damage:
Hold the board by its edges to avoid bending or cracking it.
Store boards in anti-static bags and keep them away from heavy objects.
Avoid dropping or bumping the board. Even small shocks can break parts or loosen connections.
Only disassemble what you need. Unnecessary disassembly increases the risk of damage.
Note: Bending, cracking, or dropping the board can break pathways and cause failure. Handle every board with care.
Final Checks and Testing
Double-Checking Work
You should always review your work before you finish any repair. Go over each connection and look for any missed solder joints or loose parts. Use a magnifying glass to check for small solder bridges or stray bits of metal. Make sure every component sits in the right place and faces the correct direction. If you replaced any parts, compare them to the original ones. Careful double-checking helps you catch mistakes that could cause new problems later.
Tip: Take a short break before you review your work. Fresh eyes help you spot errors you might miss right after soldering.
Power-Up Tests
After you finish your inspection, you need to test the board safely. Start by powering up the board with a current-limited power supply. Watch for any signs of trouble, such as smoke, sparks, or overheating parts. Touch the board gently to check for hot spots, but use caution. If you see or smell anything unusual, turn off the power right away. Use your troubleshooting skills to find the cause before you try again. You should also use your testing equipment, like a multimeter or oscilloscope, to check voltages and signals. This step helps you make sure the board works as expected and that you did not introduce new faults during repair.
Callout: Always monitor the board for thermal issues during the first power-up. Overheating can damage components quickly.
Cleaning After Repair
Proper cleaning after repair keeps your circuit board reliable. Industry standards say you must remove all flux residues, even if you used no-clean flux. Leftover flux can cause corrosion, leakage currents, or contamination that leads to failure. Use high-purity isopropyl alcohol and a lint-free wipe or brush to clean rosin or no-clean flux. For water-soluble flux, use distilled water. Make sure you rinse and dry the board completely before you power it up again. Inspect the board under good lighting to check for any sticky or white residues. If you see any, repeat the cleaning process. Always use ESD-safe tools and handle the board with gloves to avoid recontamination. Good cleaning and careful handling help your repairs last longer and prevent future problems.
You can achieve better results in circuit board repair by preparing your tools, inspecting each part, and following a step-by-step troubleshooting plan. Careful handling and correct soldering protect your work. Final checks help you catch small mistakes before they cause problems.
Remember: Consistent practice builds your skills and confidence.
When you take your time and learn from each repair, you reduce frustration and make circuit board repair more reliable.
FAQ
What is the most common mistake in circuit board repair?
You often rush through inspection or skip cleaning. These steps help you find hidden problems and prevent new ones. Take your time and check every part before you start repairs.
How do you prevent static damage to circuit boards?
Always wear an anti-static wrist strap. Work on a grounded mat. Keep humidity above 30%. These steps protect sensitive parts from static electricity.
Can you use any solder for circuit board repairs?
No. You should use rosin-core solder made for electronics. Lead-free solder works, but it needs higher heat. Avoid plumbing or acid-core solder because it can damage your board.
What should you do if a board does not work after repair?
Double-check all connections.
Look for missed solder joints or bridges.
Test components again.
Clean the board.
If you still have trouble, compare your board to a working one.