ATmega328P Microcontroller: Essential Facts for Electronics Makers
You often see the ATmega328P microcontroller at the heart of many electronics projects. This microcontroller forms the core of popular Arduino boards, including both Arduino Uno and Arduino Nano. You get a great mix of performance, efficiency, and ease of use with the ATmega328P. Makers choose it because you can easily build and experiment with new ideas. Its simple design and ease of use help you start projects quickly and learn electronics with confidence.
Key Takeaways
- The ATmega328P is a versatile microcontroller ideal for beginners and advanced projects. It powers popular Arduino boards like the Uno and Nano, making it easy to start building electronics.
- With a maximum speed of 20 MHz and 32 KB of flash memory, the ATmega328P offers strong performance for various applications, including sensors and control systems.
- The microcontroller supports low power consumption, allowing for long battery life in portable devices. You can adjust the clock speed to balance performance and energy use.
- Understanding the pinout and internal structure of the ATmega328P is crucial for successful project development. This knowledge helps you connect components correctly and utilize its features effectively.
- The ATmega328P is supported by a large community and numerous resources, making it easier to find help and tutorials for your projects.
ATmega328P Overview
What is ATmega328P?
You find the ATmega328P at the center of many electronics designs. This microcontroller belongs to the AVR family, which stands for Advanced Virtual RISC. RISC means Reduced Instruction Set Computing. You get a simple and efficient design that helps you build reliable systems.
The ATmega328P microcontroller uses an 8-bit CPU. You can run it at speeds up to 20 MHz. It gives you enough memory and input/output pins for most beginner and advanced projects. You see it in many embedded systems because it balances performance and ease of use.
Here is a table that shows the main features of the ATmega328P:
| Parameter | Value |
|---|---|
| CPU type | 8-bit AVR |
| Maximum CPU speed | 20 MHz |
| Performance | 20 MIPS at 20 MHz |
| Flash memory | 32 KB |
| SRAM | 2 KB |
| EEPROM | 1 KB |
| Package pin count | 28 or 32 |
| Maximum I/O pins | 23 |
| External interrupts | 3 |
| USB interface | No |
You notice that the ATmega328P microcontroller uses advanced RISC architecture. This design lets you execute most instructions in a single clock cycle. You get 32 general-purpose registers, which help you process data quickly. The microcontroller achieves up to 20 MIPS at 20 MHz, making it much faster than many similar chips.
Tip: RISC architecture makes programming easier and faster. You spend less time waiting for instructions to finish, and you get better results with simple code.
You see the ATmega328P in many modern electronics projects. Makers choose it because it offers strong performance, low power use, and flexible memory options. You can use it in battery-powered devices, sensors, and control systems. Its AVR core and RISC design help you optimize your code and get the most out of your hardware.
Role in Arduino
You often use the ATmega328P microcontroller as the main chip in Arduino boards. The Arduino Uno and Arduino Nano both rely on this microcontroller to run your code and connect to sensors and other devices. You benefit from its ease of use and reliable performance.
Here is a table that shows how the ATmega328P supports Arduino boards:
| Feature | Description |
|---|---|
| Replaceable Chip | You can swap the ATmega328P easily if needed. |
| EEPROM | Stores data even when the board loses power. |
| Digital I/O Pins | Arduino Uno gives you 14 digital pins, 6 support PWM for motor control. |
| Analog Inputs | Six analog inputs let you connect sensors and measure signals. |
| Power Options | You can power the board with USB, adapter, or battery. |
| Clock Speed | Runs at 16 MHz for smooth operation. |
You get high performance and low power consumption with the ATmega328P. The microcontroller supports 131 instructions, most of which run in a single clock cycle. You can use fast PWM mode to create high-frequency signals for motors and LEDs.
When you program an Arduino, you use simple tools and libraries. The ATmega328P supports C compilers and debuggers, so you can write and test your code easily. You see why so many makers choose Arduino boards with the ATmega328P for their projects.
Note: The ATmega328P gives you a strong foundation for learning electronics. You can start with simple projects and move to advanced designs without changing your hardware.
You find the ATmega328P microcontroller in many DIY kits and educational tools. Its AVR architecture and ease of use make it perfect for students and hobbyists. You can build robots, weather stations, and smart devices with confidence.
Features and Specs
Key Specifications
You discover that the ATmega328P stands out as a powerful 8-bit microcontroller. This chip gives you a solid foundation for electronics and arduino projects. You can rely on its technical specs to build reliable systems with ease of use.
Here is a table that highlights the main specifications:
| Specification | Details |
|---|---|
| Clock Speed | 20 MHz |
| FLASH Memory | 16 KB |
| RAM | 2 KB |
| I/O Lines | 23 |
| PWM Channels | Yes |
| ADC | Yes |
| Package Type | 28-pin PDIP |
| Operating Temperature | -40°C to 85°C |
| Supply Voltage | 4.5V to 5.5V |
You see that the ATmega328P offers a fast clock speed and enough memory for most beginner and advanced designs. The 8-bit microcontroller gives you 23 input and output lines, which means you can connect sensors, LEDs, and motors easily. You also get built-in PWM channels and analog-to-digital converters, so you can control devices and measure signals with precision.
Tip: The wide operating temperature range lets you use the ATmega328P in outdoor and industrial environments. You do not need to worry about overheating or freezing.
You notice that the supply voltage range makes this microcontroller flexible for battery-powered systems. The 28-pin PDIP package is easy to handle and solder, which helps you build and repair your boards quickly.
Performance and Efficiency
You benefit from the strong performance of the ATmega328P. This 8-bit microcontroller can process instructions quickly and efficiently. You achieve nearly 1 million instructions per second for every megahertz of clock speed. This means you can run complex code and handle data smoothly, even at lower clock speeds.
You can adjust the clock speed from 32kHz up to 20MHz. This flexibility lets you balance speed and power use for your projects. When you run the microcontroller at 5V, it draws about 1mA, which equals 5mW of power. If you lower the voltage to 2.5V, it uses only 0.4mA, or 1mW of power. You can save even more energy by disabling internal peripherals or putting the CPU in sleep mode.
- The ATmega328P operates at different clock speeds, from 32kHz to 20MHz.
- At 5V, it draws about 1mA (5mW power).
- At 2.5V, it draws only 0.4mA (1mW power).
- You can reduce power by disabling peripherals or using sleep mode.
- Active consumption at 20MHz/5V is about 20mA (100mW), but at lower settings, it drops to as low as 1mW.
You find that the ATmega328P is one of the most efficient 8-bit microcontrollers available. You can run your arduino boards for long periods without draining batteries quickly. The chip’s design helps you optimize your code and hardware for both speed and energy savings.
Note: You get the best results when you match the clock speed and voltage to your project’s needs. This approach helps you extend battery life and keep your devices running smoothly.
You see why makers choose the ATmega328P for its performance, efficiency, and ease of use. You can build smart devices, robots, and control systems that work reliably and use energy wisely.
Microcontroller Architecture
Pinout
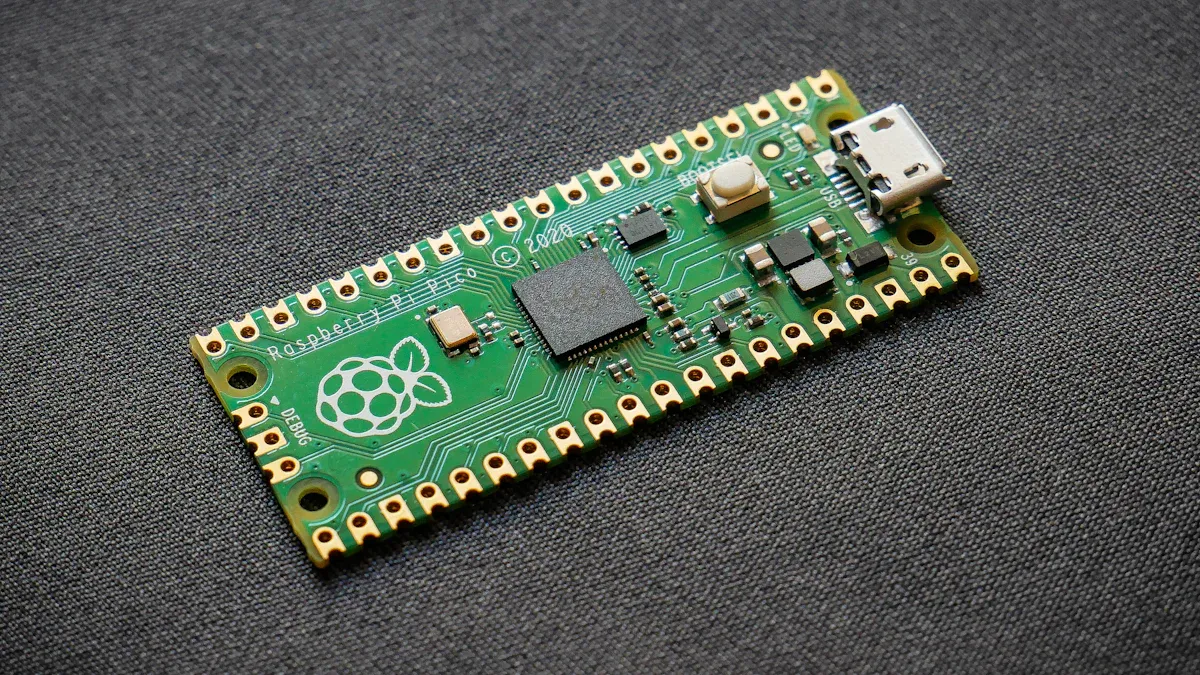
You need to understand the pinout of the ATmega328P when you start building electronics projects. The pinout shows you how each pin works and helps you connect sensors, motors, and other devices. The ATmega328P comes in a 28-pin package, and each pin has a specific function. Some pins handle digital input and output, while others support analog signals or communication protocols.
Here is a table that shows the standard pinout configuration for the ATmega328P:
| Pin Number | Pin Name | Primary Function | Secondary Function |
|---|---|---|---|
| 1 | PC6 (RESET) | Reset Input | Digital I/O |
| 2 | PD0 (RXD) | USART0 Receive Pin | Digital I/O |
| 3 | PD1 (TXD) | USART0 Transmit Pin | Digital I/O |
| 4 | PD2 (INT0) | External Interrupt 0 | Digital I/O |
| 5 | PD3 (INT1) | External Interrupt 1 | PWM Output |
| 6 | PD4 (XCK/T0) | Timer/Counter 0 External Clock | Digital I/O |
| 7 | VCC | Supply Voltage | – |
| 8 | GND | Ground | – |
| 9 | PB6 (XTAL1/TOSC1) | External Clock/Timer Oscillator | Digital I/O |
| 10 | PB7 (XTAL2/TOSC2) | External Clock/Timer Oscillator | Digital I/O |
| 11 | PD5 (T1) | Timer/Counter 1 Input | Digital I/O |
| 12 | PD6 (AIN0) | Analog Comparator Input 0 | PWM Output |
| 13 | PD7 (AIN1) | Analog Comparator Input 1 | Digital I/O |
| 14 | PB0 (ICP1) | Timer/Counter 1 Input Capture | Digital I/O |
| 15 | PB1 (OC1A) | PWM Output for Timer/Counter 1 | Digital I/O |
| 16 | PB2 (SS/OC1B) | SPI Slave Select, PWM Output | Digital I/O |
| 17 | PB3 (MOSI/OC2A) | SPI Master Out, Slave In | PWM Output |
| 18 | PB4 (MISO) | SPI Master In, Slave Out | Digital I/O |
| 19 | PB5 (SCK) | SPI Clock | Digital I/O |
| 20 | AVCC | Supply Voltage for ADC | – |
| 21 | AREF | Reference Voltage for ADC | – |
| 22 | GND | Ground | – |
| 23 | PC0 (ADC0) | Analog Input Channel 0 | Digital I/O |
| 24 | PC1 (ADC1) | Analog Input Channel 1 | Digital I/O |
| 25 | PC2 (ADC2) | Analog Input Channel 2 | Digital I/O |
| 26 | PC3 (ADC3) | Analog Input Channel 3 | Digital I/O |
| 27 | PC4 (ADC4/SDA) | Analog Input Channel 4, I2C Data | Digital I/O |
| 28 | PC5 (ADC5/SCL) | Analog Input Channel 5, I2C Clock | Digital I/O |
You use these pins to connect your microcontroller to other hardware. The VCC and GND pins supply power, while XTAL1 and XTAL2 connect to a crystal oscillator for accurate timing. AVCC and AREF help you get precise analog readings with the ADC system. You find that the flexible pinout makes the ATmega328P perfect for many types of projects.
Tip: Always check the pinout before wiring your board. This helps you avoid mistakes and keeps your components safe.
Internal Structure
You get a powerful set of features inside the ATmega328P. The microcontroller uses an 8-bit AVR CPU to run your code and control other parts. You find three types of memory: Flash for your program, SRAM for temporary data, and EEPROM for long-term storage. The ADC lets you read analog signals from sensors, while timers help you measure time and create delays.
Here are the main components inside the ATmega328P:
| Component | Description |
|---|---|
| 8-bit AVR CPU | Executes instructions and controls other components. |
| Memory | Includes Flash, EEPROM, and SRAM for data storage and program execution. |
| ADC | Converts analog signals to digital values for processing. |
| Timers | Manage timing operations and generate delays. |
| SPI | Handles communication with other devices using Serial Peripheral Interface. |
| USART | Supports serial communication for data exchange. |
You also get 28 programmable I/O lines. These lines let you connect sensors and actuators, making the ATmega328P suitable for many embedded systems. The microcontroller operates from 1.8V to 5.5V, so you can use it in low-power or battery-powered designs.
The XTAL1 and XTAL2 pins connect to an external clock source, which keeps your timing accurate. AVCC and AREF provide stable voltage for the ADC, so you get reliable analog-to-digital conversions. You see how these features work together to make the ATmega328P a strong choice for electronics projects.
Note: Understanding the internal structure helps you write better code and use all the features of your microcontroller.
Applications
Arduino Development Boards
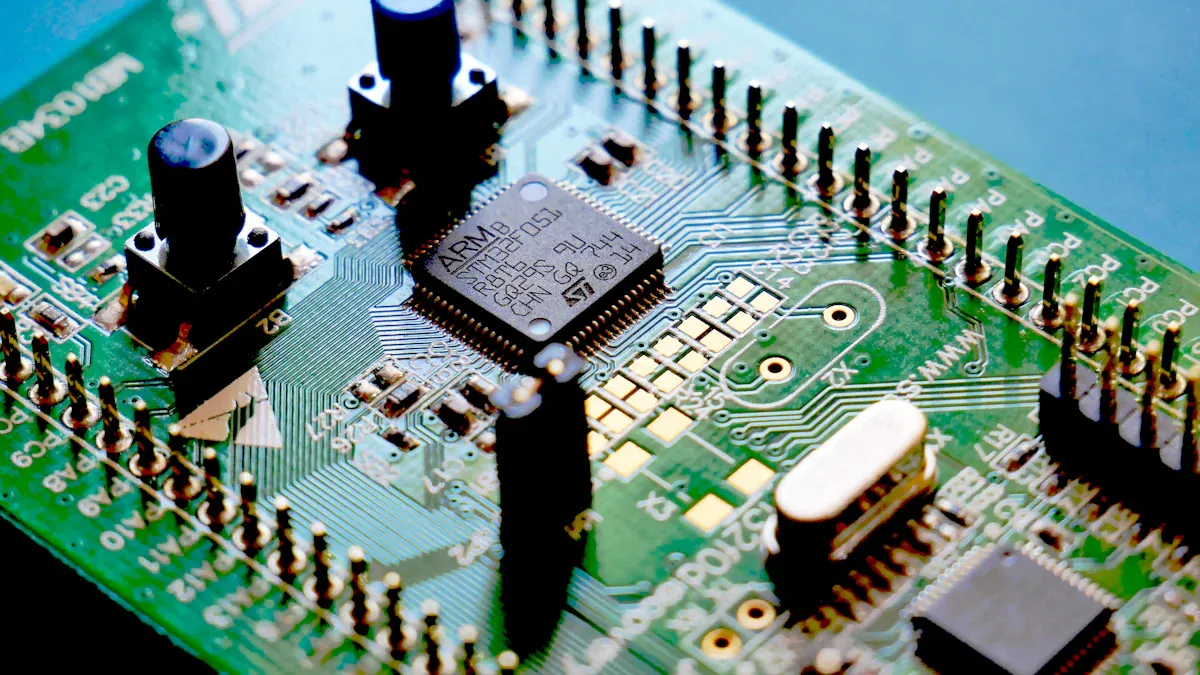
You often see the ATmega328P at the center of many arduino development boards. This microcontroller powers popular boards like the arduino uno and Seeeduino. You get a reliable platform for learning and building electronics. The ATmega328P offers 32kB of flash memory and up to 23 input/output pins. Eight of these pins can read analog signals, which helps you connect sensors and measure real-world data. You can run your board at speeds up to 20 MHz, so your projects respond quickly.
- The ATmega328P is featured in many arduino development boards, including arduino uno boards.
- You get enough memory and pins for most beginner and advanced applications.
- The microcontroller supports fast operation, making it a strong choice for embedded systems.
You find that arduino boards with the ATmega328P make it easy to start new projects. You can use simple code and connect many devices. These boards help you learn about embedded systems and build working prototypes.
Tip: If you want to upgrade or repair your board, you can replace the ATmega328P chip easily.
Here is a table showing common applications for the ATmega328P in consumer electronics:
| Application Type | Examples |
|---|---|
| Consumer electronics | Home automation systems, gaming devices, personal fitness equipment |
| DIY Project and Education | Core of the Arduino Uno board, suitable for educational purposes and prototyping |
DIY Projects
You can use the ATmega328P in many DIY projects. This microcontroller gives you the tools to build useful devices at home or in the classroom. You might create a door alarm sensor to protect your room. You can also build a smoke detection circuit using a gas sensor. Many people start with simple LED projects to learn how the ATmega328P works.
Here are some popular DIY projects that use the ATmega328P:
| Project Name | Description |
|---|---|
| Door Alarm Sensor | A project that helps secure doors and alerts you when they open. |
| Smoke Detection Circuit | A circuit using the MQ-2 Gas Sensor to detect smoke and send an alert. |
| Simple LED Projects | Projects that teach you how to control LEDs and understand basic coding. |
You see that these projects help you learn about electronics and programming. You can use the ATmega328P to control lights, read sensors, and make decisions. Many students and hobbyists use this microcontroller to explore embedded applications and build creative solutions.
Note: You can find many guides and examples online to help you start your own projects with the ATmega328P.
Programming ATmega328P
Getting Started
You can begin programming the ATmega328P microcontroller with a few simple steps. First, connect Pin 7 to power and Pin 8 to ground. Place a 0.1µF ceramic capacitor between these pins to help stabilize the voltage. Next, add an LED and a 330 Ohm resistor to Pin 1, then connect another resistor from Pin 4 to the LED row. Attach a quartz crystal clock to Pins 9 and 10, and place a ceramic capacitor from each of these pins to ground. These steps help you set up the microcontroller for your development work.
To start programming, download and install WinAVR. This software gives you the tools you need for writing and uploading code. You can also use the Arduino IDE, which many beginners prefer because of its ease of use and helpful resources. You will find many tutorials online that guide you through your first development project.
Tip: Always double-check your wiring before you power up the microcontroller. This step helps prevent damage and saves time during development.
Tools and Tips
You have several options for programming the ATmega328P microcontroller. The most common languages are C/C++ and Arduino’s own language. You can use development environments like Arduino IDE, Atmel Studio, or Microchip Studio. These platforms offer resources and tutorials for both beginners and advanced users.
| Programming Language/Environment | Description |
|---|---|
| C/C++ | Popular for many development projects and offers flexibility. |
| Arduino IDE | Easy for beginners and supports a wide range of resources. |
| Atmel Studio | Advanced features for professional development work. |
Essential tools include dedicated programmers like USBasp or AVRISPmkII, and FTDI interfaces for cost-effective programming. Software tools such as Arduino IDE, Microchip Studio, AVRDUDE, and GCC for AVR support your development process.
When you run into problems, check your connections and power supply first. Make sure your FTDI drivers are installed and the correct board is selected in your software. If you get stuck, take a break and review your steps. Many resources and tutorials can help you solve common issues.
Note: Reliable development tools and clear resources make programming the ATmega328P microcontroller easier and more enjoyable.
ATmega328P vs Other Microcontrollers
Comparisons
You often compare the atmega328p microcontroller with other popular chips when you start new electronics projects. The atmega328p operates at a voltage range from 1.8V to 5.5V, which matches many other microcontrollers. You get 32KB of flash memory, 2KB of SRAM, and 1KB of EEPROM. If you need more resources, the ATmega2560 offers 256KB of flash, 8KB of SRAM, and 4KB of EEPROM. The PIC16F877A has similar voltage specs but requires extra setup and programming tools.
You find the programming environment for the atmega328p much easier to use. The Arduino IDE gives you access to many libraries and a large community. You can start quickly and solve problems with help from others. The PIC16F877A uses MPLAB X IDE, which needs more steps and extra hardware.
Here are some common use cases where the atmega328p stands out:
- Arduino boards for beginners and professionals
- Motor control for robotics and motion control
- Sensor data acquisition for real-time monitoring
- Home automation systems for smart devices
If you look at cost, you see differences among microcontrollers:
| Microcontroller | Cost Category | Features |
|---|---|---|
| ATmega328P | Moderate | Good balance for beginners |
| ESP8266 | Low | Built-in Wi-Fi, budget-friendly |
| Arduino Uno/Nano | Moderate | Accessible, strong community support |
| ESP32 | High | Advanced features for complex projects |
| STM32F0 | Low | Cost-effective for simple applications |
| STM32F3 | High | Advanced, suited for industrial use |
Choosing the Right Microcontroller
You need to consider several factors before you choose a microcontroller for your robotics and motion control projects. Here is a simple checklist to help you decide:
- Processing power: Look at CPU type and speed.
- Memory: Check RAM and flash for your code and data.
- Connectivity: Decide if you need Wi-Fi, Bluetooth, or LoRa.
- Power consumption: Think about battery life for portable devices.
- Peripheral support: Make sure you have ADCs, UARTs, SPI, and I2C.
- Development environment: Choose a platform with good libraries and community support.
- Cost: Match your budget to your needs.
- Size: Pick a chip that fits your device.
You often pick the atmega328p for prototyping, educational projects, and robotics and motion control. You get reliable performance, easy programming, and strong support. If you need advanced features or wireless connectivity, you might choose ESP32 or STM32 chips. For simple and cost-effective designs, ESP8266 or STM32F0 work well.
Tip: Always match your microcontroller to your project’s requirements. This step helps you save time and money while building successful devices.
You see why the ATmega328P microcontroller stands out for electronics projects. Makers value its cost-effectiveness, easy use, and versatile I/O options, as shown below:
| Advantage | Description |
|---|---|
| Cost-Effectiveness | Highly affordable for all users. |
| Ease of Use | Simple to learn, especially with Arduino. |
| Versatile I/O Options | Lets you connect many sensors and devices. |
You benefit from strong community support and a global community that shares ideas and solutions. With low power modes, your designs can last for months. Choose the ATmega328P for your next project and join a thriving community.
FAQ
What is the difference between ATmega328 and ATmega328P?
You see "P" in ATmega328P. It means "PicoPower." This version uses less energy. You get longer battery life in your projects.
Can you program ATmega328P without an Arduino board?
Yes, you can. You use a USB programmer or FTDI interface. You connect the chip to your computer and upload code with software like Arduino IDE or AVRDUDE.
How many sensors can you connect to ATmega328P?
You can connect up to 6 analog sensors and 14 digital sensors. The microcontroller has enough pins for most beginner projects.
Tip: Use multiplexers if you need more sensor connections.
What is the best way to power the ATmega328P?
You power the ATmega328P with 5V from USB, batteries, or adapters. Always check the voltage before you connect power.
| Power Source | Voltage | Safe for ATmega328P? |
|---|---|---|
| USB | 5V | ✅ Yes |
| AA Batteries | 3V | ⚠️ Use with caution |
| Adapter | 5V | ✅ Yes |
Do you need a crystal oscillator for ATmega328P?
You do not always need one. The chip has an internal clock. For better timing, you add a crystal oscillator to pins 9 and 10.